
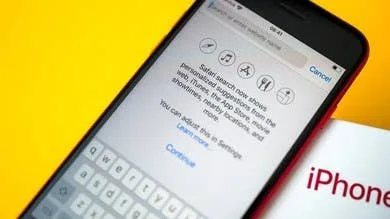
Screen time gives iPhone users the opportunity to track and manage their iPhone usage, making s

Over the years, as iOS versions improve and advance, the symbols and status indicators on

Most iPhone users use their iPhones everyday without accessing all of its capabilities. We often hea

You can check your AT&T bill balance and due date at any time by text from your iPhone, Android,
You can check your bill balance any time you’d like — without sitting through annoying v
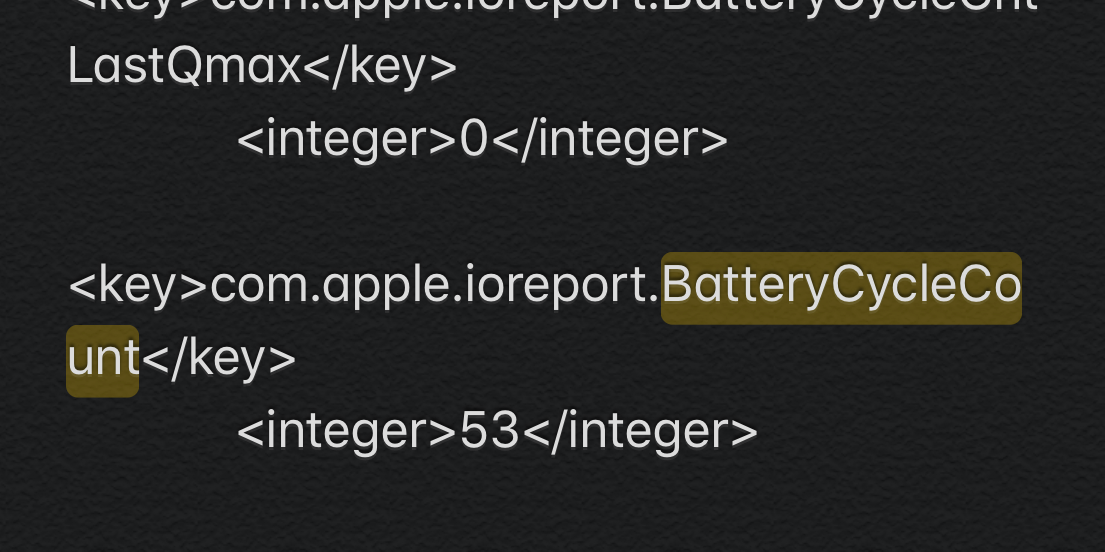
This is the simplest way to see the health of your iPhone’s battery. For a reminder, after 500

I’ve been eying a coworker’s Galaxy Note 3 as a replacement for my aging iPhone 4s. Howe
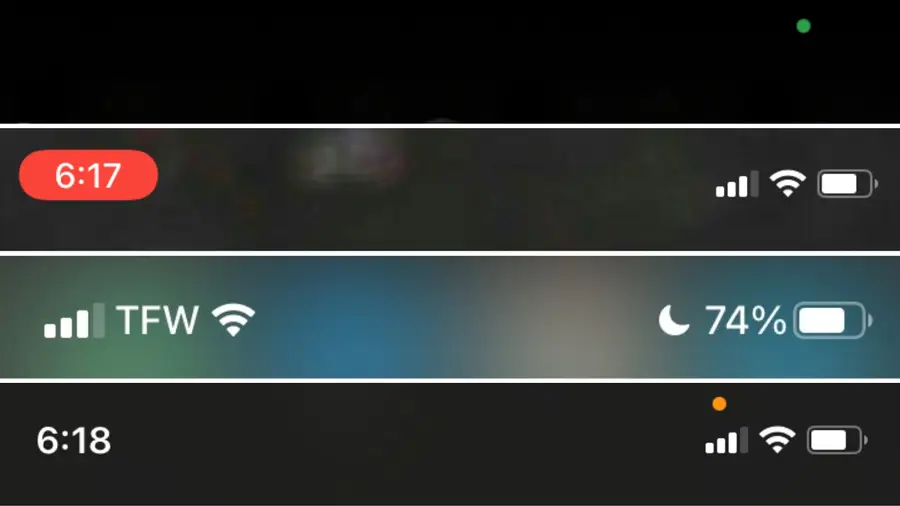
iPhone symbols demystified! Over the years, as iOS versions improve and advance, the symbo
During many years of working in the tech industry, one of the biggest problems I dealt with was the
