How To Change Your Minecraft Skin in Java Edition

Share
The one prevailing theme in Minecraft is creativity. Whether it’s building a large mega base or terraforming the landscape, Minecraft players are notorious for their innovation. It comes as no surprise that player skins can be customized as well!
For those that want to have a new wardrobe each season or just need a refreshing change in appearance, here’s our guide to changing your Minecraft player skin in Java Edition!
1 – Choose a Skin You Like
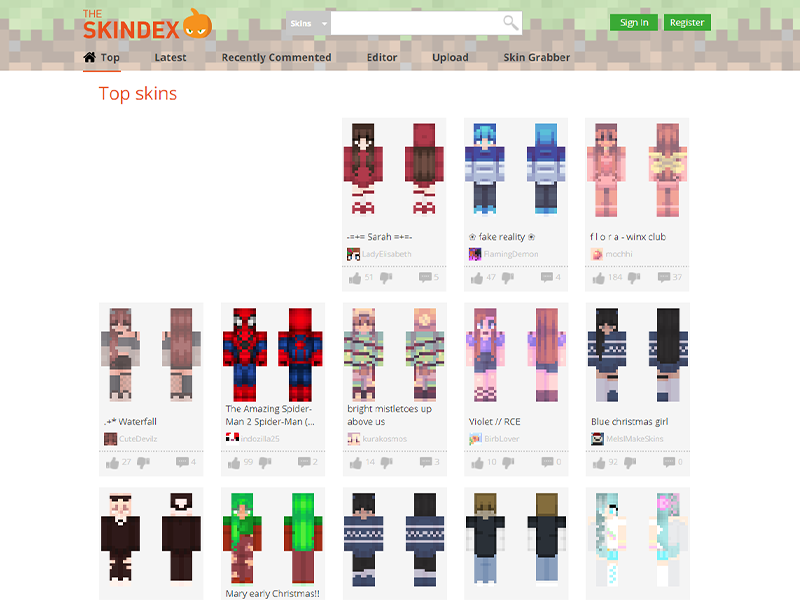
Our favorite website to find free Minecraft skins is The Skindex! Here you can find thousands of user-created skins to download and customize.
Some other free websites to get skins are:
Once you’ve downloaded a skin, move on to the next step.
2 – Open Minecraft Launcher
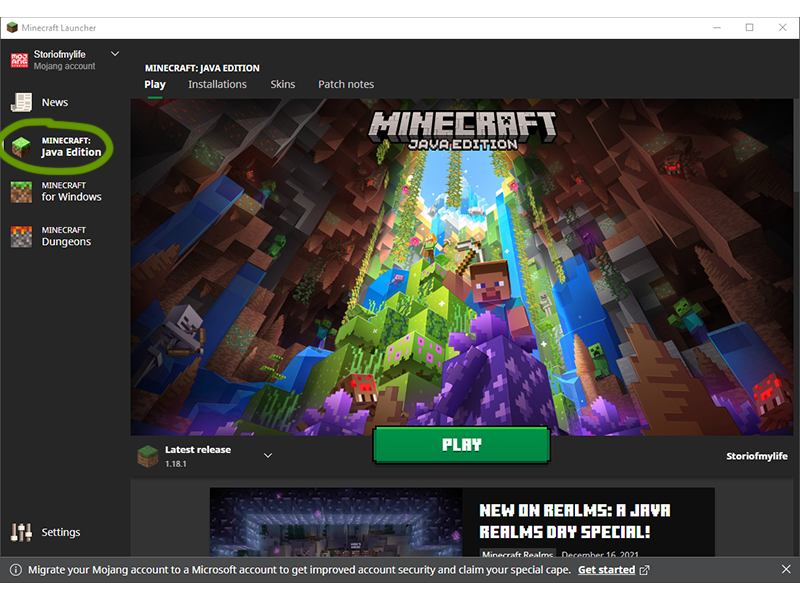
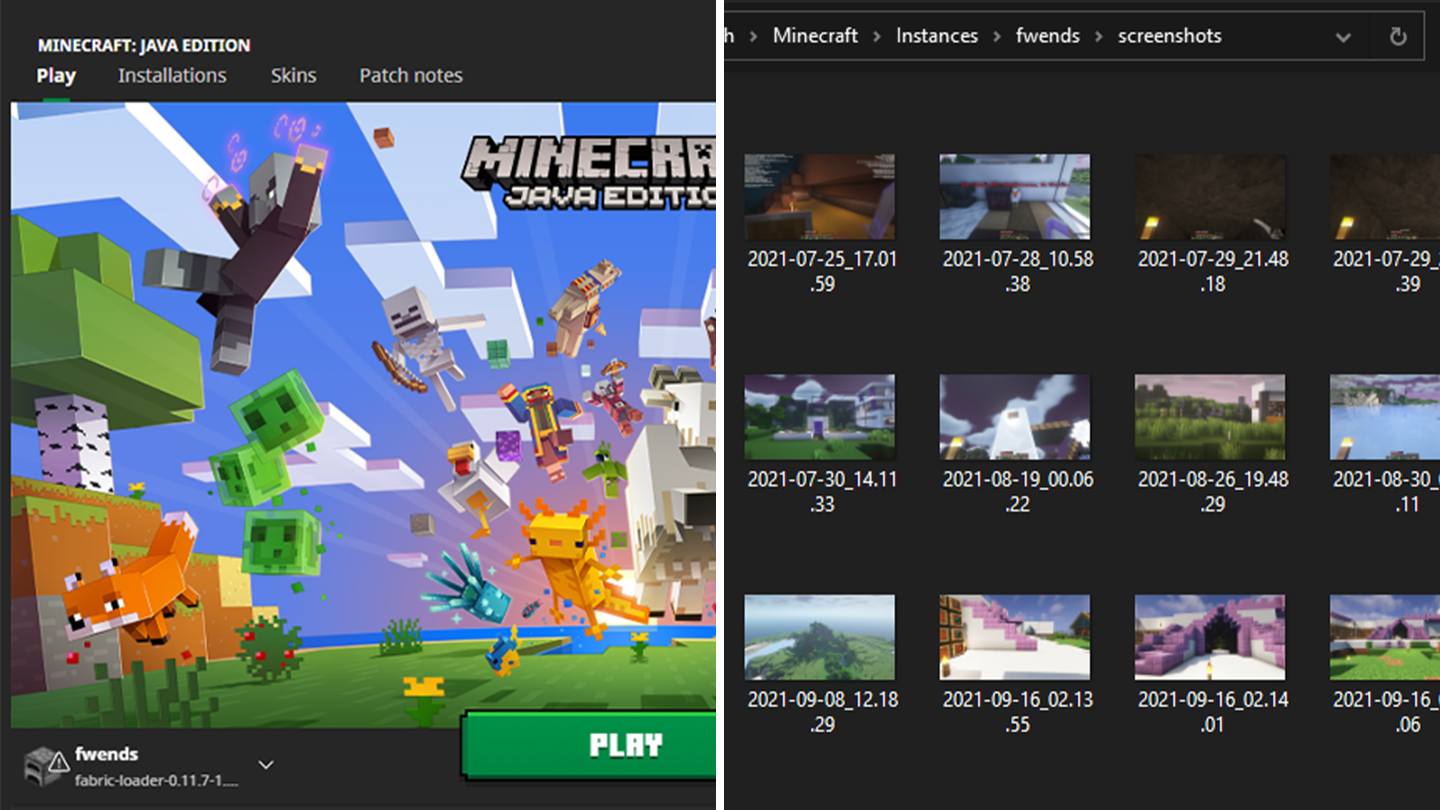
Open the Minecraft Launcher, making sure you have Java Edition selected on the left sidebar.
Note: This can work with CurseForge users as well, since the Launcher does open in that process.
3 – Skins Tab
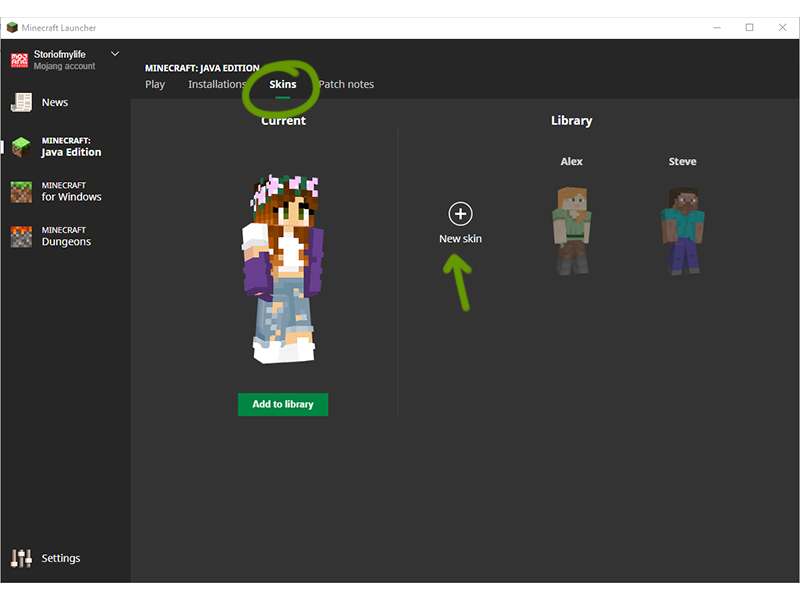
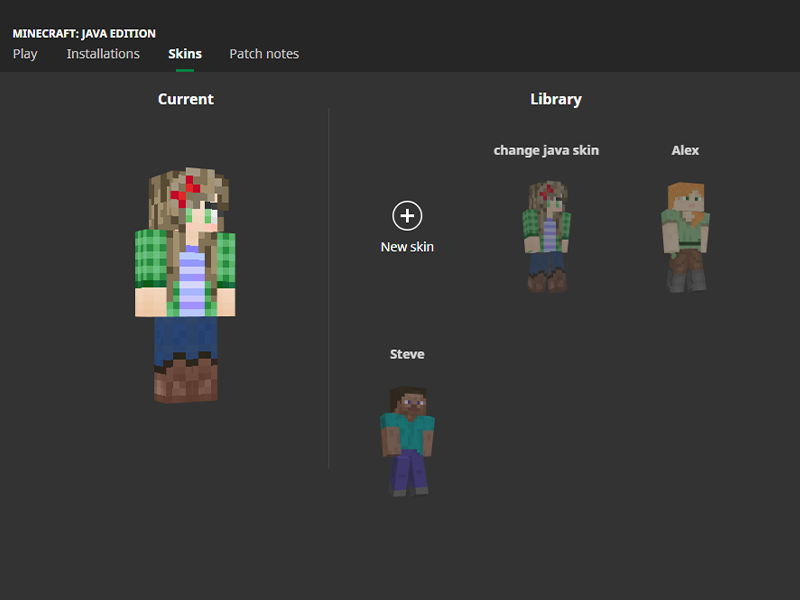
Rather than hitting Play, click the Skins tab at the top of the window.
4 – Add New Skin
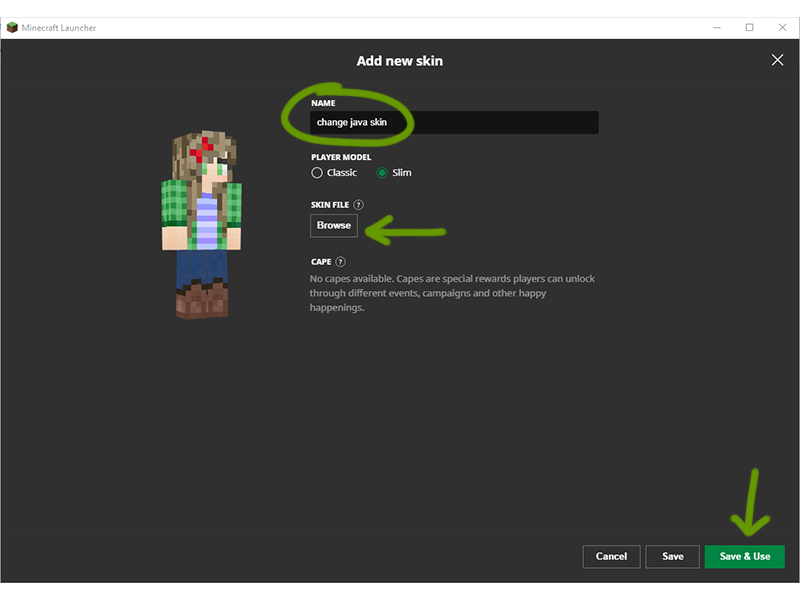
Click on the + symbol to get to the page to add a new skin. Once there, select “Browse” to find and select the skin you want to add.
Websites like The Skindex will tell you whether to use the classic or slim character model, but you can always re-upload the skin if you pick the wrong option. Also make sure to name your skin!
Once ready, click Save & Use. Now, your character will have the new skin on whenever you play Minecraft!


