How To Install OptiFine in Minecraft

Share
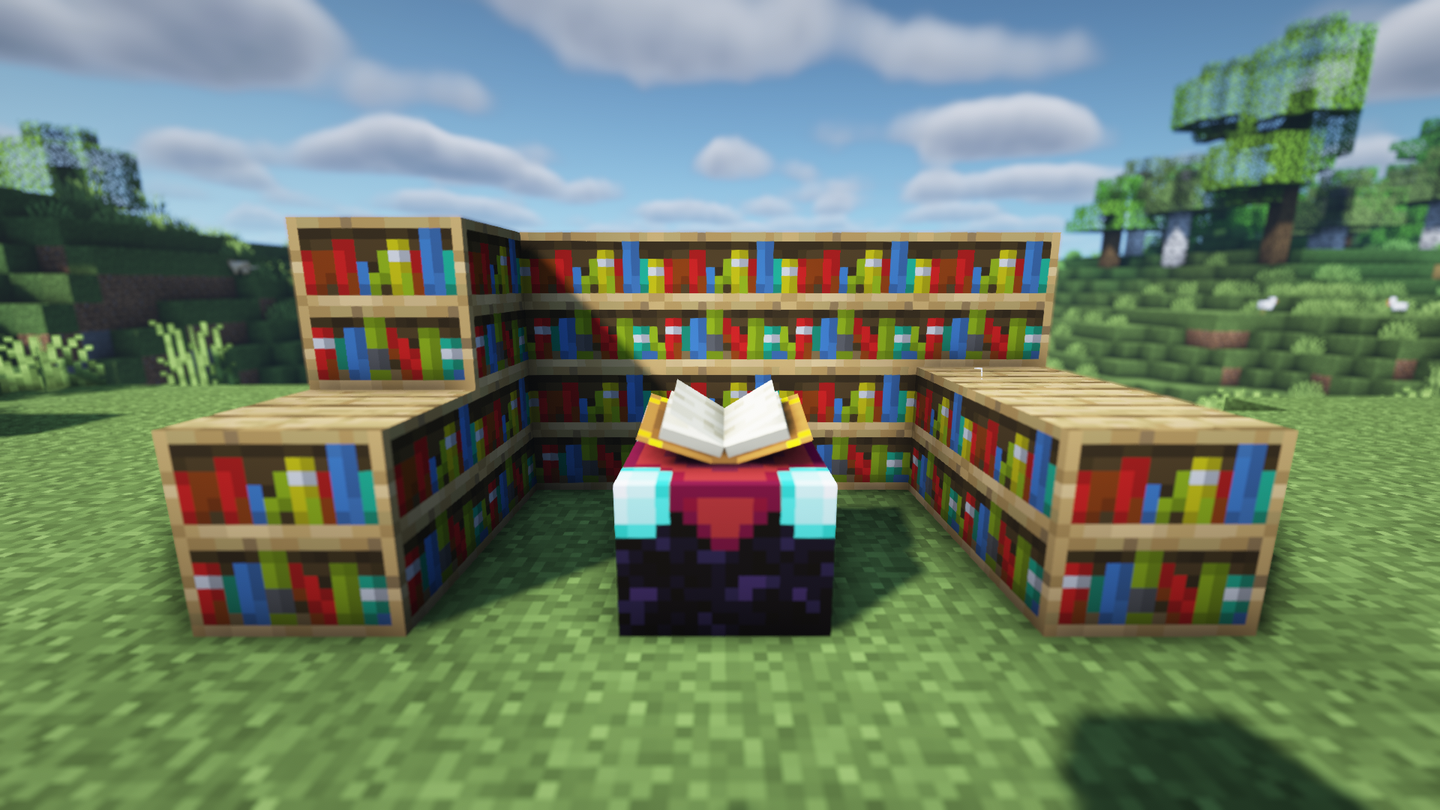
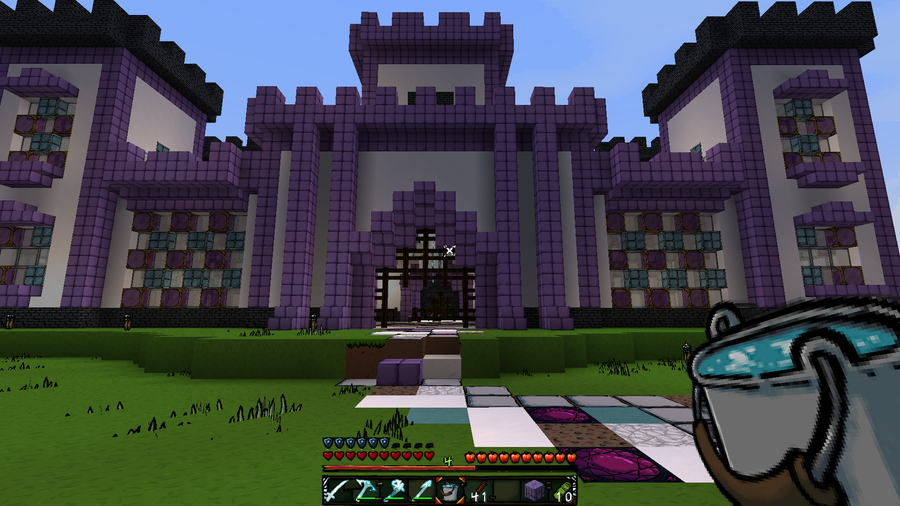
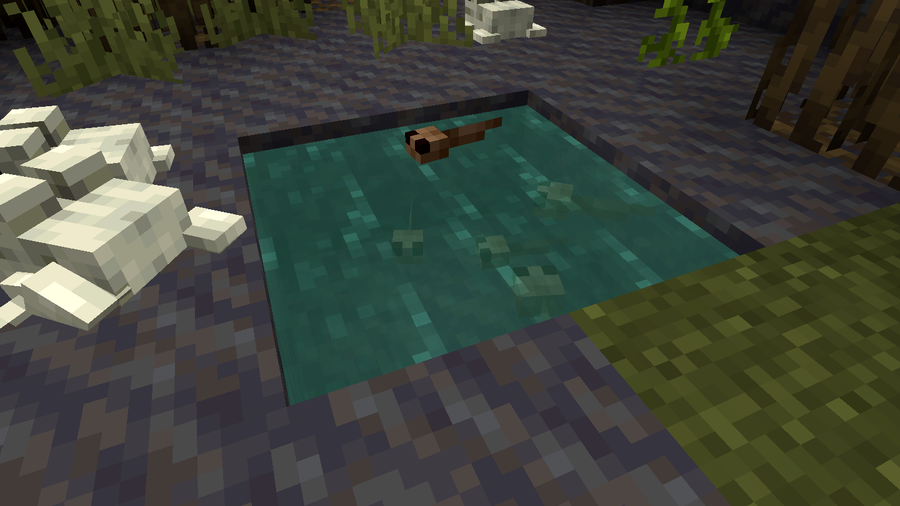
Have you ever wanted Minecraft trees to look less blocky, but don’t want to install multiple mods to do so? What about seeing the water animated and clear? Both are possible, courtesy of a mod called OptiFine! This optimization mod allows Minecraft to run faster and look better with full support for HD textures, and paired with shaders, can change how your Minecraft world feels.
Not only does OptiFine add leaf texture to trees, it also adds swaying movement to foliage and lanterns. Plus, it turns grass blocks dynamic, so you no longer need to see excessive dirt on the side of mountains due to the limitations of the vanilla grass block. Even a non-modded Minecraft world can use OptiFine! This guide will go through the steps and to installing OptiFine with the Minecraft launcher.
1 – Download OptiFine
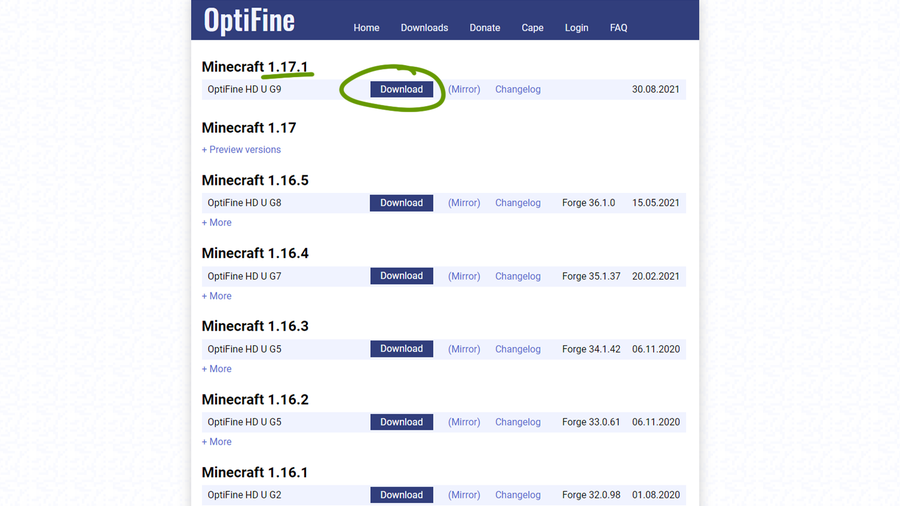
To install OptiFine, you’ll need to download the OptiFine JAR file from their website. Make sure to choose the latest version of Optifine that matches your game version.
- Click the
Downloadbutton to the right of the OptiFine version you want. - On the next page, you may need to wait for the
Skip Adbutton to appear after five seconds.
- Click the
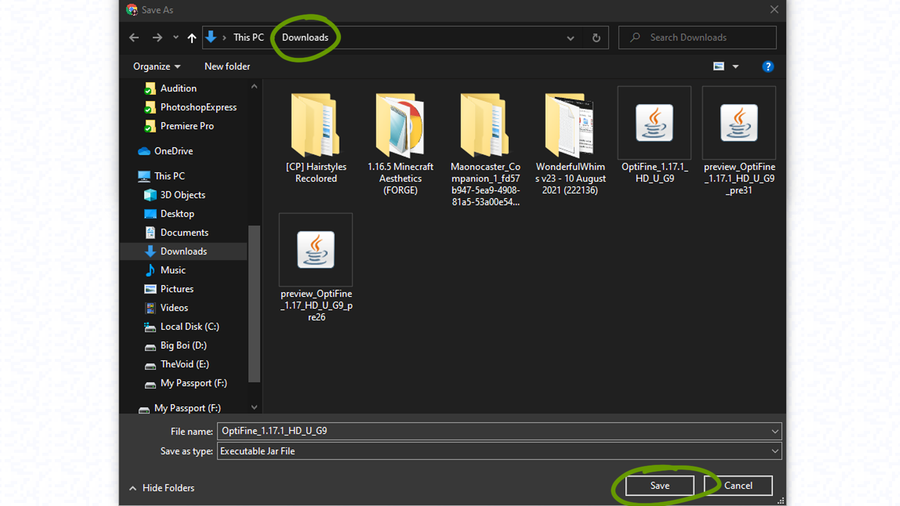
Download OptiFinelink in the middle of the next page. - We recommend saving OptiFine somewhere you can find it later.
- Depending on your browser, you may need to click
KeeporAllowif a warning pops up stating that OptiFine might be dangerous. Which, as long as you’re downloading from OptiFine’s official website, it’s not.
2 – Find your Minecraft file path
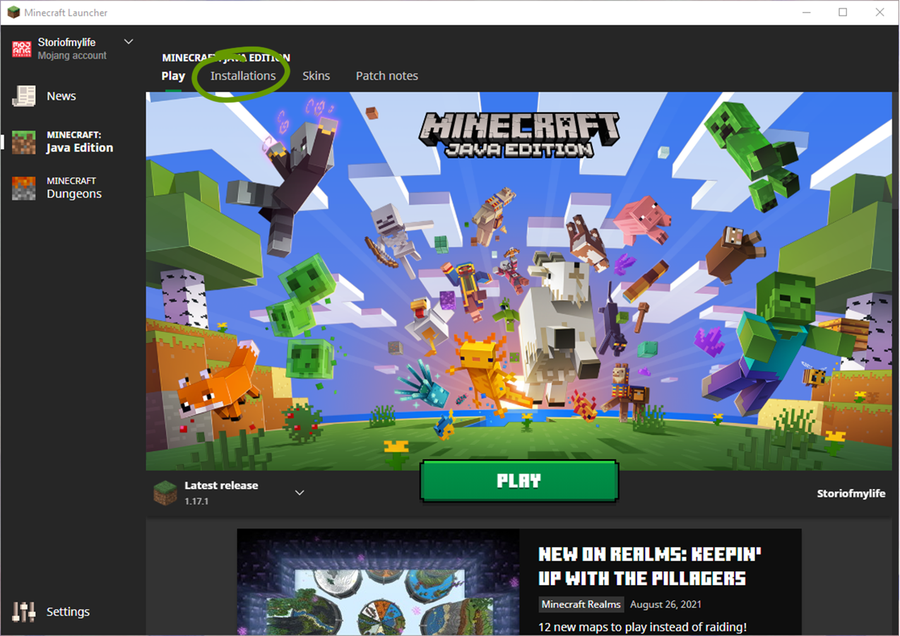
Before moving into the actual installation of OptiFine, it’s important to know where your Minecraft game is installed. To do so, follow these steps:
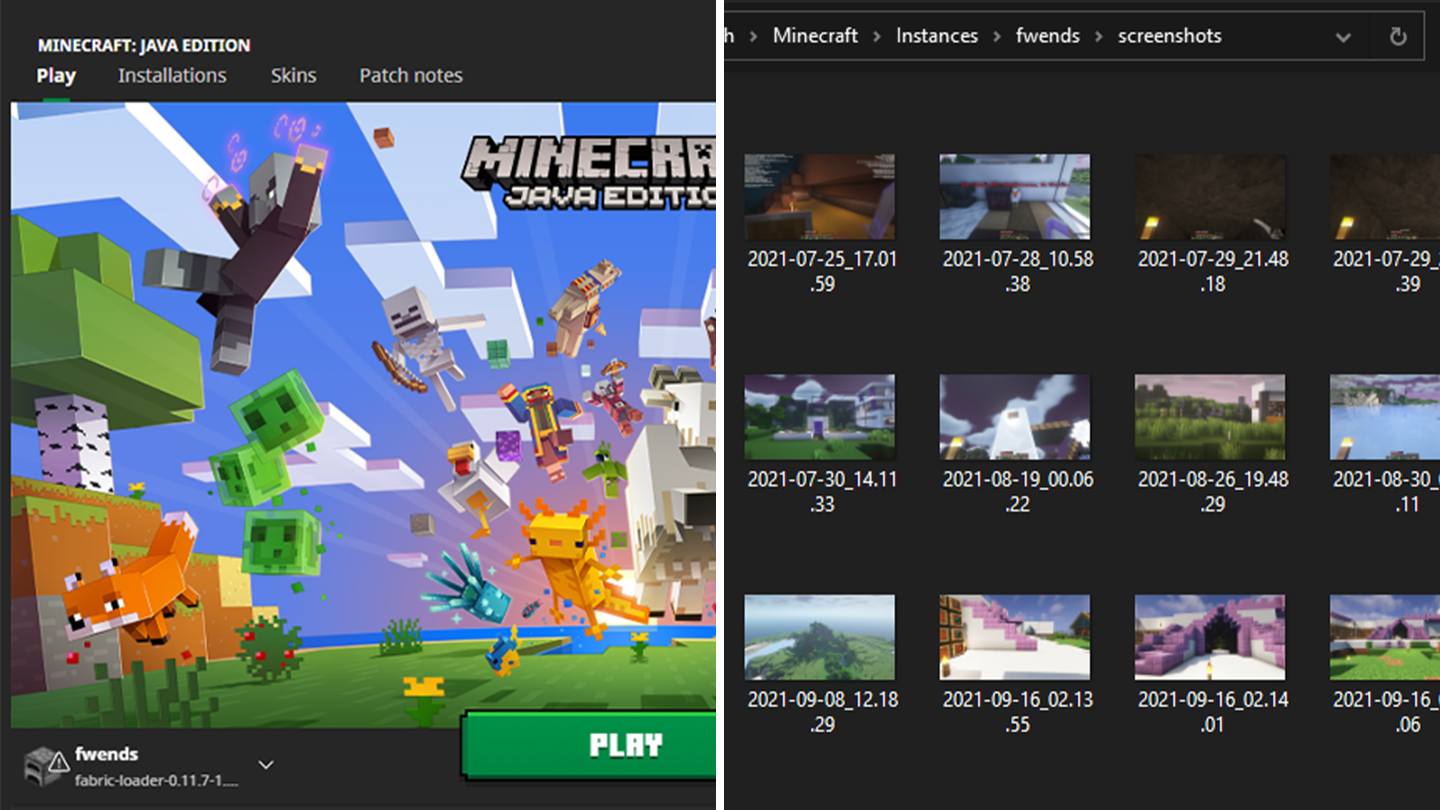
1. Open the Minecraft Launcher.
2. Make sure the launch option is the game version you plan on using with OptiFine.
3. Go to the Installations tab at the top of the window.
4. Hover your mouse over the game version you want to find and click the folder icon to the right of the Play button. See the image below for help.
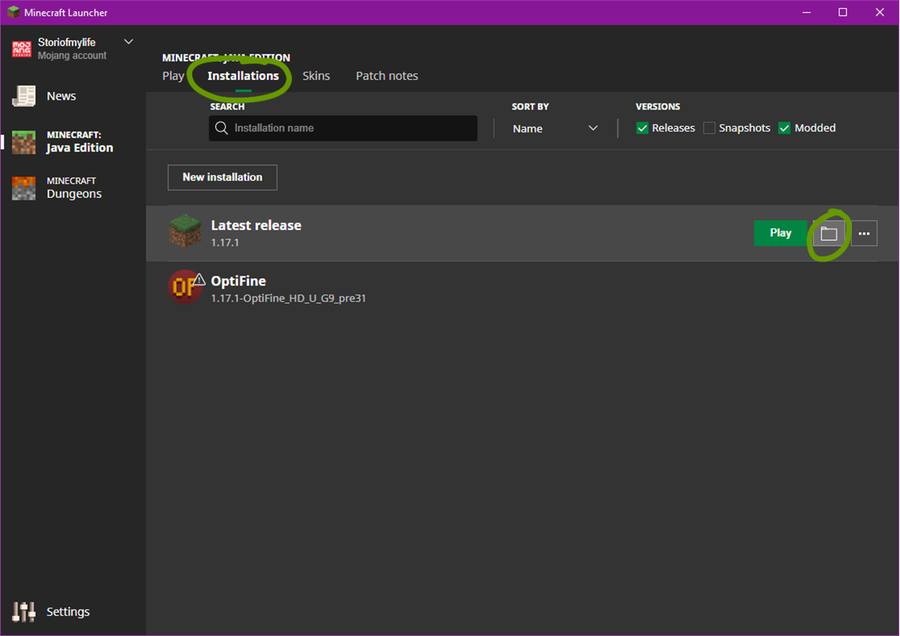
5. The file path that opens in a new window is where you’ll install OptiFine in the next step!
6. Once finished, close the Minecraft Launcher.
3 – Install OptiFine
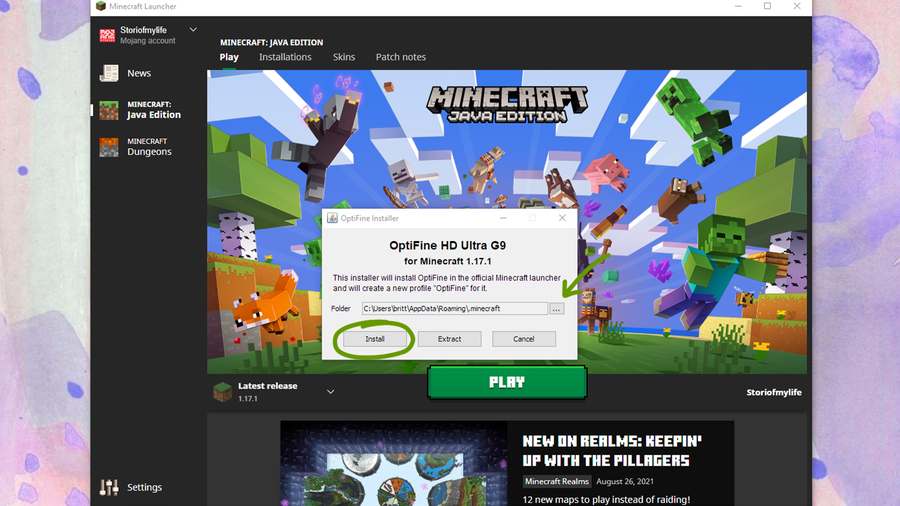
Return to where you downloaded OptiFine onto your computer. Double-click to run the OptiFine setup file.
- In the window that pops up, click the
...button and go to the file path you found in the previous step. - Click Install on the OptiFine Installer window.
- A new window will pop-up to confirm OptiFine has been installed. Click the
Okaybutton to close the installer.
If you can’t open OptiFine to install it, then you’ll need to download Java SE Development Kit 16. On this page, choose the installer for your operating system.
4 – Finish setting up the Minecraft Launcher
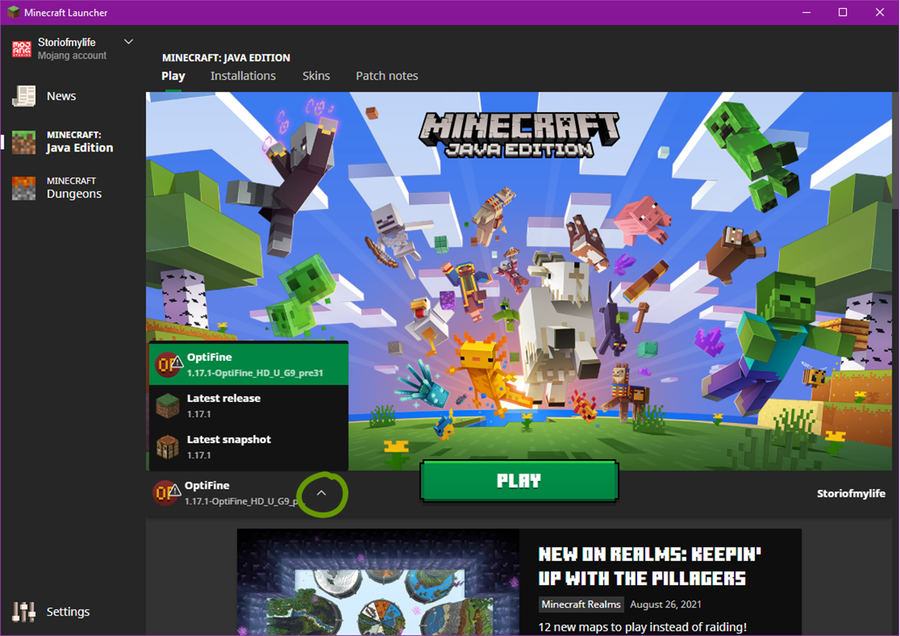
It’s time to make sure everything is working properly and configure the Minecraft Launcher with OptiFine.
- Reopen the Minecraft Launcher.
- Click the drop-down menu for Launcher Options at the bottom left of the window, as shown in the image above.
- Choose
OptiFine.
You’re now ready to begin playing Minecraft! Click Play and enjoy an upgraded version of Minecraft!
If you’re interested in adding more customization to your game, follow our guide on how to install shader packs to your Minecraft game as well!

