How To Install Shaders in Minecraft
Share
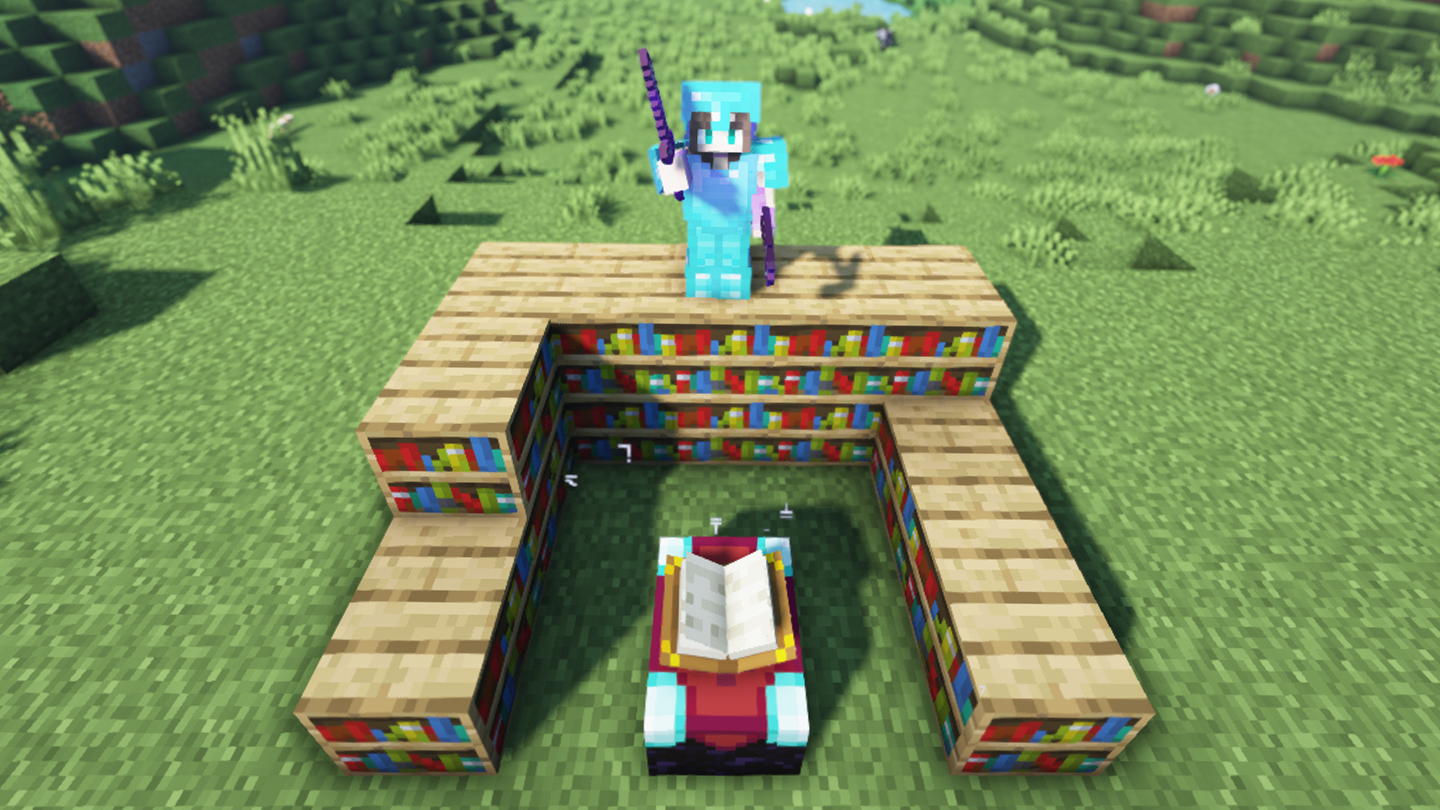
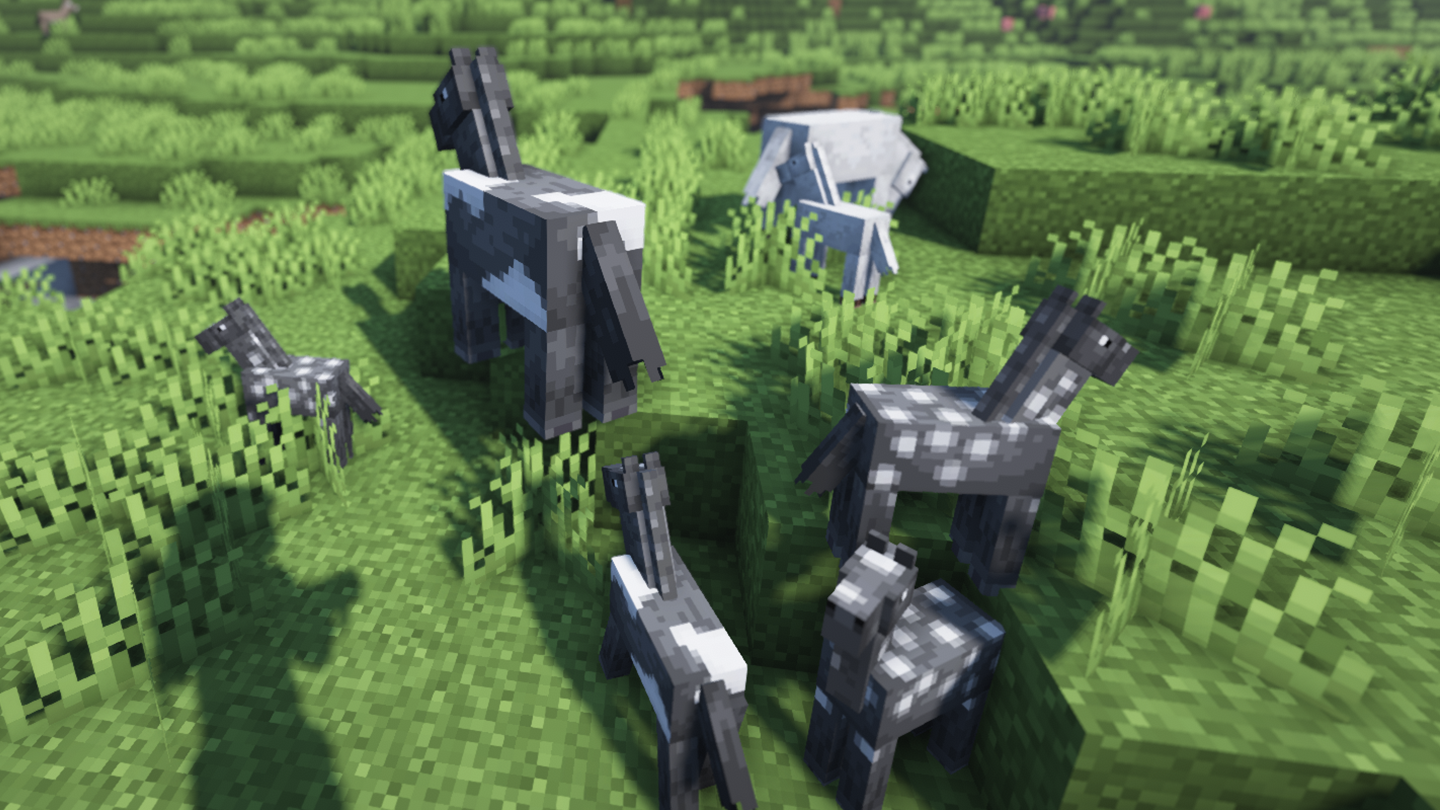
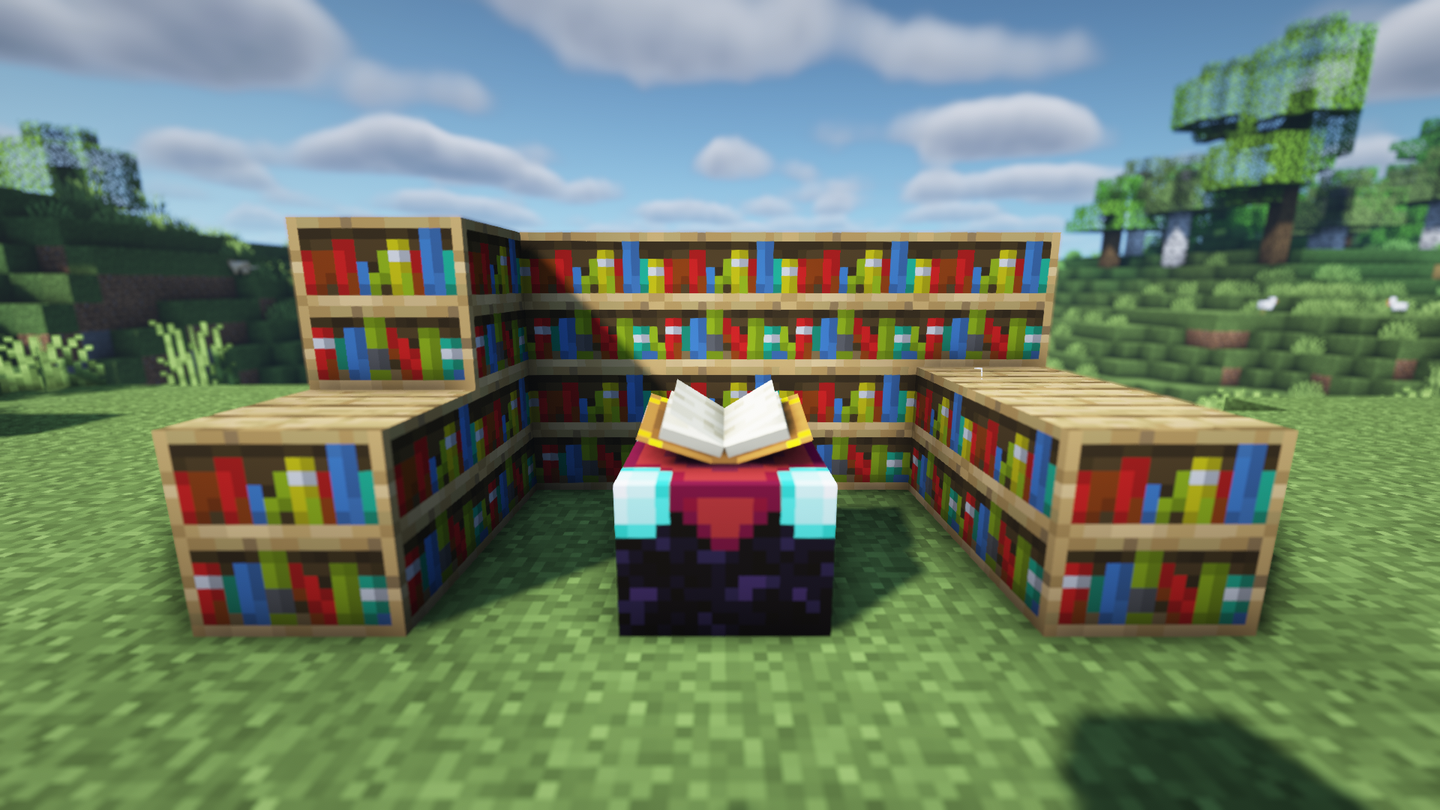
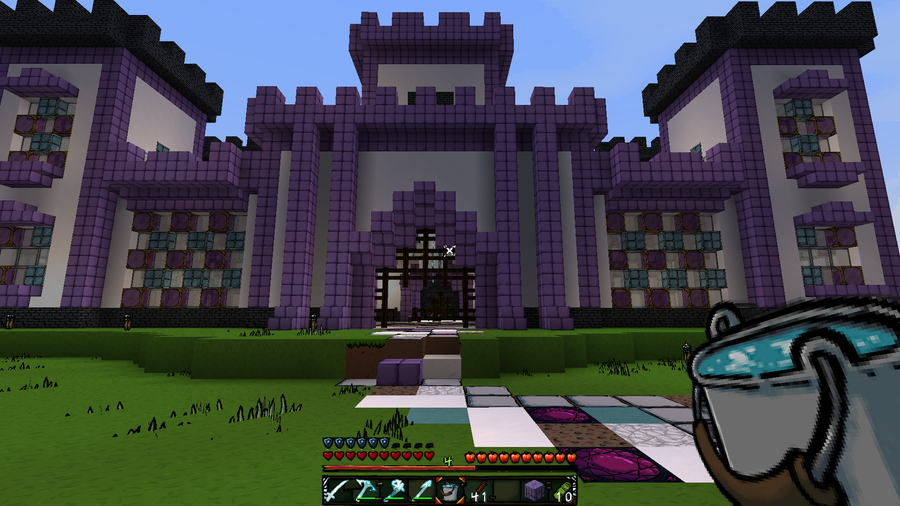
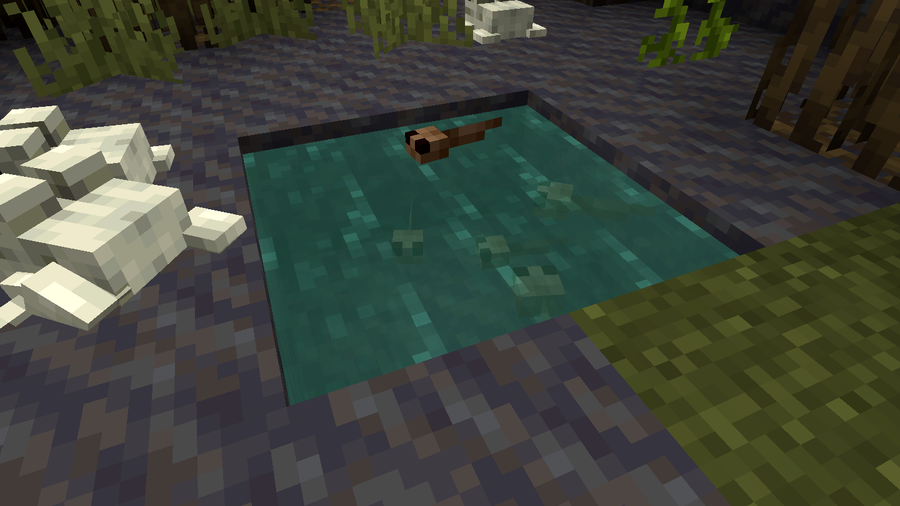
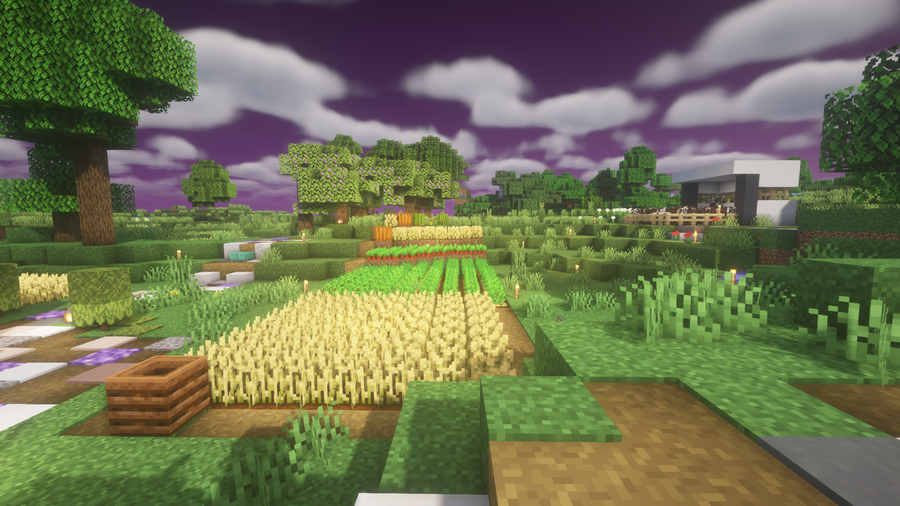
Shaders, also known as shader packs, are a way to bring your Minecraft gameplay to a new level of beautiful. Minecraft Shaders improve the game’s visual elements, such as color enhancement, improved lighting, and generally make the game look more realistic. Depending on the shader, players can customize their world to their preference. So if you want a purple sky and realistic clouds, shader packs are the way to make it happen.
Before you dive into our guide on how to install shaders in Minecraft, make sure you already have OptiFine installed. We have a helpful guide on how to do that here! Without OptiFine, the shaders won’t work, so make sure to do that and return here after!
1 – Find your file path
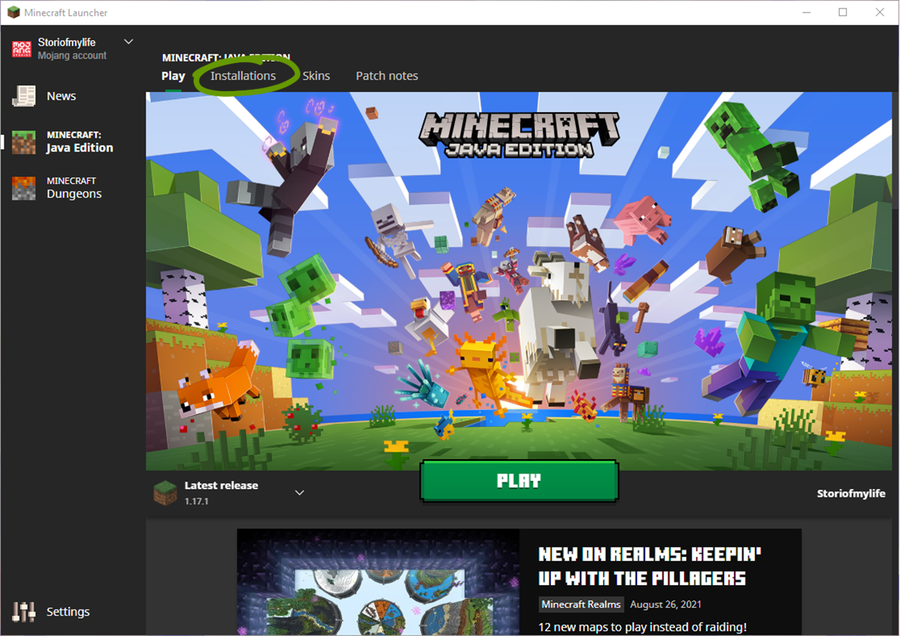
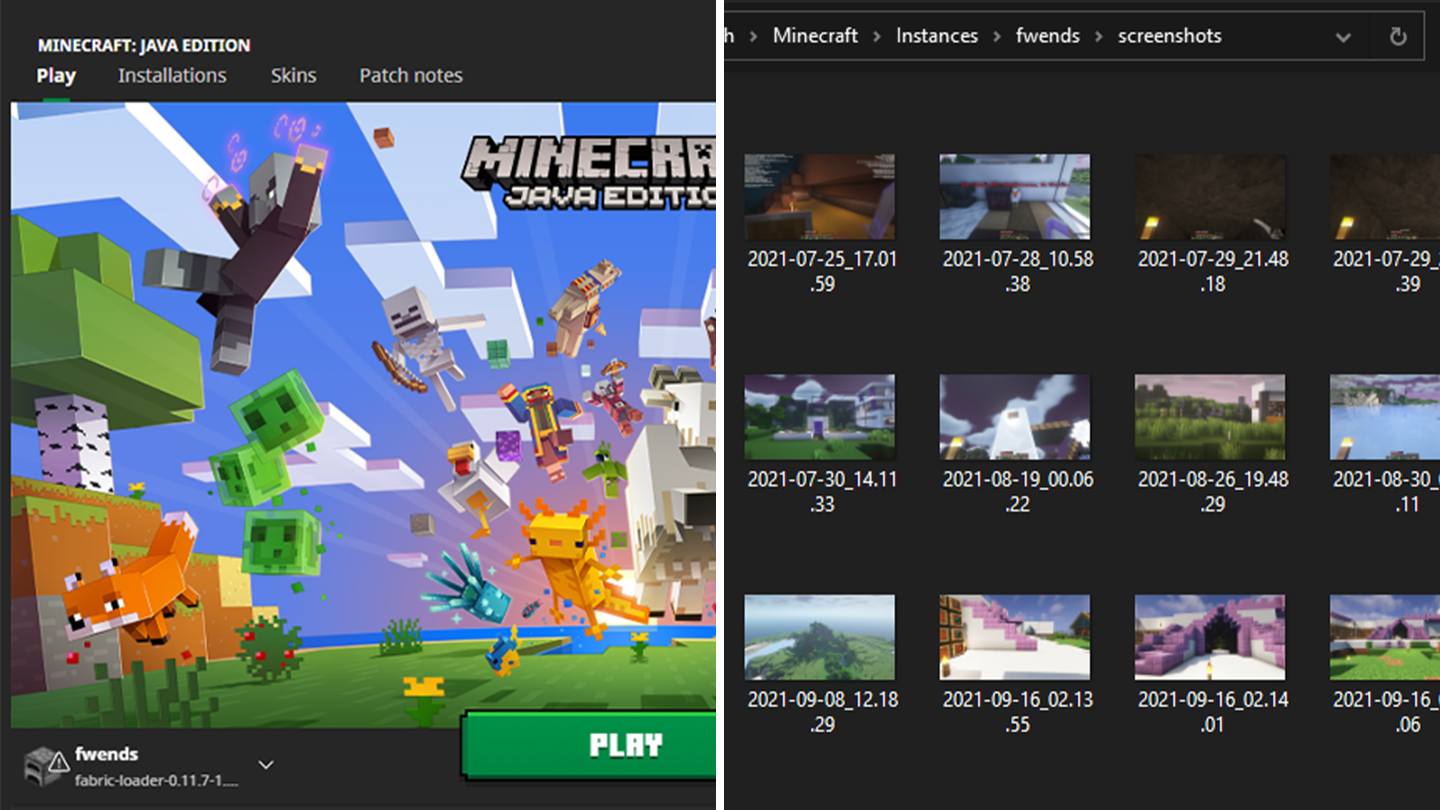
Before moving into the actual installation of shaders, it’s important to know where your Minecraft game is installed. To do so, follow these steps:
- Open the Minecraft Launcher.
- Make sure the launch option is the game version you plan on using.
- Go to the Installations tab at the top of the window.
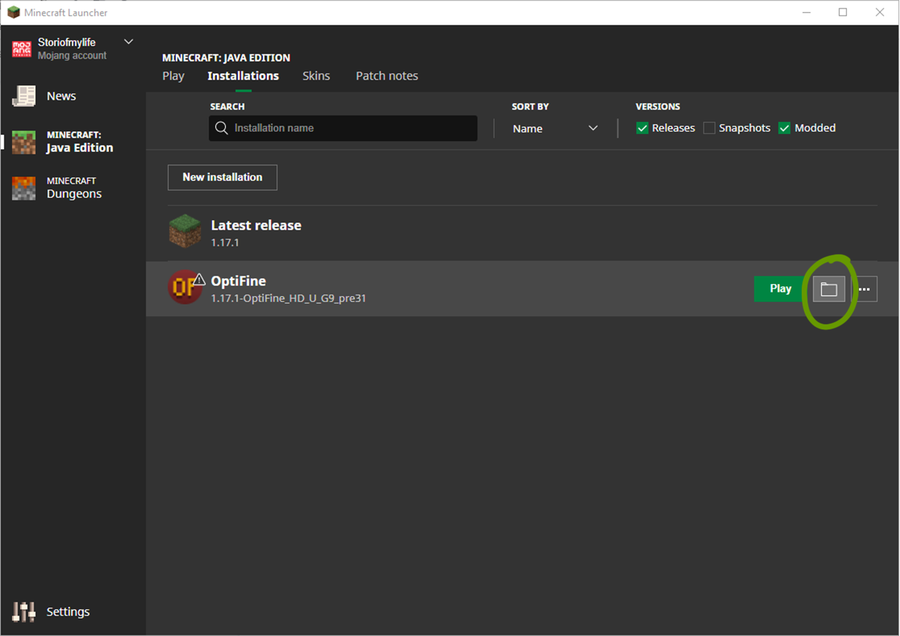
- Hover your mouse over the game version you want to find and click the folder icon to the right of the
Playbutton. See the image above for help.
2 – Create a shaders folder
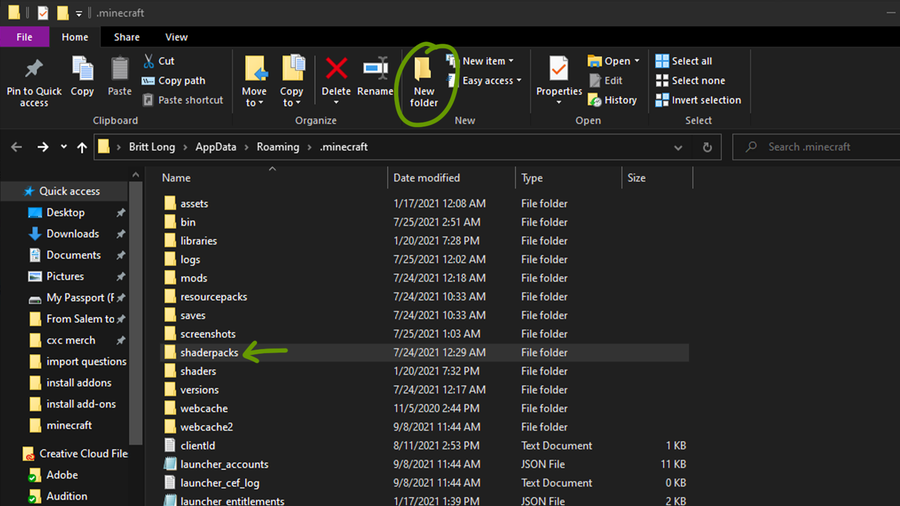
Unfortunately, Minecraft doesn’t automatically create a folder to place shaders into. Inside the Minecraft folder you found in the last step, create a new folder called shaderpacks. Make sure to spell it exactly or else the game won’t recognize where you’ve placed your shaders.
3 – Choose a shader pack
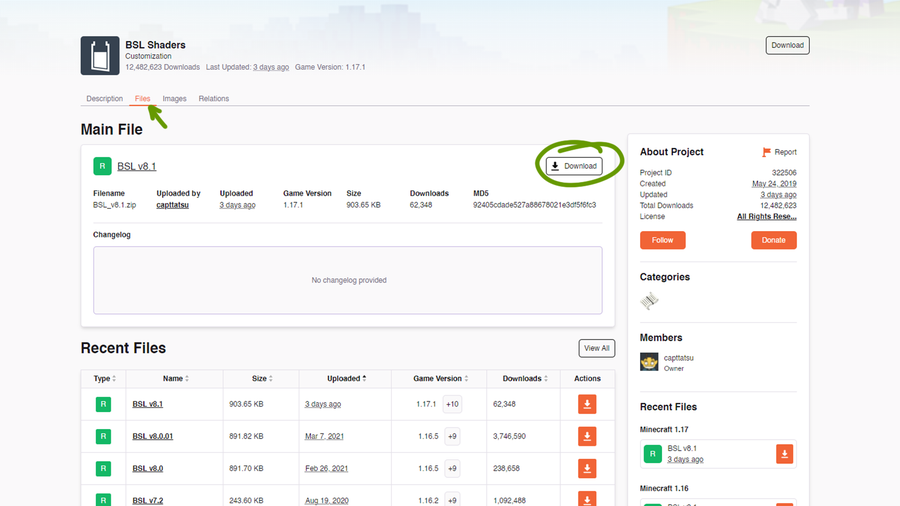
There are plenty of websites out there for finding shaders, but some are safer than most. We recommend CurseForge or Shaders Mods. Alternatively, you can download directly from a developer’s website as well!
Make sure it’s compatible with your Minecraft game version and then move on to the next step!
4 – Install shaders
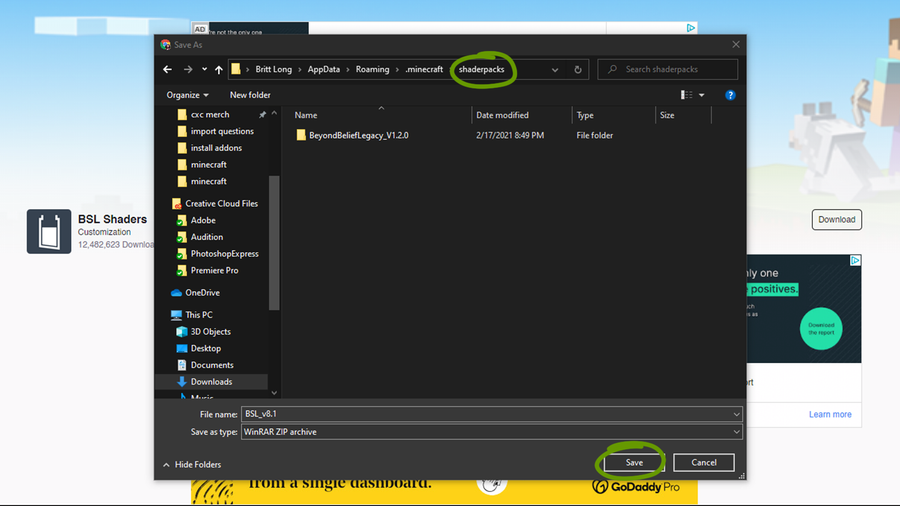
Download the correct game version of the shader you’ve chosen and place it within the shaders folder you made in step 2. Make sure you don’t unzip the downloaded file!
5 – Activate shaders
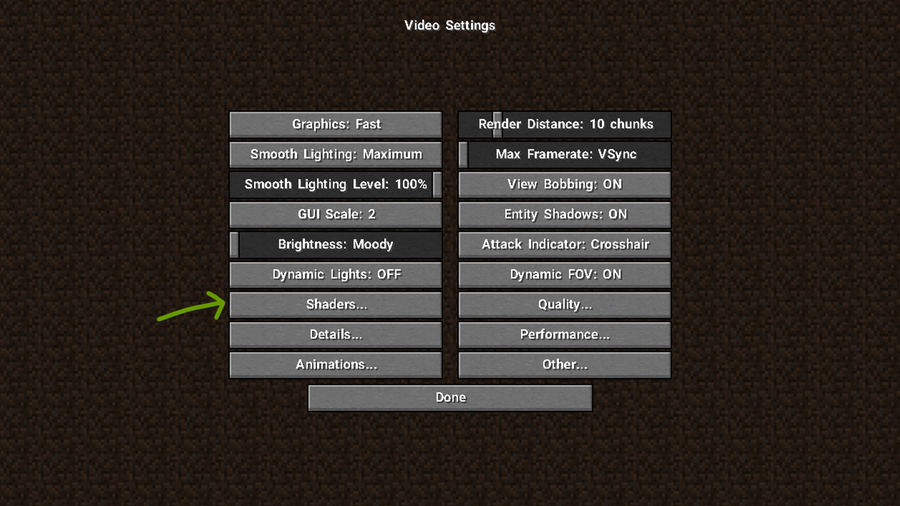
Now it’s time to run Minecraft and activate your shaders! Once the game has launched, follow these steps:
- Click
OptionsthenVideo Settings. - Click
Shaders…as shown in the image above.
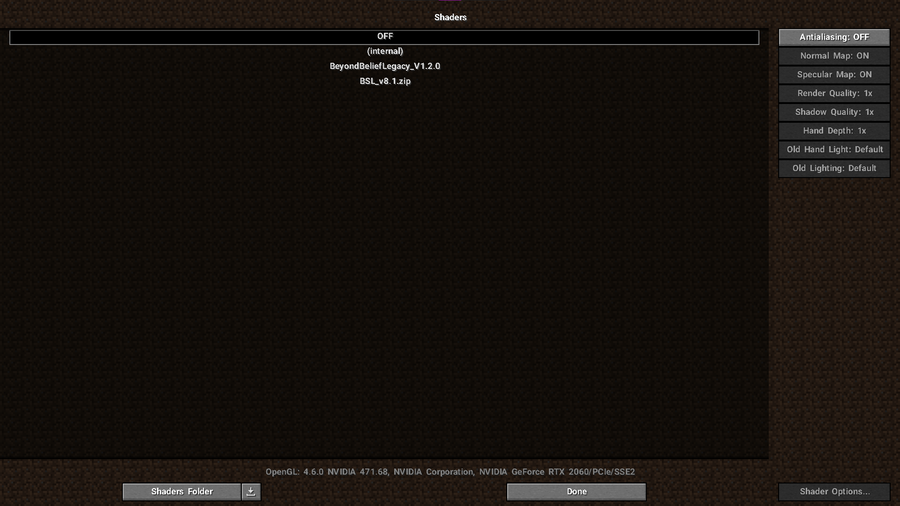
- In the Shaders menu, choose the shader you want to activate. A loading screen will appear and return you back to the Shaders menu when its finished rendering.
From this menu you can either click the Shader Options button on the bottom right to customize the shader pack or click Done and return to the main menu!

