How to Choose the Best Camera for OctoPrint (including USB)
Share
What you'll need
Interests
Series
Posted in these interests:


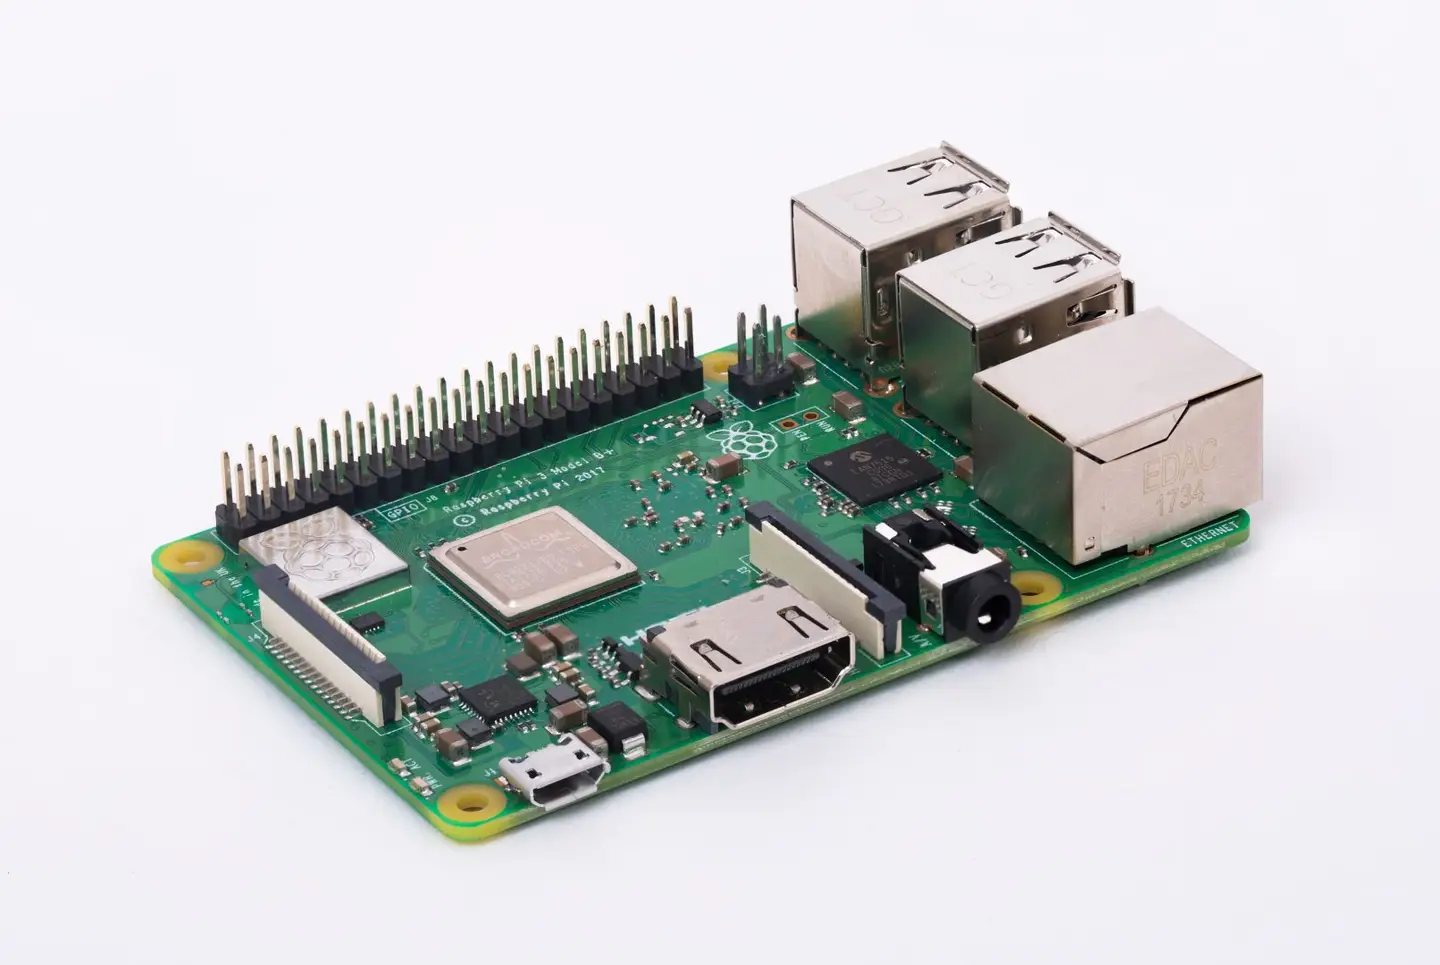
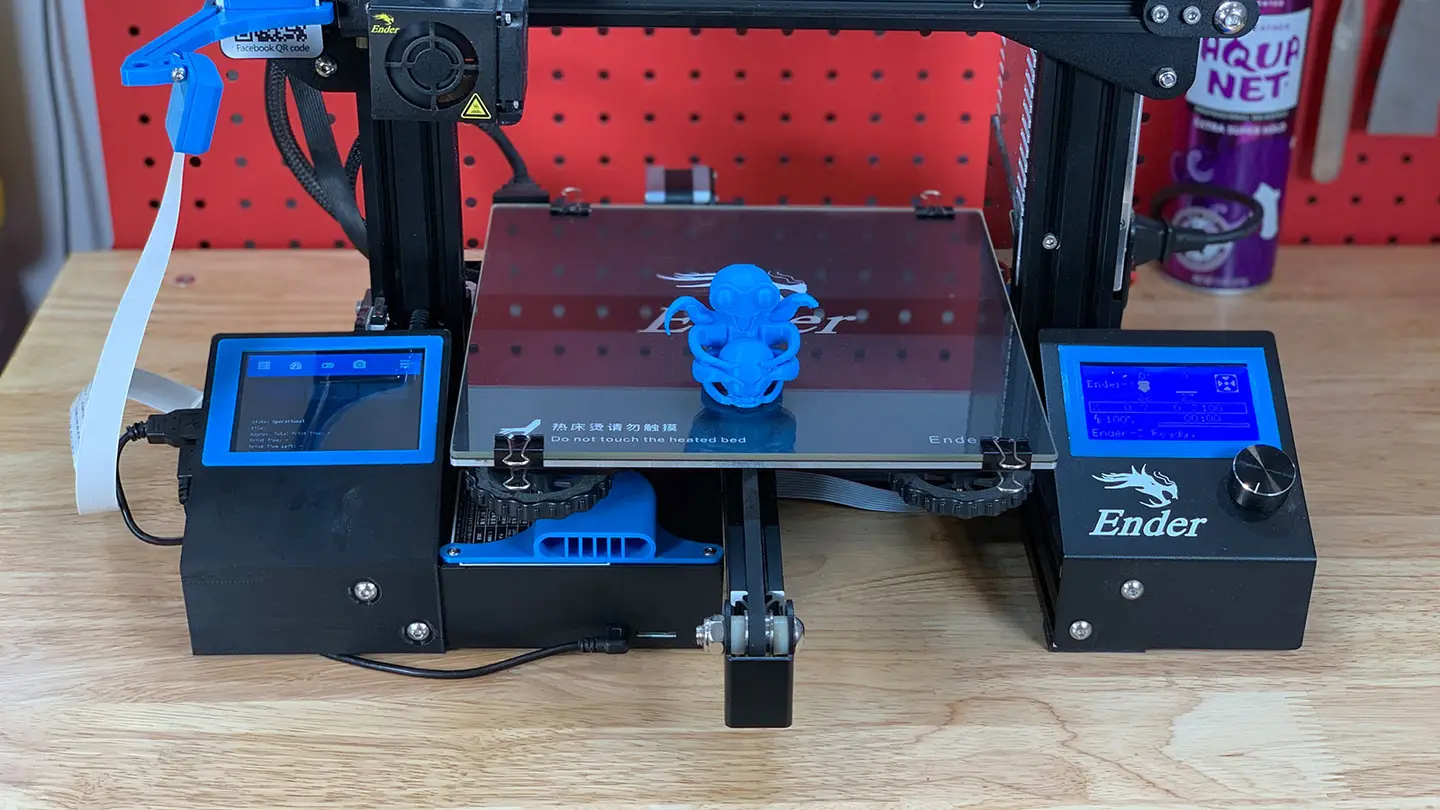
OctoPrint is a platform designed for the Raspberry Pi that makes it possible to monitor and control your 3D printer. If you want to watch what your printer is up to remotely, you’ll need a camera. But which camera is the best to use for OctoPrint?
How to set up OctoPrint
If you’re new to OctoPrint, visit our guide on how to set up OctoPrint on the Raspberry Pi to get started.
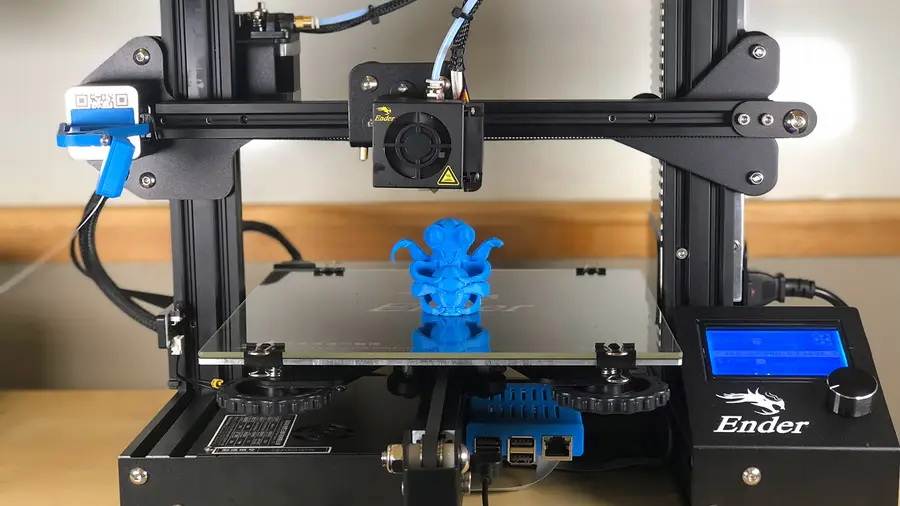
OctoPrint: Control Your 3D Printer Remotely with Raspberry Pi and OctoPi
Untether your printer!
1 – Evaluate your OctoPrint environment
After you’ve installed OctoPrint, consider your priorities when it comes to streaming. Do you want a budget-friendly camera? Do you want to use a camera you already have? Perhaps you just want to stream with high resolution. Whatever your project needs are, identify what they are before investing in a new camera.
Some more factors to consider: Do you want a permanent camera or one that can be easily removed? Do you want a low profile device that doesn’t take up much space? Do you want a camera that mounts to a specific tripod or structure? Do you want a hot-swappable camera?
2 – Use a Pi Camera Module with OctoPrint
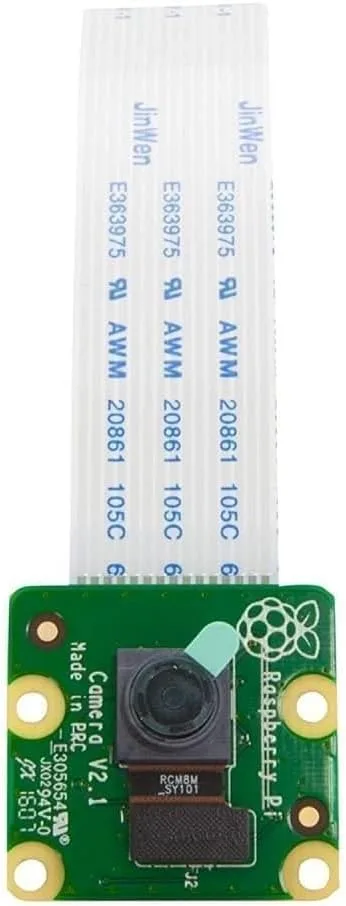
The official Raspberry Pi camera module works great with OctoPrint. The Raspberry Pi camera module is plug-and-play, so you won’t have to worry about any special setup configurations. It’s a low profile option, guaranteed to be compatible with the Raspberry Pi 1, 2, 3, and 4.
This module is designed for the Raspberry Pi and connects using the camera port on the Pi. It’s an 8-megapixel camera that can create images with a resolution of 3280 x 2464.
The whole unit is only 25mm x 23mm x 9mm (not including the cable). If you want a small camera with a good image that’s easy to mount, you may want to check out the Raspberry Pi Camera Module V2.
3 – Use a USB camera or webcam with OctoPrint
Octoprint will work with many USB cameras, but not all of them. Here’s a list of compatible webcams known to work with OctoPrint. This makes it easy to set up a camera quickly with a spare webcam or USB camera that you might have lying around the house.
The biggest benefit of using a webcam is better image quality. You will likely spend a little time configuring your webcam to work with the Raspberry Pi, but the results are worth it. OctoPrint recommends using mjpg-streamer to set up the webcam. Visit the OctoPrint page on Github for tips on setting up your camera with OctoPrint.
Best USB OctoPrint camera
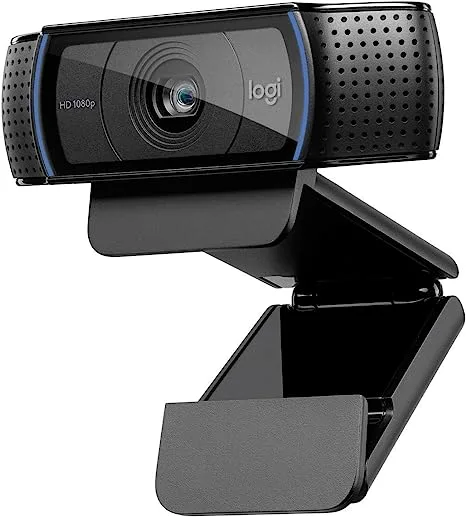
Most Logitech cameras are compatible with OctoPrint. One of the best (and most popular) for use with OctoPrint is the Logitech C920—recommended for its high resolution, wide FOV, and built-in hardware encoding.
4 – Test and optimize your OctoPrint camera setup
Once you have your camera connected, log into the OctoPrint web interface. You can use the IP address of your Raspberry Pi or put http://octopi.local into the address field of a browser window.
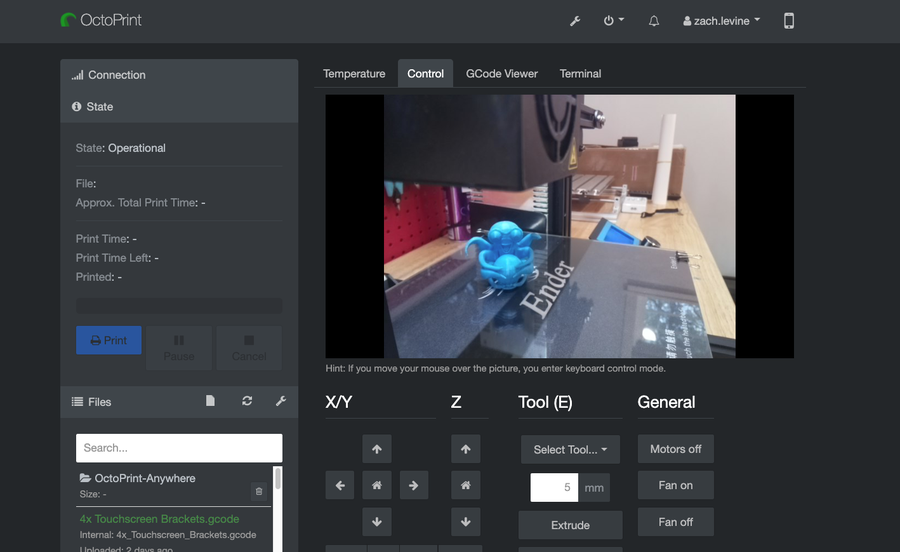
Look under the Control tab. This screen allows you to view and make adjustments to your Octopint video stream. Congratulations! Now you’re ready to monitor your 3D printing progress remotely.
5 – Troubleshooting the OctoPrint camera feed
If you don’t see anything, make sure the camera is properly connected. You may want to power everything off and reconnect the camera. If it still doesn’t work, make sure the camera is working on other devices.

