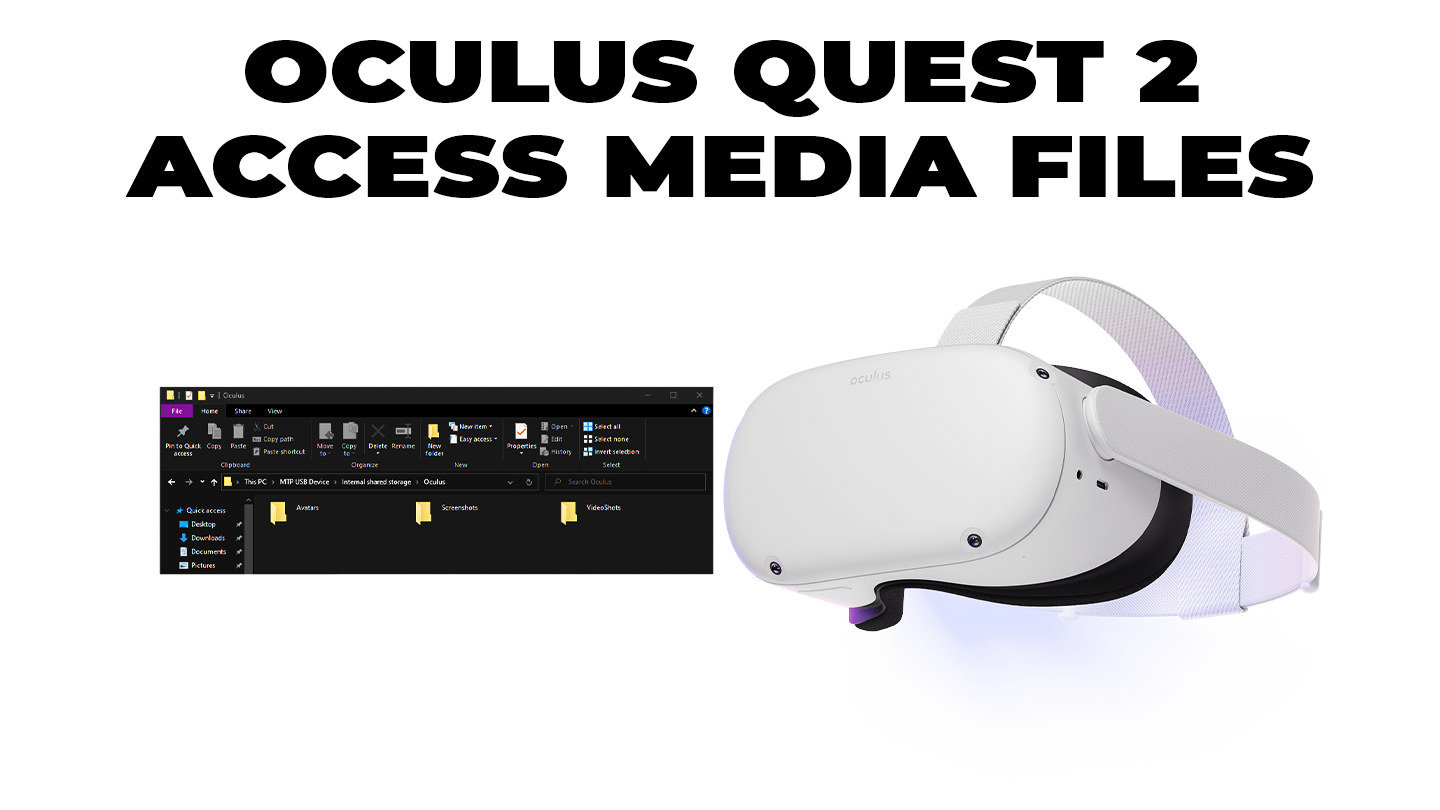
How To Access Media Files on the Oculus Quest 2

Share
What you'll need
Interests


Posted in these interests:


So you’ve taken screenshots and recorded videos that you want to share. But how do you access those files without the hassle of having someone else use your Quest 2? That’s simple enough with the right tools and guidance.
Below is our guide to accessing the media files on your Oculus Quest 2!
1 – Connect to the PC
Obviously, the first thing you’ll need to do is connect the Oculus Quest 2 to the computer via USB. A popup will appear on the Quest 2 asking for access to data. Click “Allow”.
2 – View PC files
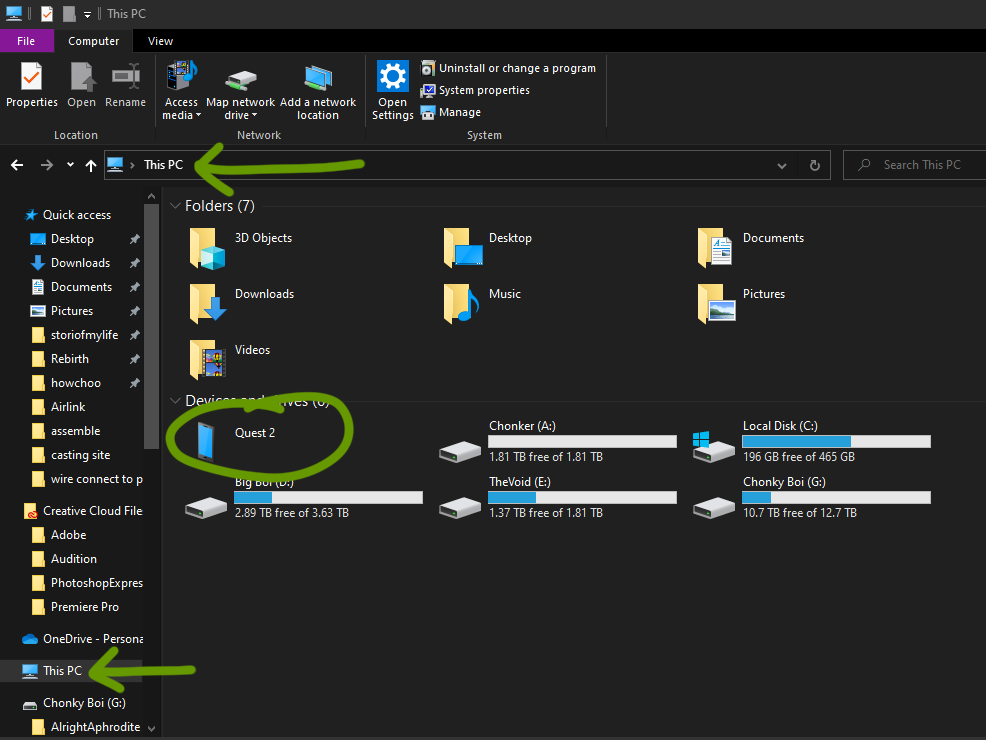
In the file explorer, locate “This PC” in the quick access sidebar for Windows or use the Finder app on Mac.
3 – Open Internal shared storage
The Oculus should be listed under devices and drivers. Depending on the computer, it will be called something different. If you have the Oculus app downloaded or if you have a decent USB cable, then it most likely will be listed as Quest 2.
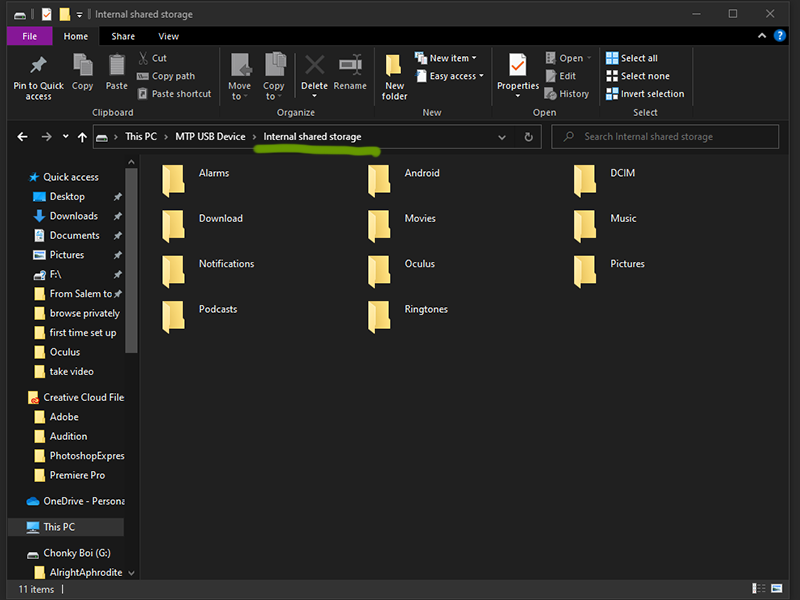
Regardless, open that folder and go into the folder labeled “Internal shared storage”.
4 – Open Oculus folder
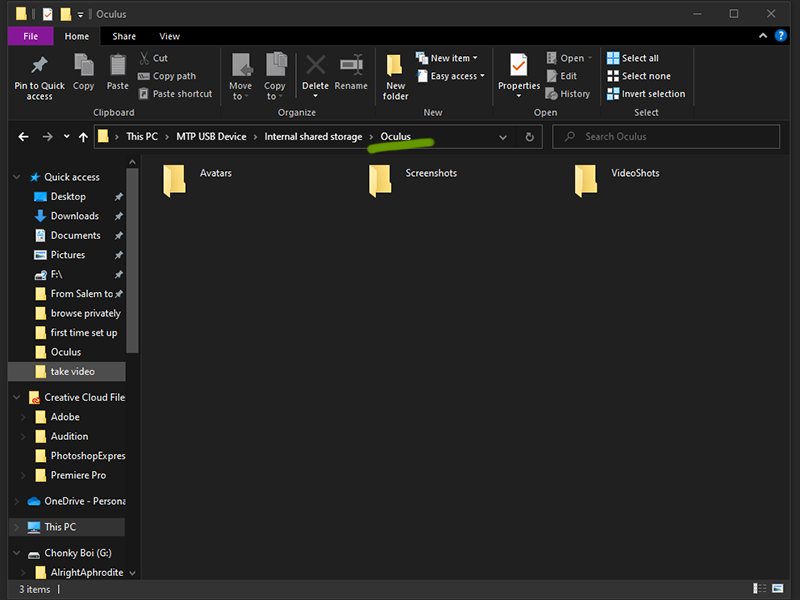
For some reason, the photos and videos are saved where I hadn’t expected them to. Double click to open the Oculus folder.
5 – Open the wanted media folder
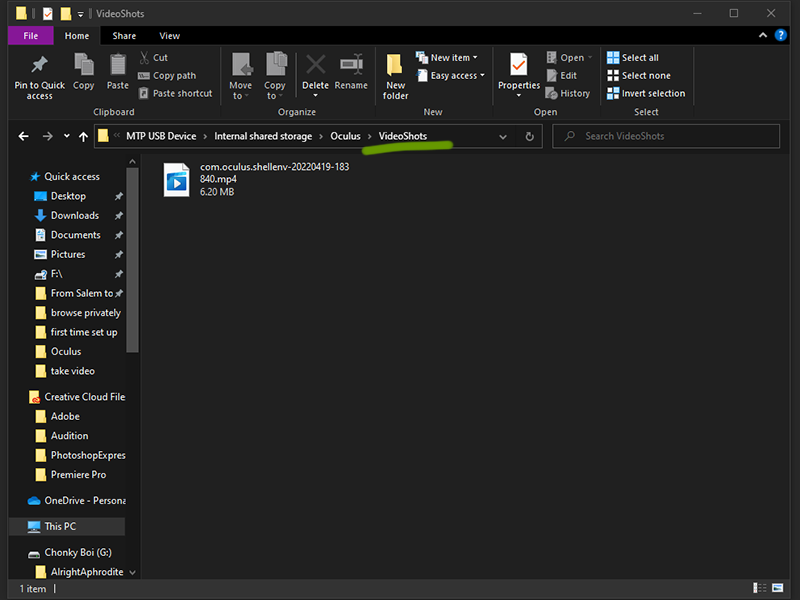
Within you’ll find folders for your avatars, screenshots, and videos! Depending on what you’re looking for, you can access these files and edit them as you would with any DSLR or digital camera.
If you’re interested in learning how to take video or screenshots, visit the guides linked below:
- How To Take a Screenshot on the Oculus Quest 2
- How To Record a Video on the Oculus Quest 2