A Brief Guide to the Menu Toolbar on Your Oculus Quest 2
Share
What you'll need
Interests
Posted in these interests:



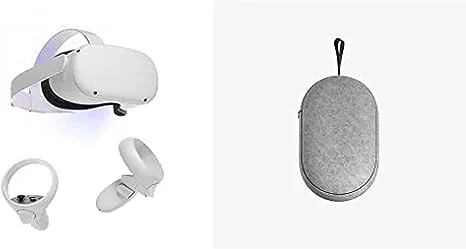
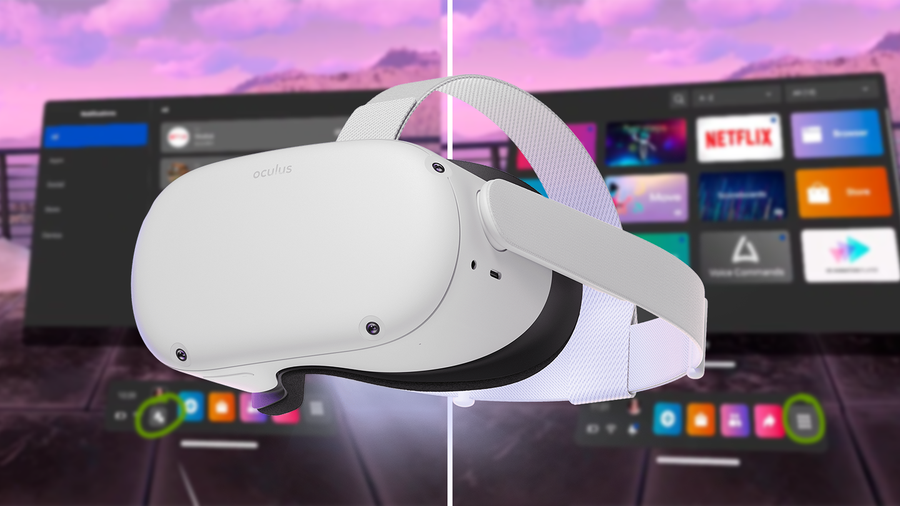
The Oculus Quest 2 has plenty of new internal features available, but for beginners like me, even the visible features can seem overwhelming. As someone who’s never owned or played on a VR headset before, here’s a brief overview of what’s on the menu toolbar and how to access it!
If you need help setting up the Oculus Quest 2 for the first time, be sure to check out this guide!

How To Setup the Oculus Quest 2
Time to delve into virtual reality!
1 – Open the Oculus menu
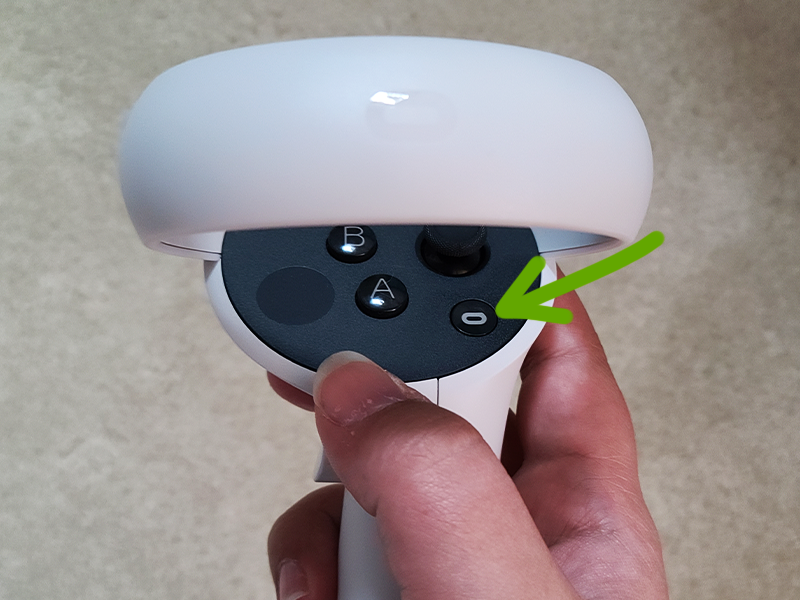
If the menu toolbar at the bottom of the screen is already up, then you can skip this step. Press the “O” button on the right touch controller, as shown in the image above.
2 – Quick Settings
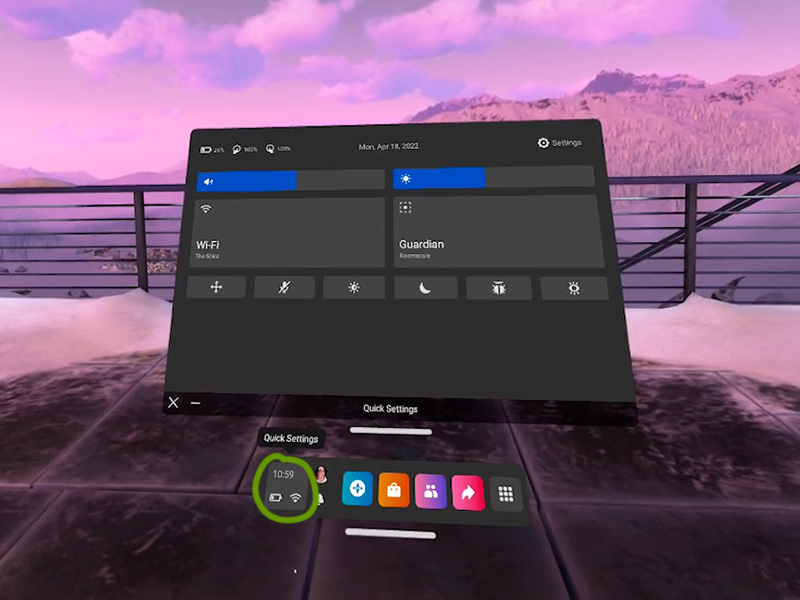
The quick settings window shows the most important information about your Oculus Quest 2 that you’ll need. Displayed here are:
- Battery levels for the headset and controllers
- Date and time
- Wi-Fi connection
- Volume and brightness settings
- Mute/Un-mute microphone
- Guardian settings
You can access further settings from the button at the top right of the window.
3 – Profile
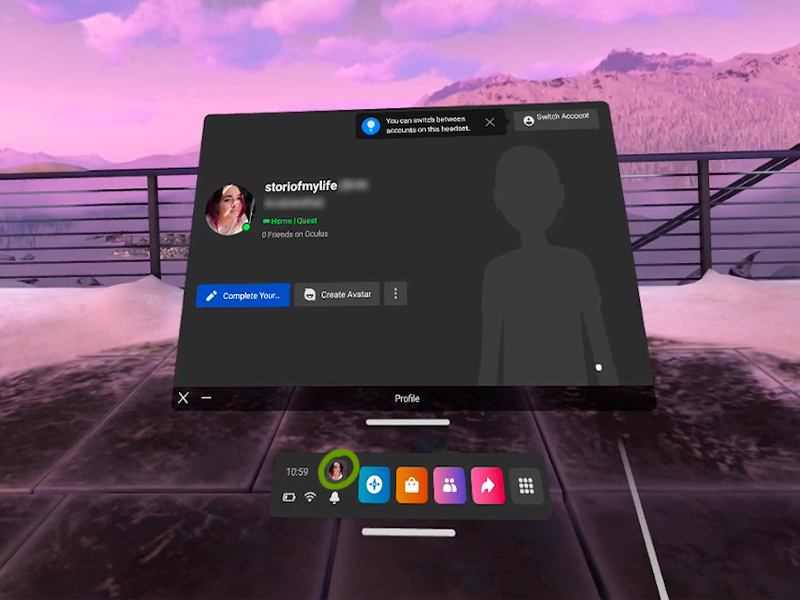
To open the profile window, click the image icon as shown above. Here you can edit your profile, switch accounts, and even create an avatar!
4 – Notifications
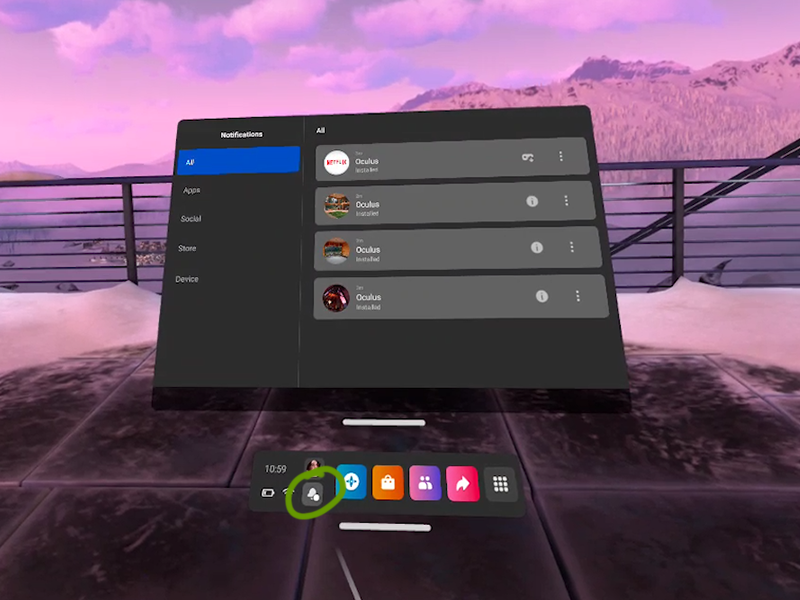
Anytime a notification pops onto your screen, or you want to check on the status of a download, you can do so by clicking the bell icon on the menu toolbar.
5 – Explore
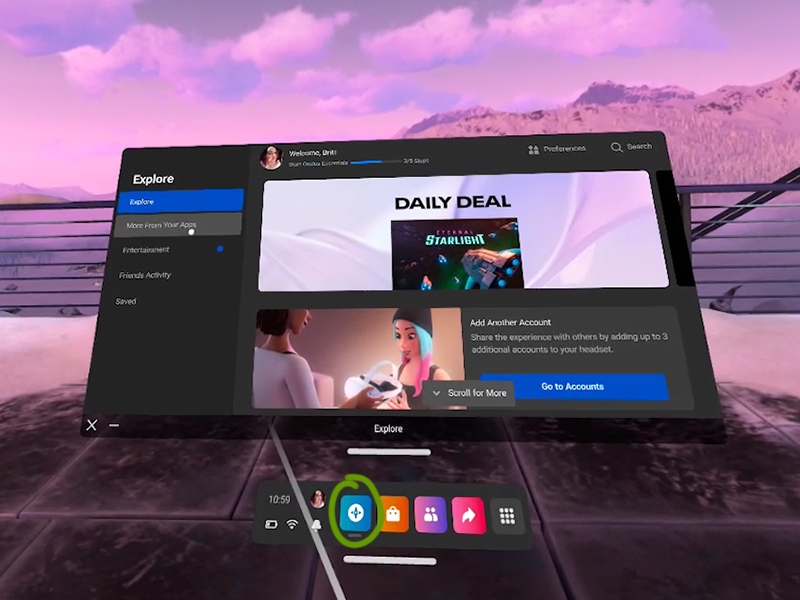
The explore window is a one-stop shop for Oculus updates, news, and friend’s activity. It’s a great way to get an overview of topics related to your Quest 2 experience.
You can open the Explore window by clicking the blue compass icon.
6 – Shop
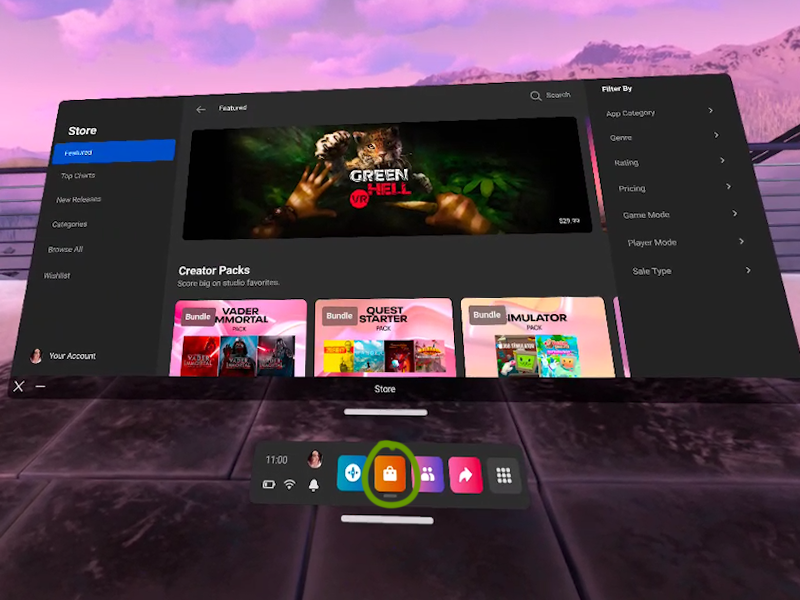
The Oculus shop is where you’ll spend most of your time (and money). Here is where you can search for new games or apps to add to your VR. It’s also where you can add to your wishlist, just in case you need to have a gift list ready for people.
To open the shop, click the orange shopping bag icon!
7 – People
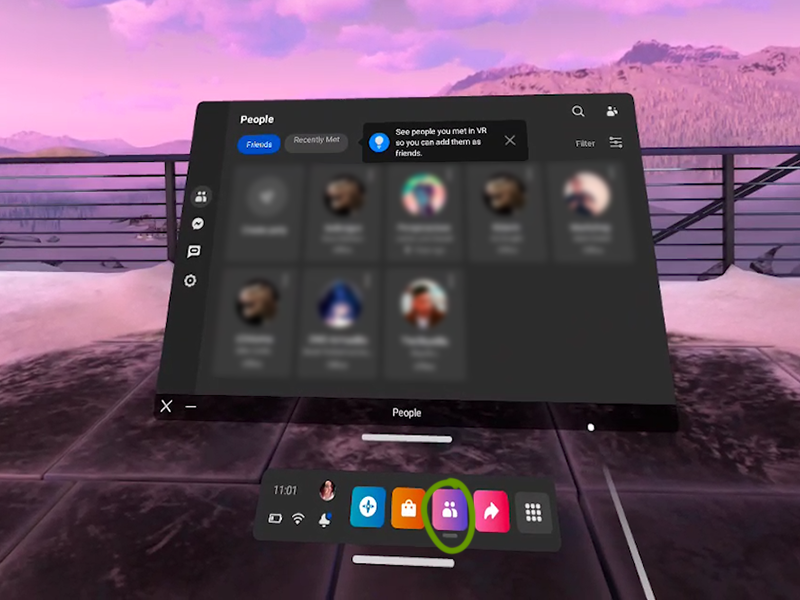
Whether you want to find your friends or people you recently played a game with, the People app is the place to go. Here, you’ll find:
- Current friends
- Suggested friends
- Recently met Oculus users
- Facebook Messenger
- Oculus Chat
Open the People window by clicking the purple/pink icon.
8 – Sharing
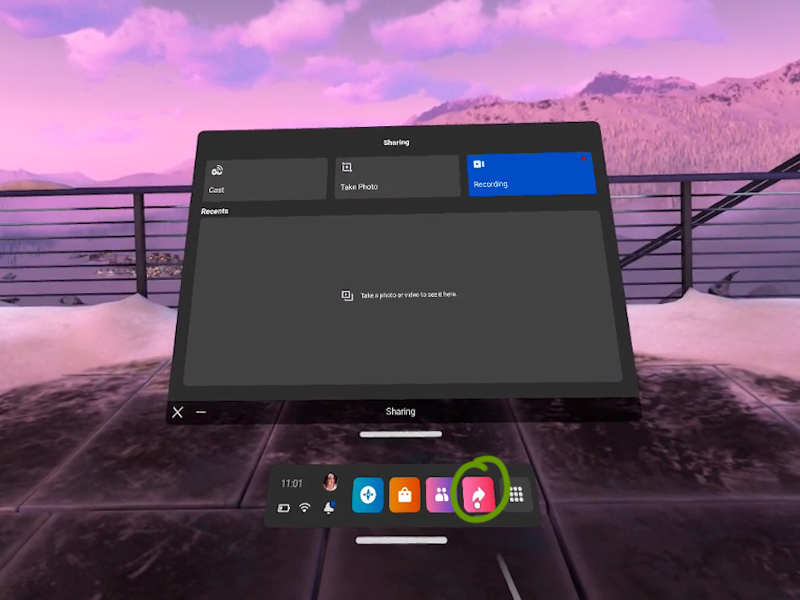
This is the place where all streamers, gamers, or content creators will want to go. The Sharing window enables players to cast to other devices, take photo screenshots, and record videos!
Click the pink/red arrow icon to open the sharing window.
9 – Library
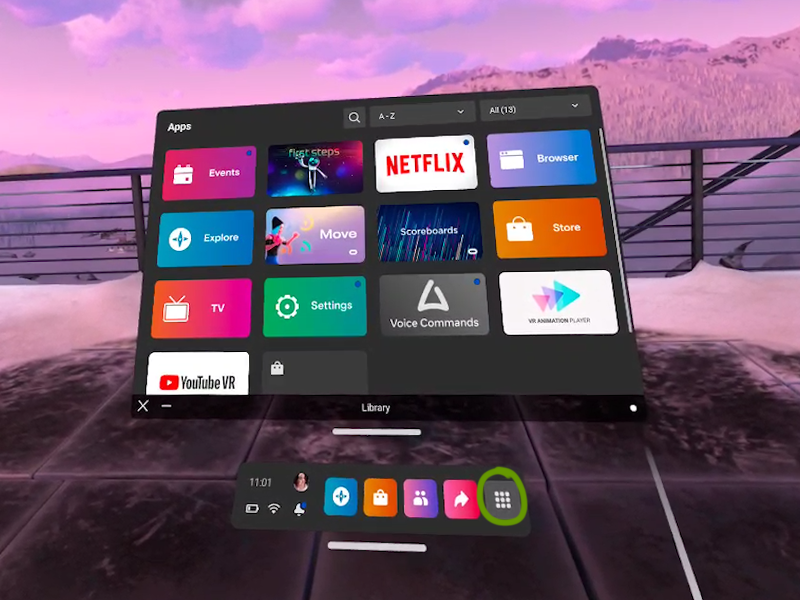
The library is just as it sounds: it holds a list of all the apps and games downloaded to your Oculus Quest 2! You can sort it multiple ways to your preference, search, and filter by category.
To open the library, click the gray icon on the menu toolbar.
If you’re interested in learning how to move the windows around on the Oculus Quest 2, then check out this quick guide!

