Setting up the Anycubic Kobra Go

Share
Interests
Posted in these interests:

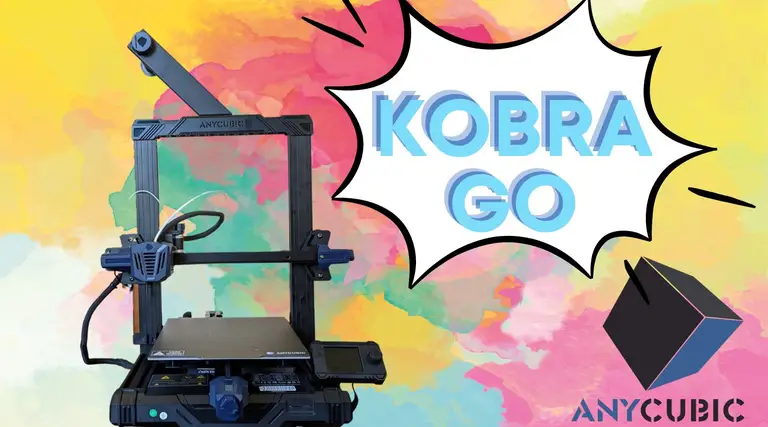
Anycubic’s Kobra Go is the latest in their Kobra series of FDM 3D printers. This is Anycubic’s answer to Creality’s Ender 3 line of FDM kit printers. Aimed at the DIY crowd, these printers come unassembled and need a fair bit of time to piece together, though everything required to get them running is included in the box.
The Ender 3 has reigned supreme in the world of DIY kit printers, but Anycubic is giving the old workhorse a run for its money, specifically due to its focus on automatic levelling. In the case of the Kobra go, you get 25-point automatic levelling, which is an extremely handy feature, as anyone who’s struggled with the Ender 3’s manual 4-point levelling can tell you. Read our full review of the Anycubic Kobra Go here.

Anycubic’s Kobra Go 3D Printer Hands-On Review
A detailed review on the Anycubic Kobra Go DIY 3D printer
1 – Unboxing your Anycubic Kobra Go
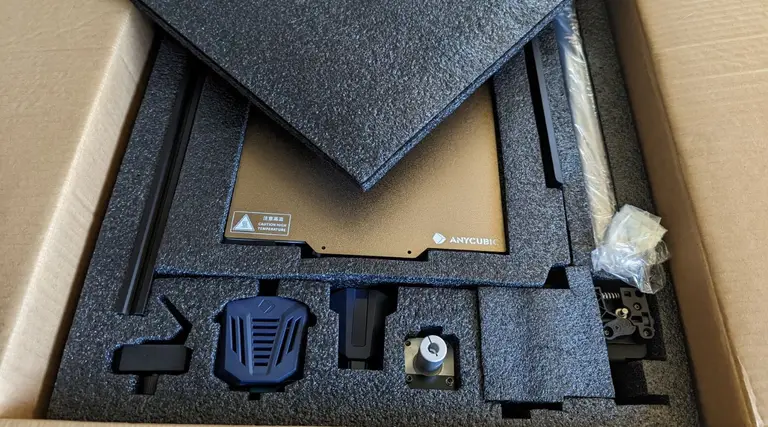
The Kobra Go comes well packaged in a secure box, and it’s undeniably a pretty printer. Anycubic has a gift for classy design choices, and the Kobra Go is no exception.
2 – Familiarize yourself with the components of your new Anycubic Kobra Go
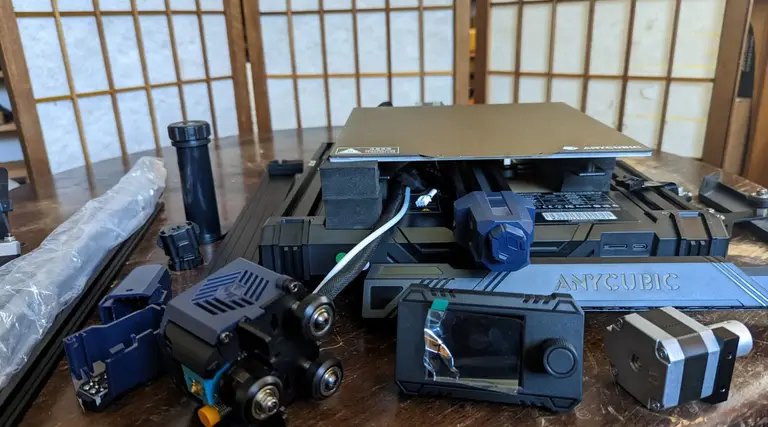
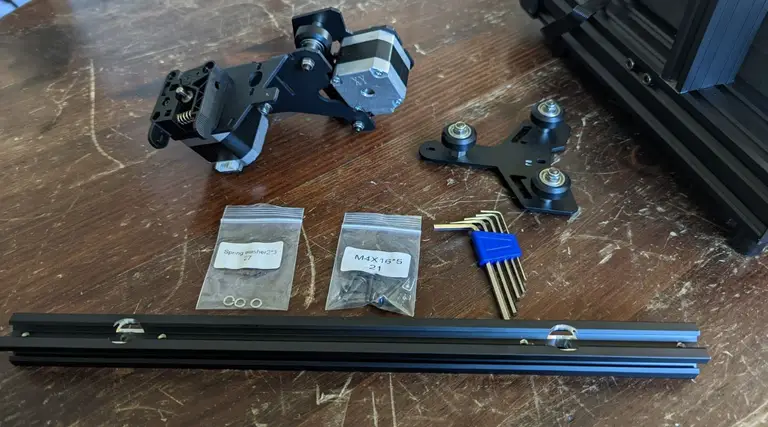
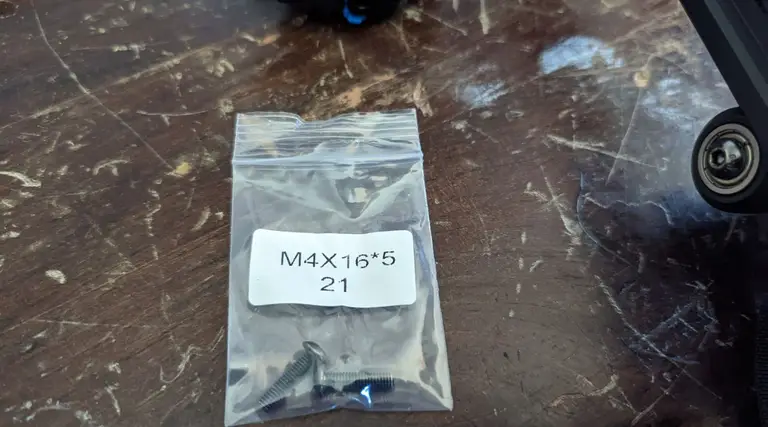
Before starting, save yourself some trouble and carefully organize all the various pieces. Make sure you have everything! In the kit I received, some of the screws were mislabeled, but I was still able to easily complete the build process. By making sure that everything was in place beforehand, it kept me from worrying when I reached the point where the instructions and my on-hand components differed!
3 – Install the Z-axis profiles
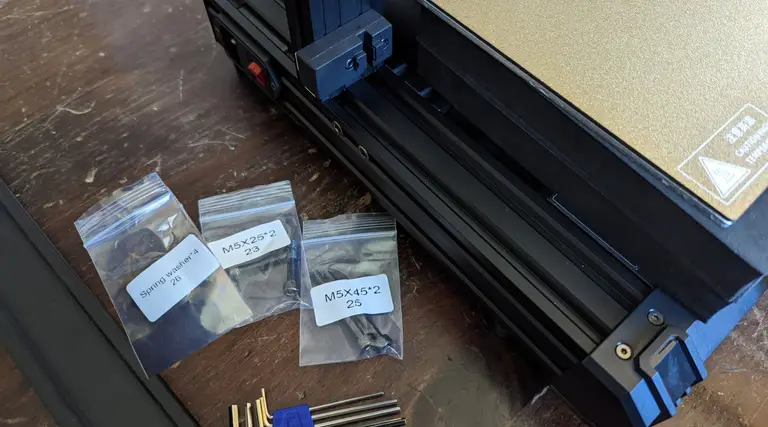
- Spring washer x 4 (#26)
- M5x25 screws x2 (#23)
- M5x45 x2 (#25)
Don’t forget to put the washers on the screw before tightening them!
4 – Screwing in the Z-axis profiles
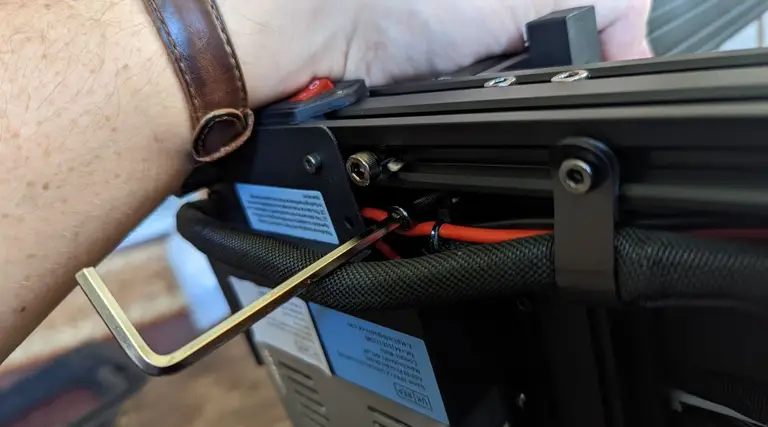
The profiles are simple enough to install, but watch out for the wires beneath the left profile when you’re putting in the screw. One screw is very close to the wires, and though they’re well insulated, you still don’t want to risk damaging them.
5 – Admire your Z-axis profiles

Mmm, that’s a nice profile. Both flat edges will be facing the front of the printer.
6 – Installing the Z-axis motor kit

Collect the Z-axis motor kit items.
- The motor
- M4x15 screws x2 (#20)
7 – Attach the Z-axis motor kit
It fits in easily behind the profile, just line it up and screw it in.
8 – Prepare the Z-axis screw
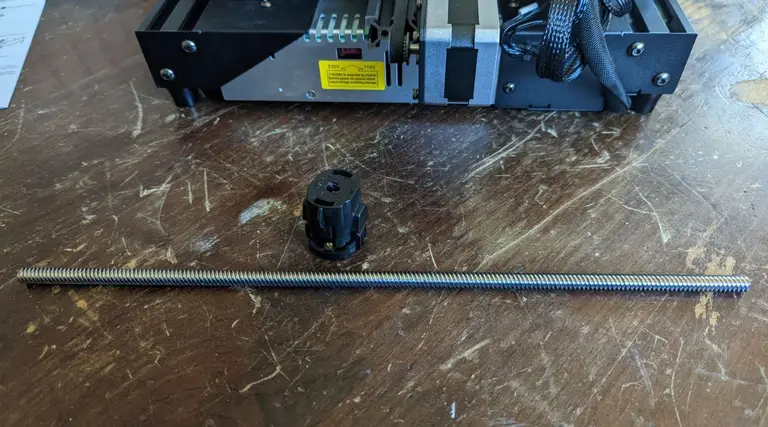
Get out the screw and the anti-backlash nut.
9 – Attach the anti-backlash nut
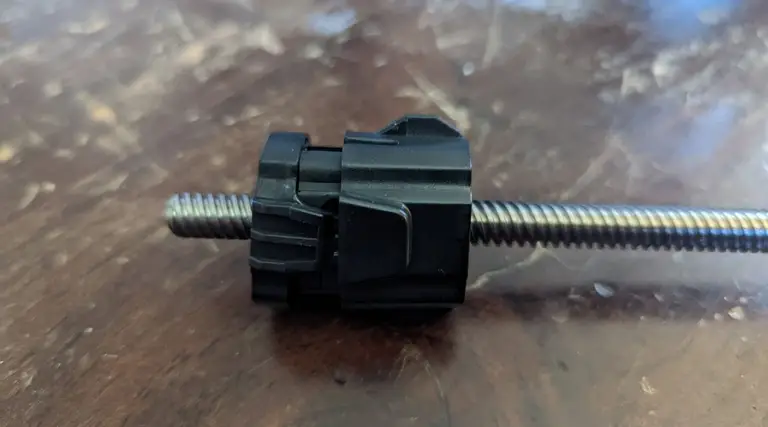
You want to make sure that the anti-backlash nut is fully compressed before putting it on the screw. This requires a fair bit of finger strength! Depress the top of the nut into the main part of the nut’s body, then slot onto the screw. When it’s on, the top of the nut will remain slightly more depressed than it could be when off the screw, even after you stop squeezing it.
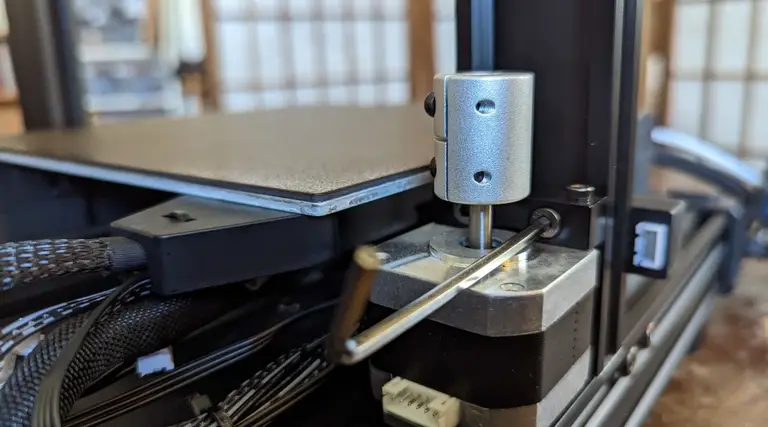
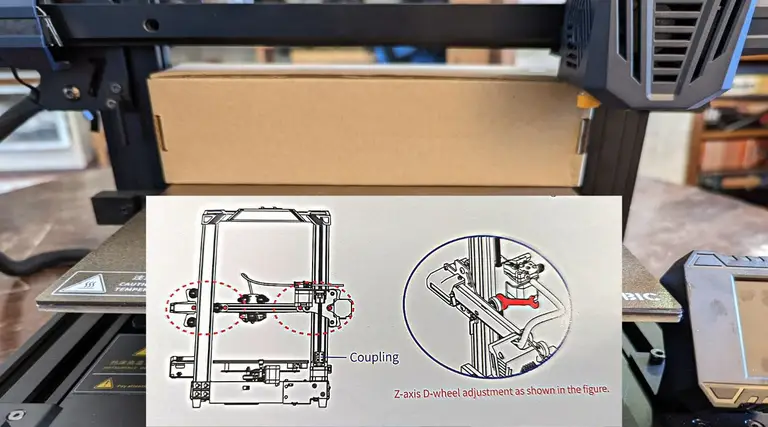
10 – Tighten the screw coupling and attach the screw

You’ll slot the opposite end of the screw from the anti-backlash nut into the coupling of the motor. Loosen the locking screw, press the driver screw down into position, then tighten the top locking screw again to make sure that the driver screw is held in place.
11 – Prepare the XE axis kit
- Spring washer 2 x3 (#27)
- M4x16 x5 screw (#21)
The kit doesn’t separate out the parts quite as well as I would have liked, and the instructions were a bit complicated (solely due to organization and readability). For this section, you’ll be using just three of the #21 screws.
12 – Attach the XE axis to the X-axis profile bar
Attaching is easy, just thread the washer onto the screws and attach. Two screws for the XE-axis kit and one screw for the Z-axis passive block.
13 – Install the Z-axis passive block
One screw gets the passive block into position. The two large rollers should be on the outside of the strut.
14 – Install the synchronous belt
The belt slots into the strut, teeth down, so that it can interface with the gear.
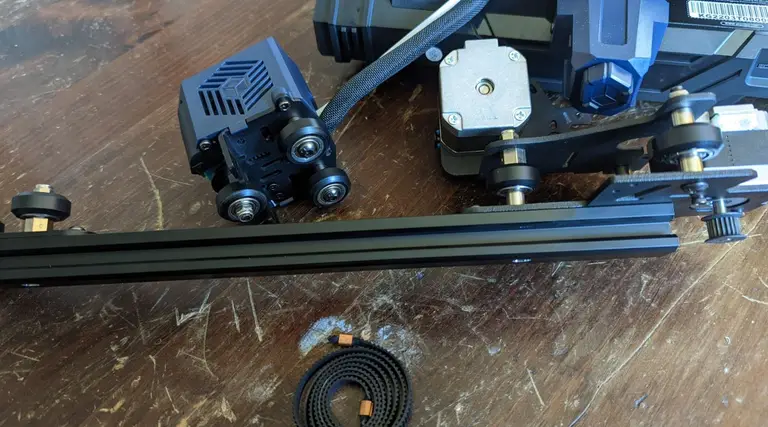
15 – Install the Kobra Go print head

You’ll take the printer head and slide it onto the strut from the end nearest the passive block. The runners will sit atop the belt that you just placed into the strut’s groove, holding it in place.
16 – Install the X-axis tensioner
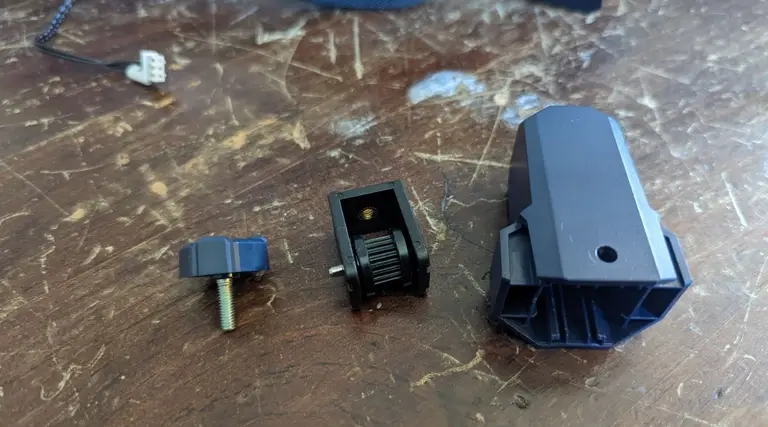
The tensioner came assembled, so disassemble and lay at the ready.
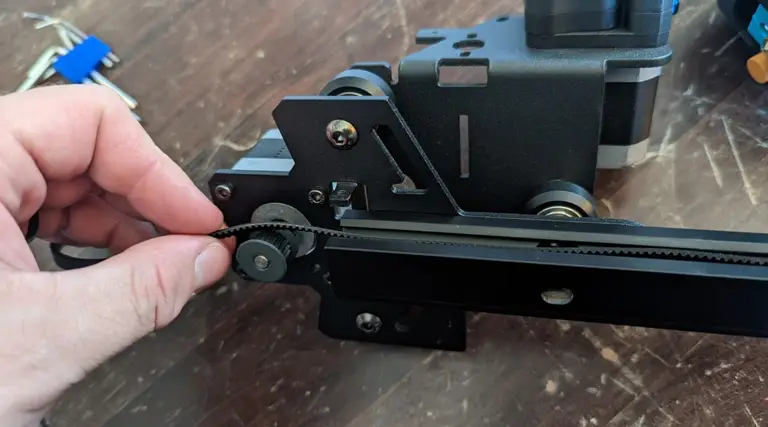
17 – Thread the belt into the X-axis tensioner
Take the gear and slot the belt into it so that the belt’s teeth interface with the gear.
18 – Clip the belt onto the print head
Stretch the belt out and slide the ends with the brass crimps into the metal slots.
19 – Bolt down the X-axis tensioner cover
Once the belt is clipped in, attach the casing for the tensioner using the screws.
- M4x16 screw x2
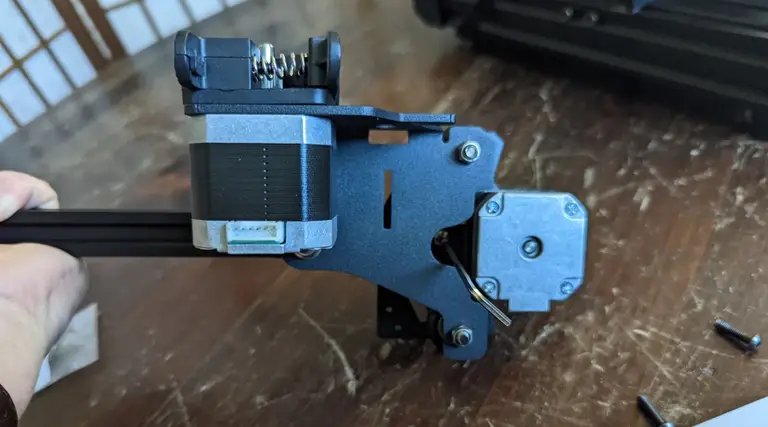
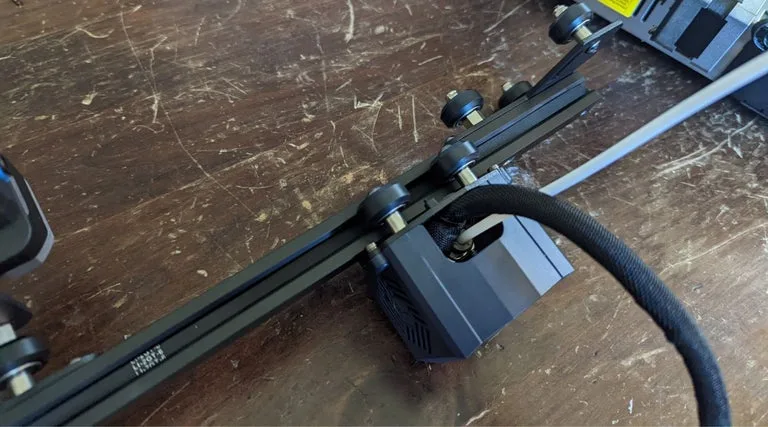
20 – Install the X-axis component
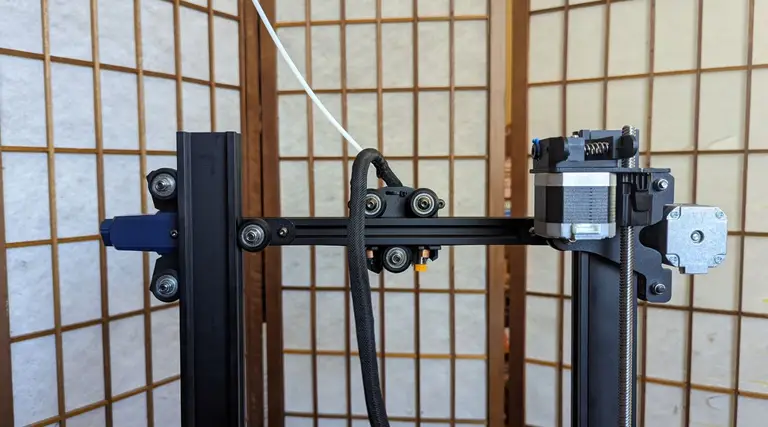
Now that the whole x-axis arm is complete, you can slide it onto the struts. It won’t go down very far at first.
21 – Align the anti-backlash nut
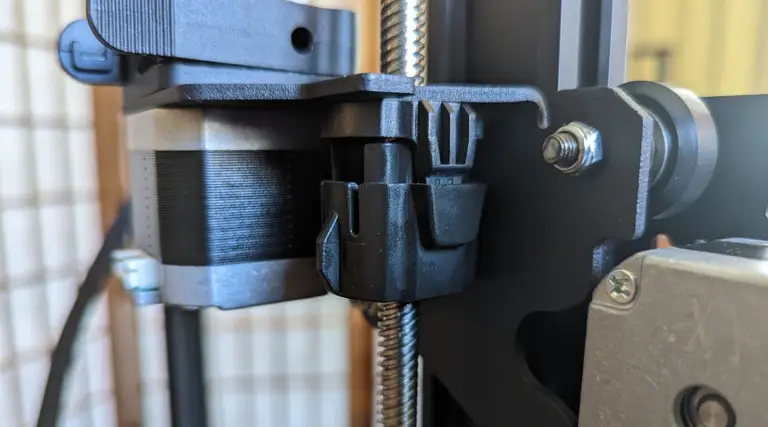
You must make sure that the anti-backlash nut is in place. It has two “wings” on either side, and one of these will fit into a slotted groove on the X-axis strut.
22 – Install the photoelectric switch baffle
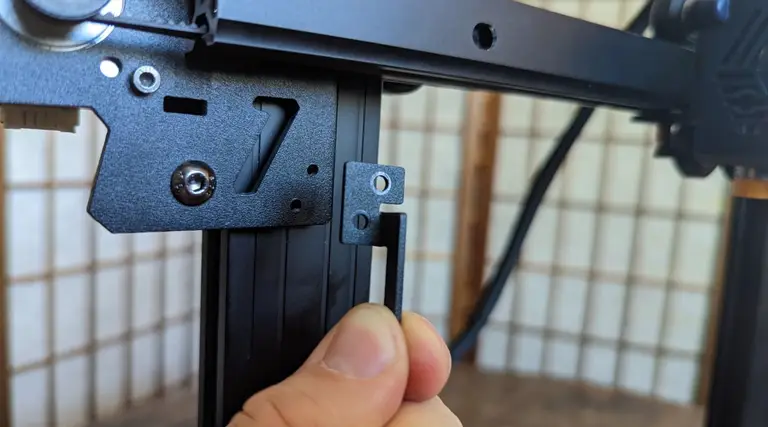
- M3x8 x2 screws (#18)
Using the provided screws, connect the metal baffle so that the long end faces down.
23 – Install the top beam
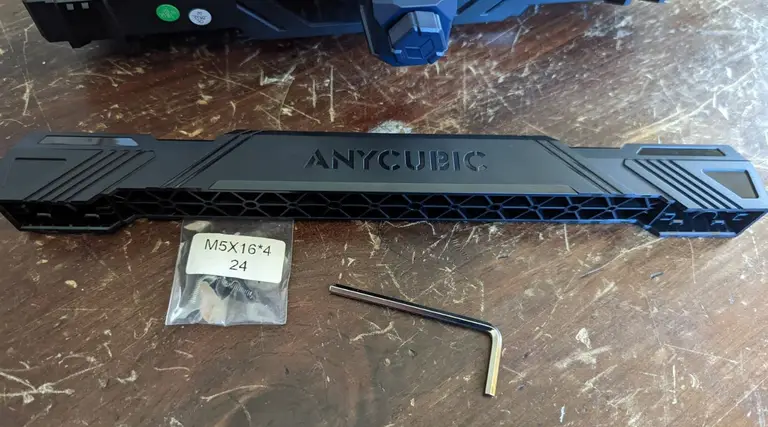
This part is pretty easy, though you may have to press apart (or together) the struts with a small amount of manual force to get the top beam to slot into place. The beam is plastic, not metal like with the Ender 3, but it’s heavy-duty plastic and I don’t find that it’s a compromise that bothers me overall.
- M5x16 x4 (#24)
24 – Install the screen kit
The screen kit installs easily into the front of the printer, and you can connect the cable immediately. Having the screen already screwed down might make adjusting the levelling knobs a little difficult later on, but not terribly so, especially if you have smaller hands.
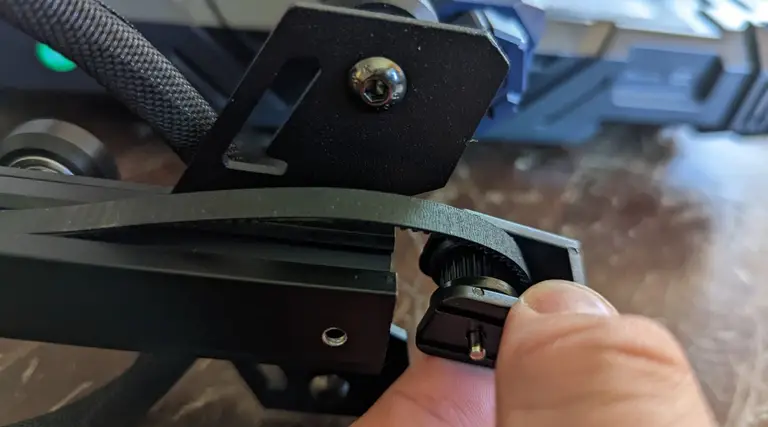
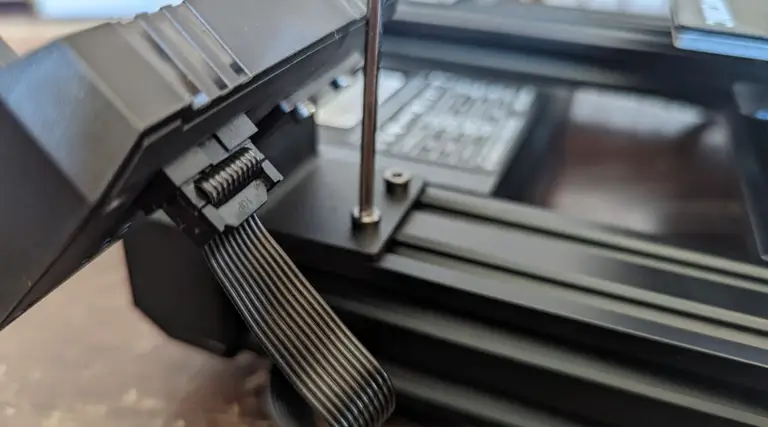
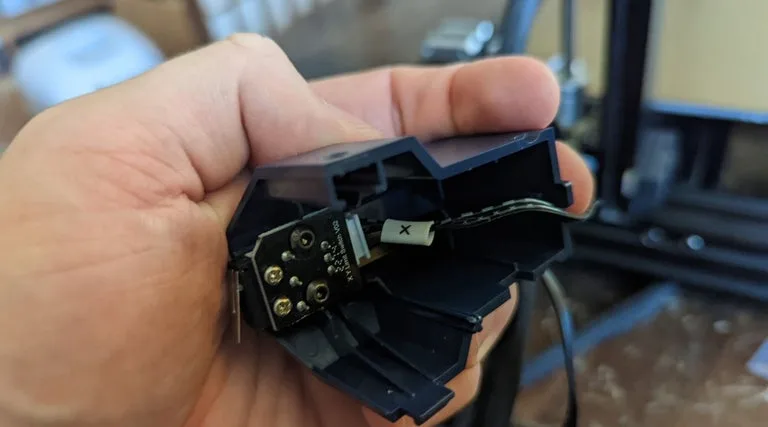
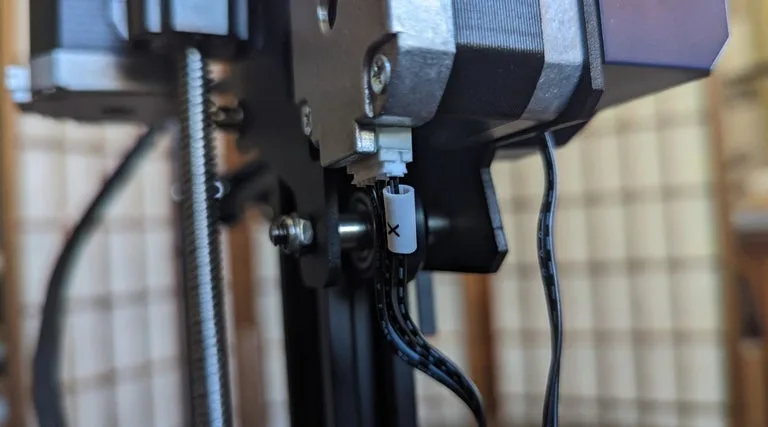
25 – Install the X-axis photoelectric switch
This is the switch that tells the printer when the x-axis arm hits its lowest point. Before screwing it into place, you’ll absolutely need to connect the cable. This makes it a little finicky, as aligning the cable through the slot in the cover, connecting the plastic bits, and screwing it down all felt a little difficult. An unwary person might accidentally snap the plastic lock on the bottom, too.
Just take your time, be careful, and it will go smoothly.
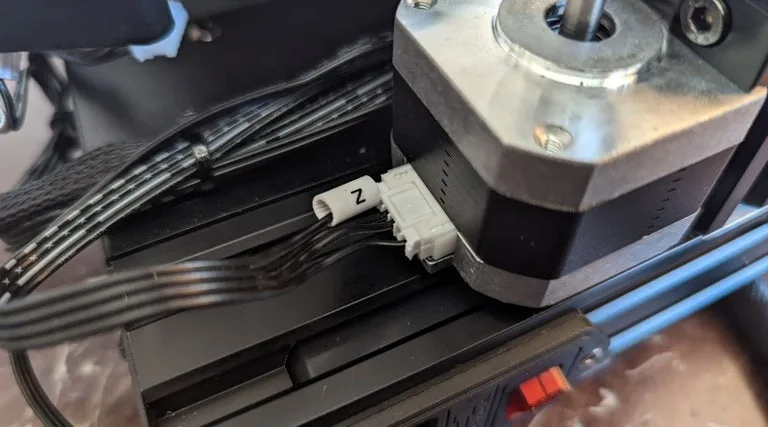
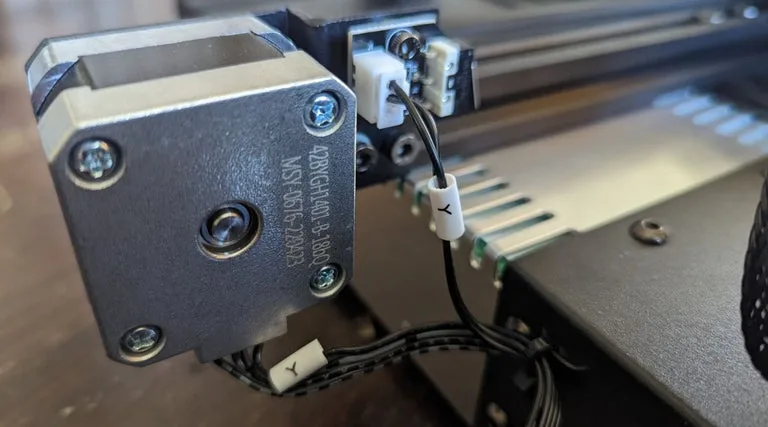
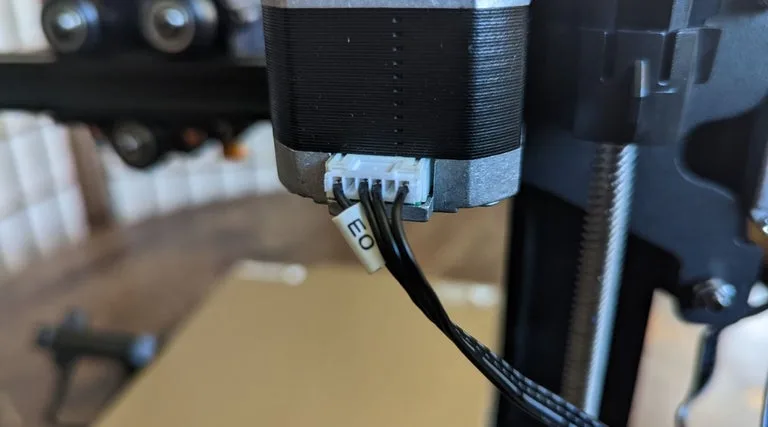
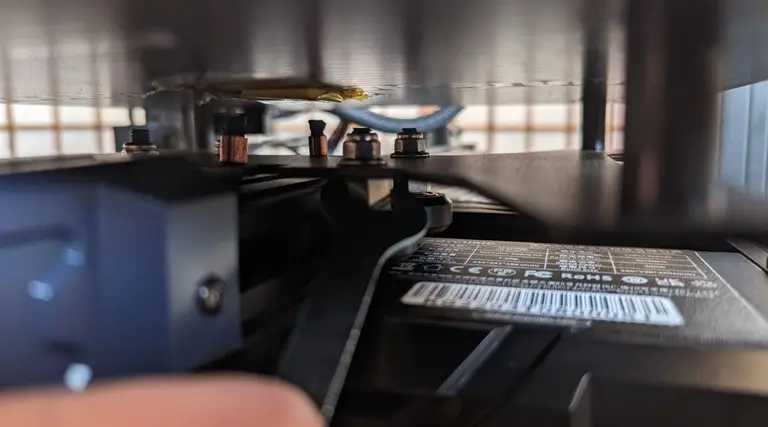
26 – Connect the wires
None of the wires have corresponding markers, which is extremely weird, but it’s also not that hard to figure out which ones go where just based on the size of the cable connector heads and the lengths of the cables themselves. Don’t try pulling any cables longer than they already are, and you’ll be fine.
27 – Install the filament holder
The filament holder screws right into the top beam, easy as pie.
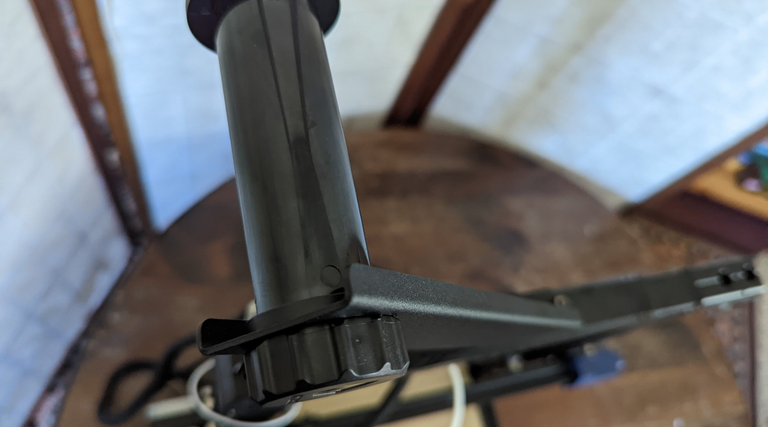
28 – Check the X-axis horizontal calibration
Now, this part was not well described in the instruction manual, though I could see that the manual designer meant well by including this. Basically, you use the included toolkit box to make sure that the x-axis arm is level, and you ensure the level by loosening and tightening certain screws and bolts.
Note that the bolts don’t have a maximum “tight” position! They move between loose and tight, depending on the position of a little dot bored into the bolt’s metal. If the dot is facing toward the nearest strut, it’s in its tightest state. If the little dot is facing away, it’s in its loosest state. Play with it, and it will quickly make sense just by feel.
I really wish, for the sake of less-experienced enthusiasts, that this whole section was clearer, as it provides a bit of a stumbling block for anyone not used to DIY kit printers.
29 – Connect the Teflon tubing
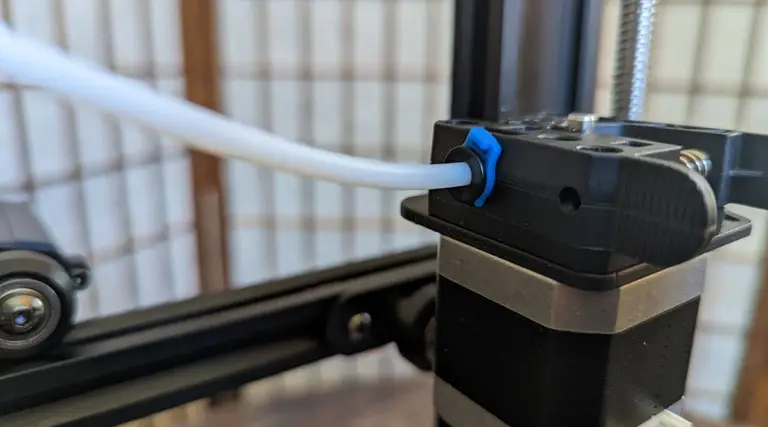
There are two Teflon tubes. The long one attached to the printer head, and a short one that comes with the kit. Unclip the blue fastener already attached to the filament injector, then slide in the long Teflon tube’s end. Re-clip the blue fastener in place to hold it together.
On the other side of the printer, press in the short length of Teflon tubing—this acts as a feeder for the filament as it is brought into the injector component.
30 – Tie cabling
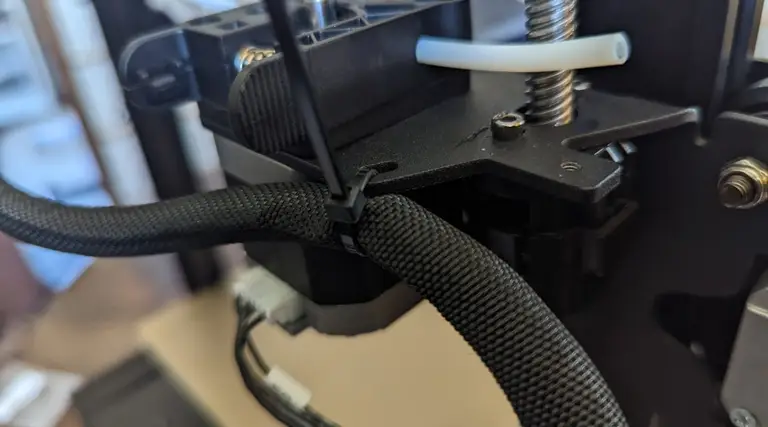
Tie down the excess cables, but make sure to leave some room on either end—this cable should not be too tight anywhere, and this tie is just to keep it out of the way.
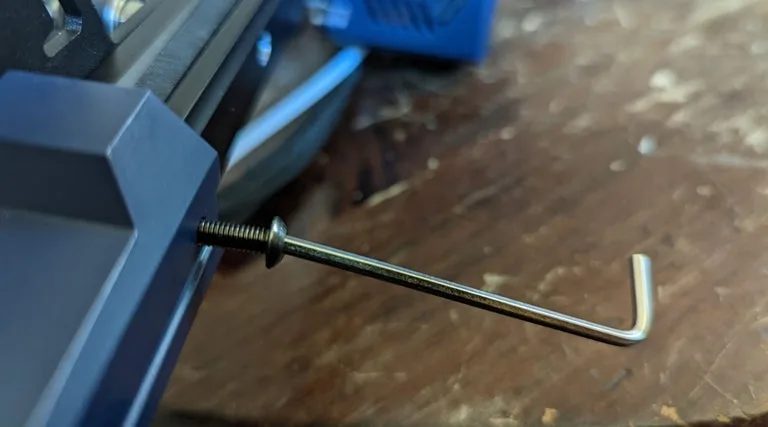
31 – Grease the screw
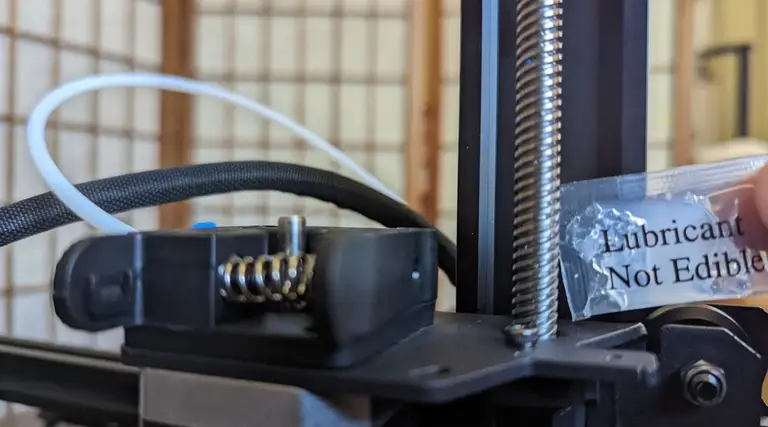
Lubricating the driver screw will ensure that the printer runs more smoothly.
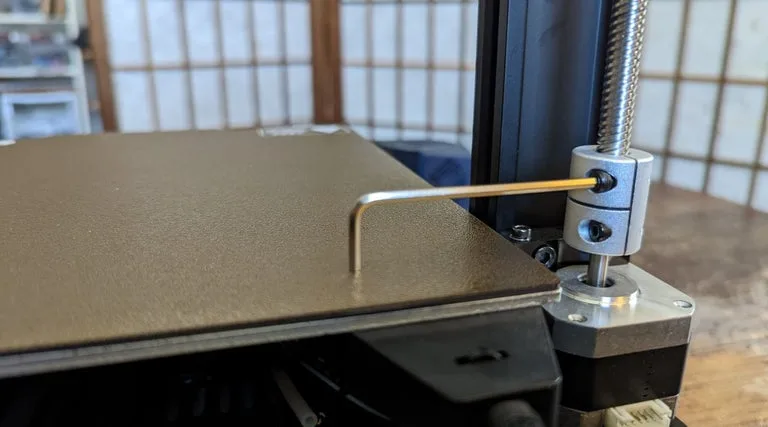
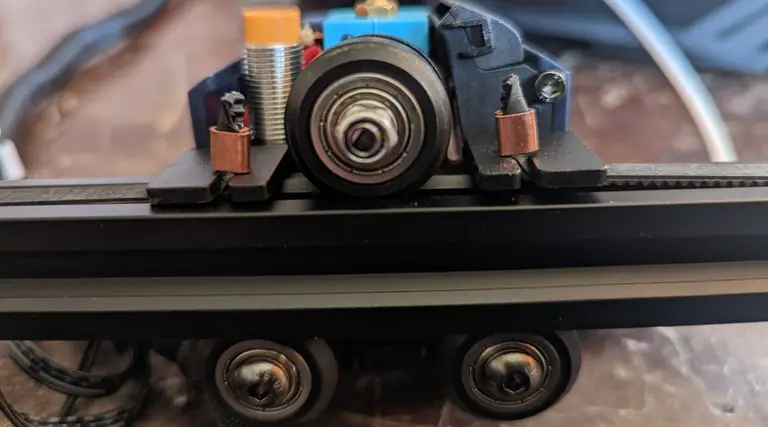
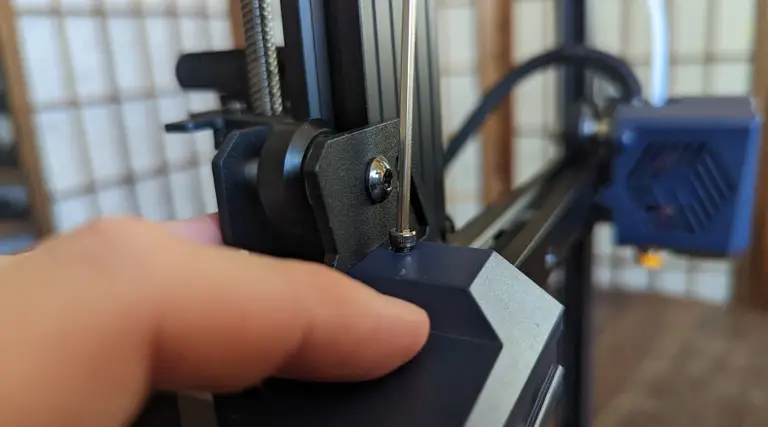
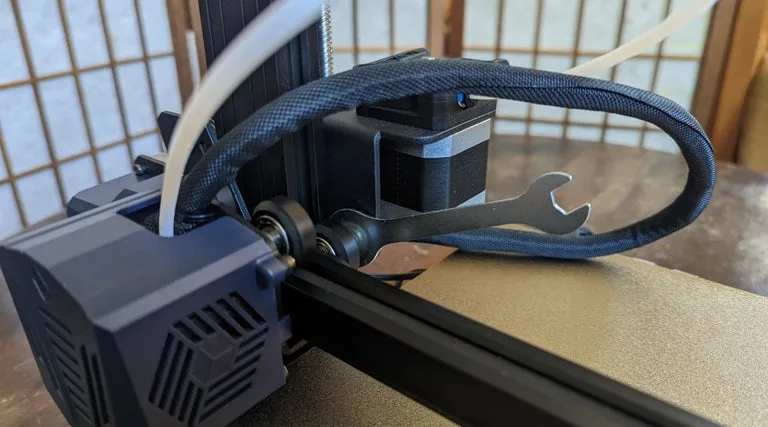
32 – Adjust the print head for wobble

The print head will likely have a little wobble at first, so just use the included wrench to adjust the eccentric nut until the wobble goes away.
33 – Level the print bed
Press on the print bed with your hand. If you feel a wobble, you need to adjust the two eccentric nuts beneath the build plate. Remember, these don’t have a “maximum” tight state, but oscillate between loose and tight. Go slowly, and you’ll quickly figure out what feels right.
34 – Enjoy your new Kobra Go 3D printer!
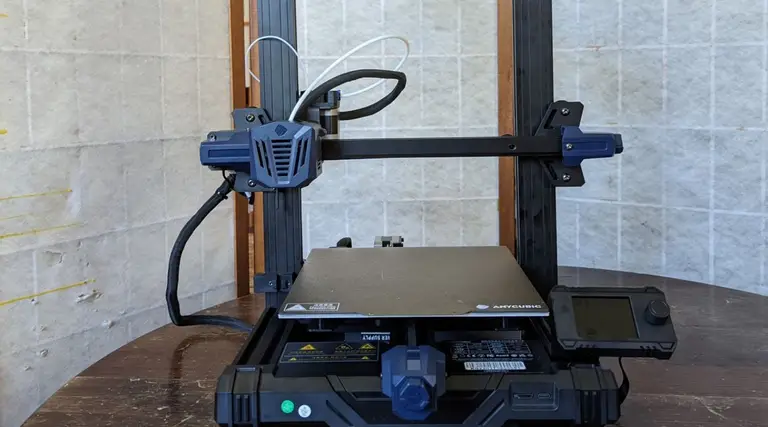
Before you can use your new Kobra Go 3D printer, you will want to level it, make sure to read our easy levelling guide before trying to use your printer for prints. Then check out our guide for loading filament and preparing for your first print which will take all the guesswork out of the process for you.
Leveling the Kobra Go is relatively easy, as its auto-leveling function does much of the work for you, but if you fail to run this step you’ll find your prints coming out pretty wonky.
But, otherwise, your new printer is ready to go!
The Kobra Go is easy enough to put together, though perhaps slightly more complex than the Ender 3 v2 kit printer. Especially for those following the stock directions, and for those without prior experience putting together a DIY kit printer, this would be a big project.
What makes this a powerful contender to Creality’s Ender 3 v2 is the automatic levelling procedure that the Kobra series offers. Aligning the Kobra beforehand is a bit of a pain, but once it’s ready, the auto-levelling feature makes it absurdly easy to get your print bed ready for projects.
Who is the Kobra Go for?
You want the Kobra Go if you’re experienced at putting together kit printers and want something that’s easy to assemble for your skill level, that also provides automatic levelling and produces high-quality prints. The Kobra Go would be a reasonable choice for beginners new to the world of 3D printing, as long as they have a lot of patience, the end result (a kit 3D printer with automatic levelling) is definitely worth it.