How to Adjust Your Hario Mini Mill Coffee Grinder
Share
The Hario Mini Mill grinder makes an affordable, high quality coffee grinder if you set it up properly. Unfortunately, the directions are not very clear as to how to adjust for the perfect grind.
1 – Screw adjustment nut all the way down
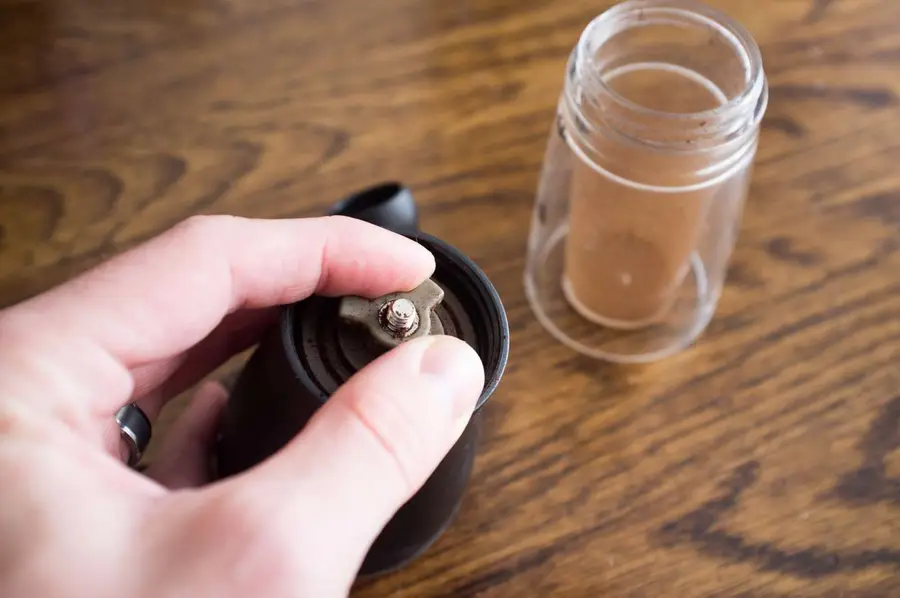
Remove the bottom canister and screw the adjustment nut as tight as it goes. This serves as a reference for the next step.
2 – Unscrew the adjustment nut to the proper setting
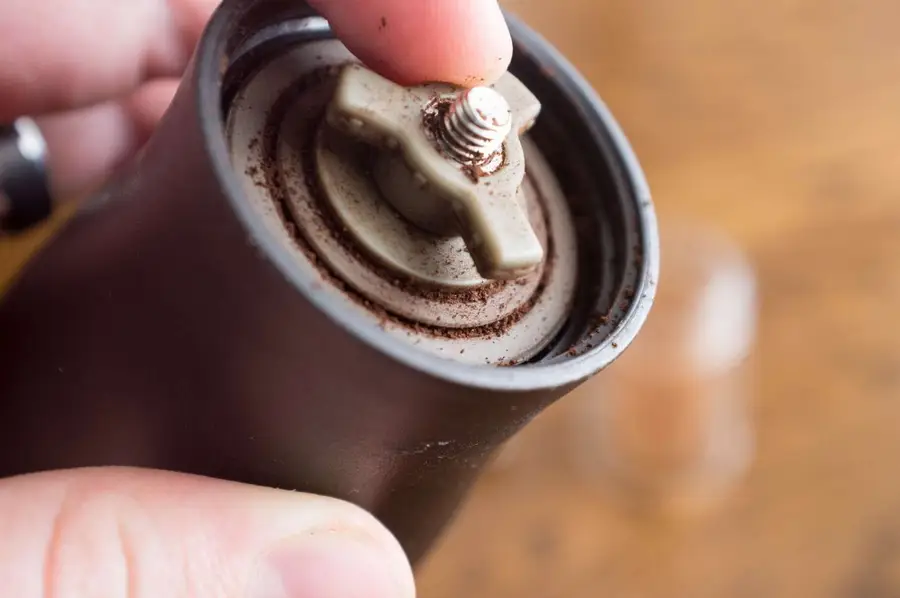
The way to measure your grind is by “clicks” away from all the way tight. You’ll feel the nut click as you unscrew, so count the number of clicks. The number of clicks to unscrew should vary based on the brew method you’re using. Here’s the general guide I use:
| Type | Number of Clicks |
|---|---|
| Standard Drip Brew | 10 clicks |
| #2 Pour over | 10 clicks |
| Aeropress | 6-8 clicks |
| Espresso | 5 clicks |
| French Press | 12-14 clicks |
| Moka pot | 9 clicks |
| Chemex | 9 clicks |
Also if you’re looking for the more vague ones:
| Type | Number of Clicks |
|---|---|
| Medium fine | 8 clicks |
| Medium | 10 clicks |
| Medium coarse | 12 clicks |
credit to u/Iwannayoyo for the vague ones
3 – Follow this chart for options not listed
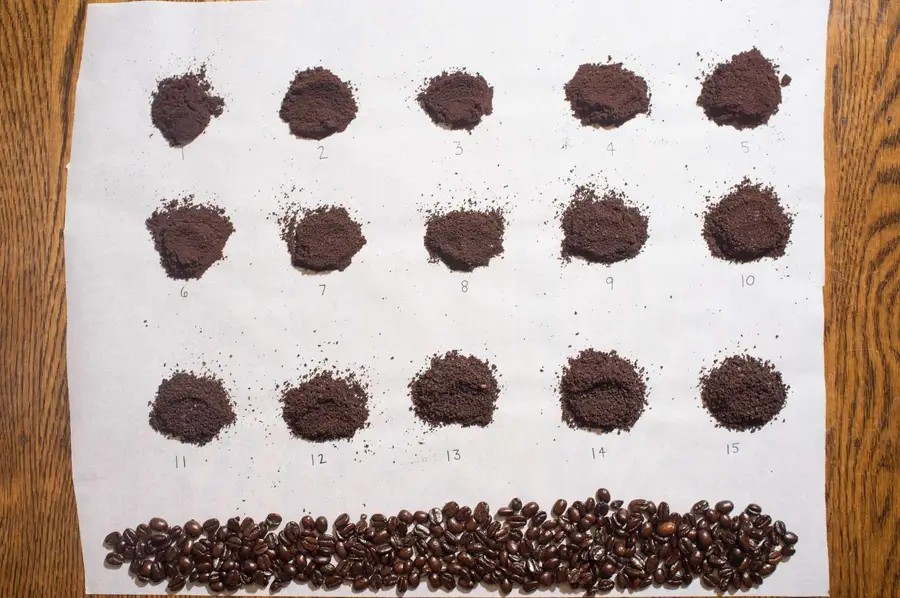
Use the attached Hario grinding chart to achieve your desired grind.


