How to Resize an Image in InDesign
Share
What you'll need
Interests
Series
Posted in these interests:


You might think that resizing an image would be as simple as dragging the corner of the frame. Well, it is, and it isn’t!
Remember that when resizing an image in InDesign, you’re essentially resizing the image’s frame. For more information, on inserting an image in InDesign and frames, check our guide.

How to Insert an Image in InDesign
Knowing how to insert images is an essential skill for indesign work. We can show you how!
In this guide, we’ll show you the two ways to resize an image: an easy solution and a more precise method.
1 – Easy method: click and drag
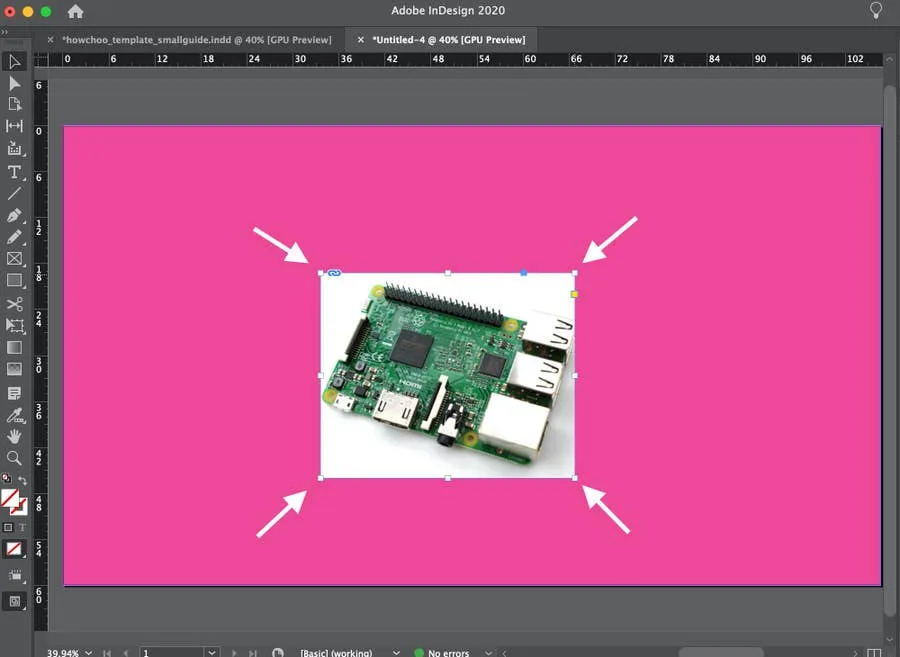
You can easily click and drag an image to resize it in InDesign, if you don’t need to make it a precise size.
- Select the image by clicking it.
- Click and drag any corner of the image frame to resize.
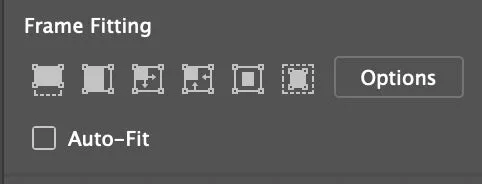
You may need to adjust the image in the frame again by using the Frame Fitting tool (see below). You can select to Auto-Fit to have it automatically resize as you adjust the size of the frame.
2 – Precise method: manually resize image
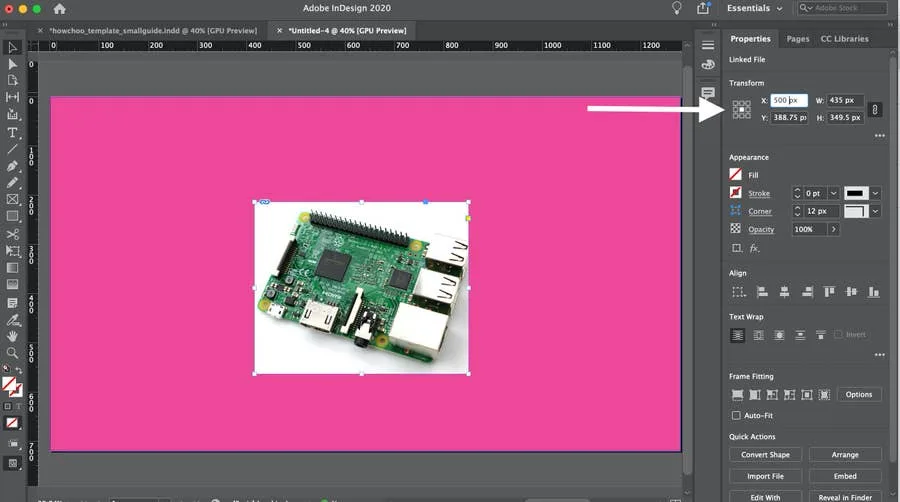
You might need to resize an image in InDesign using precise measurements for a particular project. Here’s how.
- Select the image you want to resize
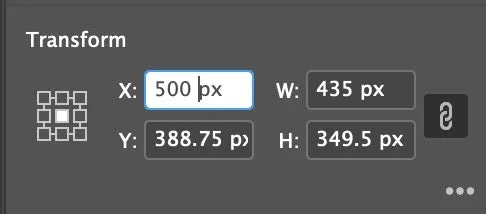
- In the Transform toolbar of the Properties screen (see below), select the point of reference using the tic-tac-toe-like grid on the left. This affects how the image will resize (in which direction).
- From here, you can change the image’s width, height, and X/Y coordinates.
If you need to change the units of measurement, we made a great guide for that!

How to Change Pixels to Inches in InDesign
From Picas to Pixels to Inches and more. This guide will show you how.


