How to Lay 5/4 Wood Decking

Share
Interests
Posted in these interests:

5/4 decking looks great and is very cost effective. This guide will take you through laying and securing your 5/4 decking.
1 – Choose the side you would least like to have a ripped (partial width) piece
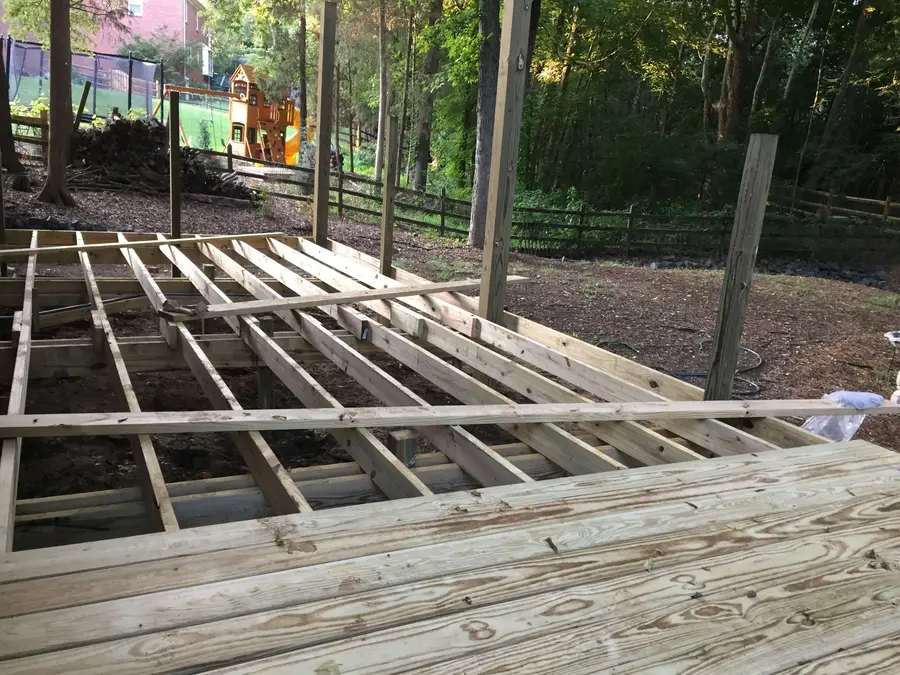
Lay your decking on the joists with plenty of space between each board.
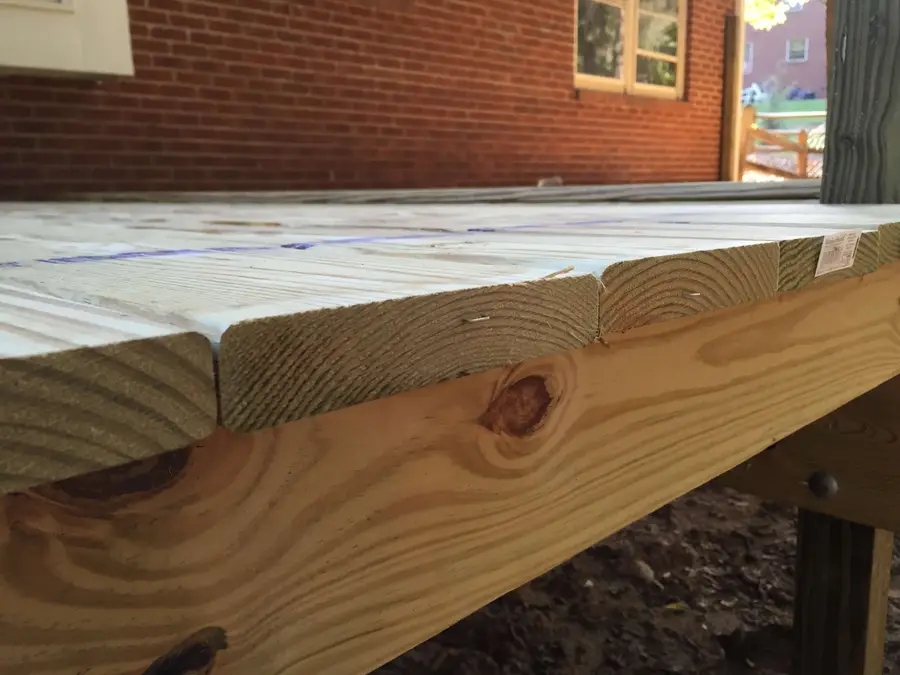
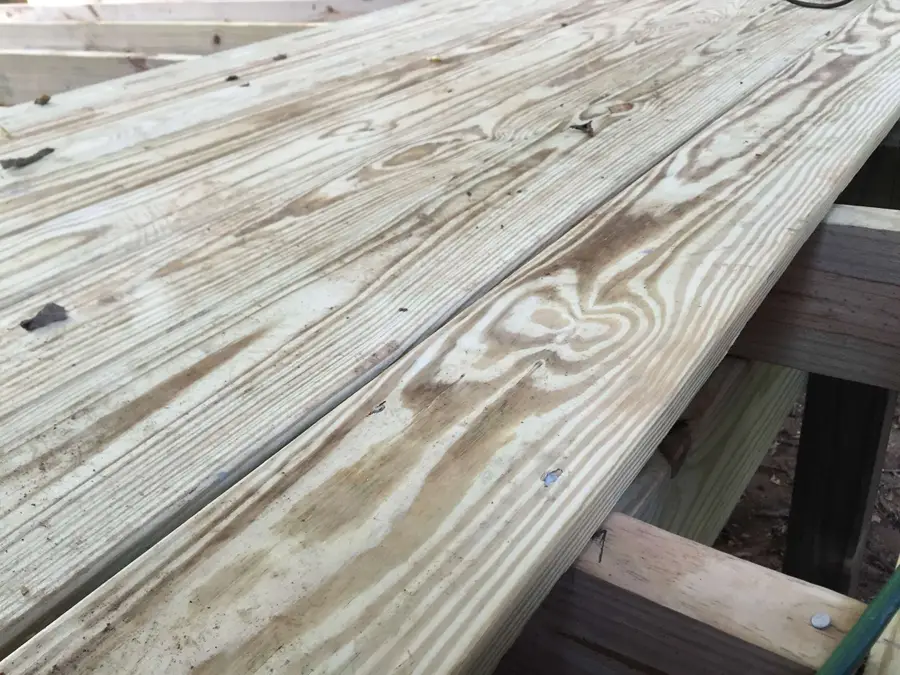
2 – Lay the decking bark side up

Wood tends to cup towards the bark over time. Laying it this way with a nail on each edge minimizes this.
3 – Nail every 10th (or so) board
Use two nails at each intersection of the decking board and the joist. Roughly 1″ from the edge of the board works great.
Don’t forget this step. You will need the nails every so often to guide you when you nail the rest of the decking.
4 – Use blocking for fragile edges or notches
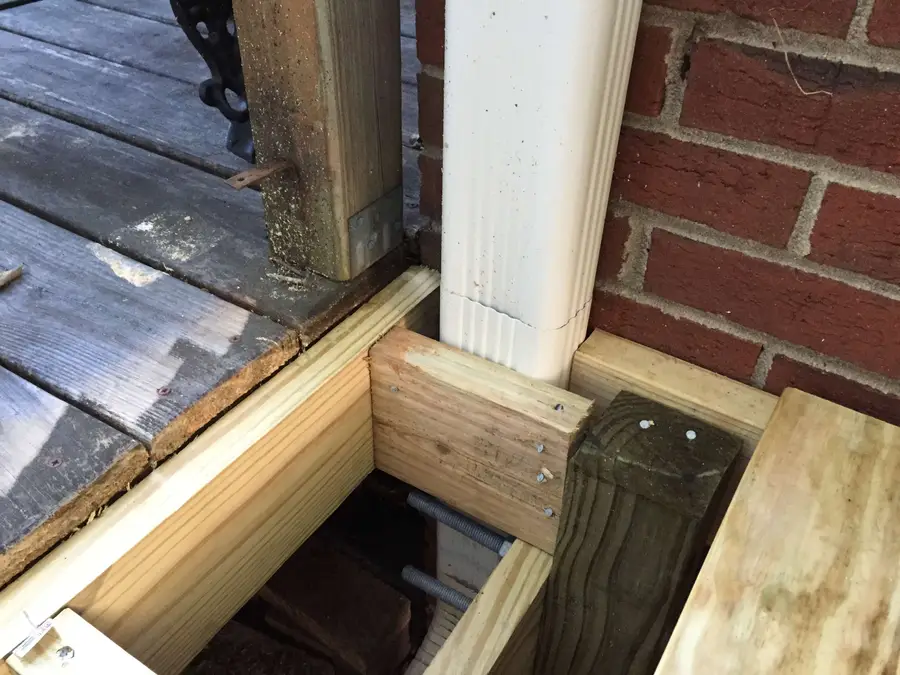
Nail the blocking however you can. It only needs to stay put until you nail the decking. Check out this guide to find out how to notch decking.

5 – Be mindful of rugged pieces
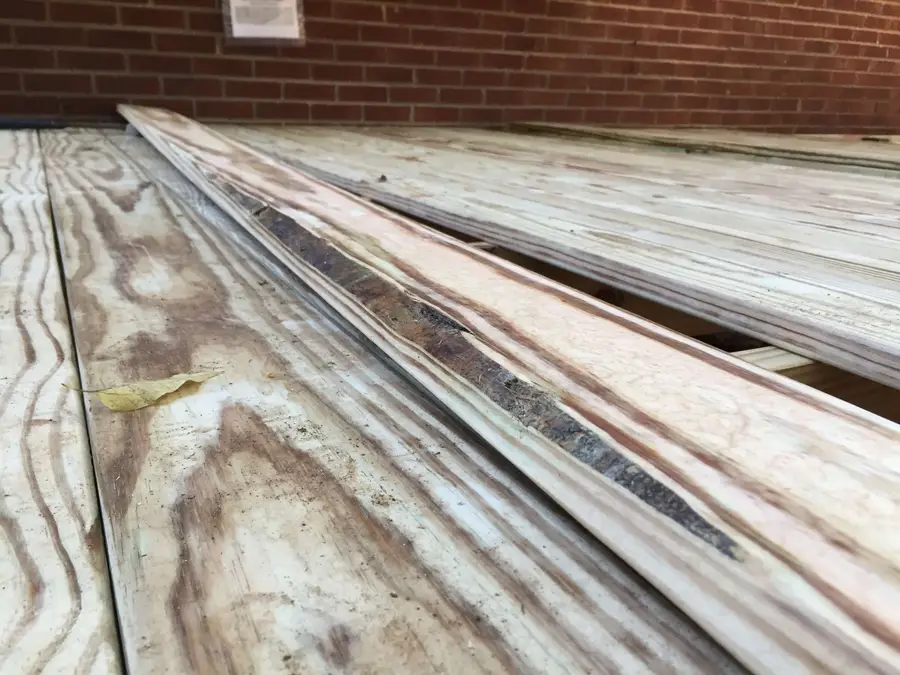
If you find a nasty edge on a piece, flip it over. That always takes precedence over the cupping issue.
6 – Make sure you’re laying your decking square
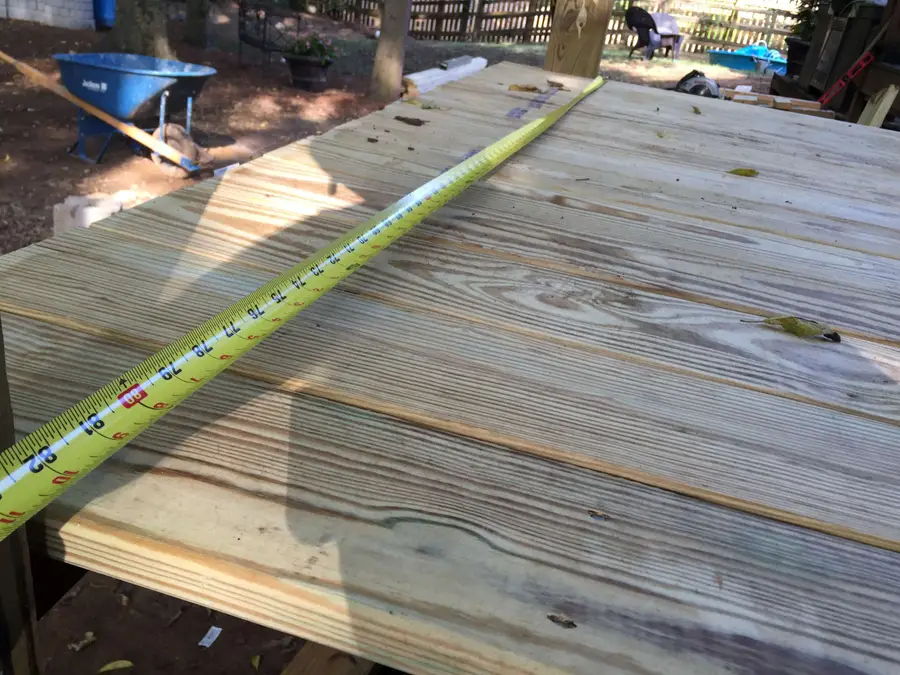
Every so often, measure from your starting point to make sure you’re laying the decking square.
To correct any issues, squeeze the decking a little tighter on the longer side.
7 – Rip the final piece
Usually your final piece will not be perfect width. Rip it to width on a table saw or with a circular saw.
8 – Nail the rest of the decking
Use the boards you already nailed as guides for your line of nails.