My $75 DIY Fire Pit

Share
What you'll need
Interests


There’s nothing like a fire pit to bring friends together! I decided to make a budget-conscious fire pit and was able to accomplish the feat for about 75 bucks. Here’s my build guide. It took about an hour total, not counting sourcing and buying the materials.
You basically have two options when you want to build a stone fire pit that will last a reasonable amount of time:
- Use fire brick (which is expensive).
- Use a fire ring insert and surround it by cheap pavers.
- Just use cheap pavers, but the heat will eventually make them crumble and/or explode.
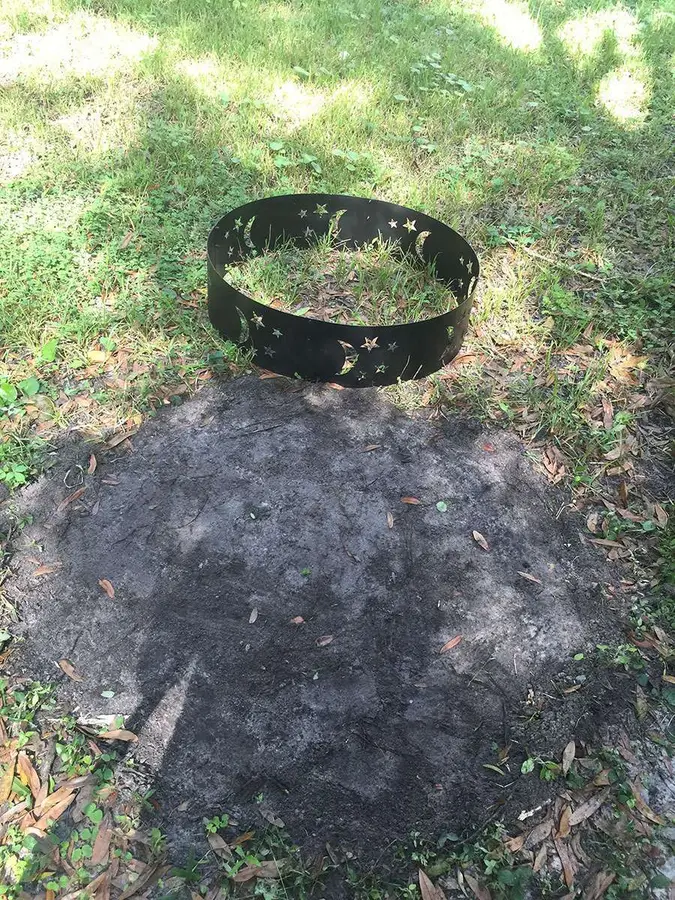
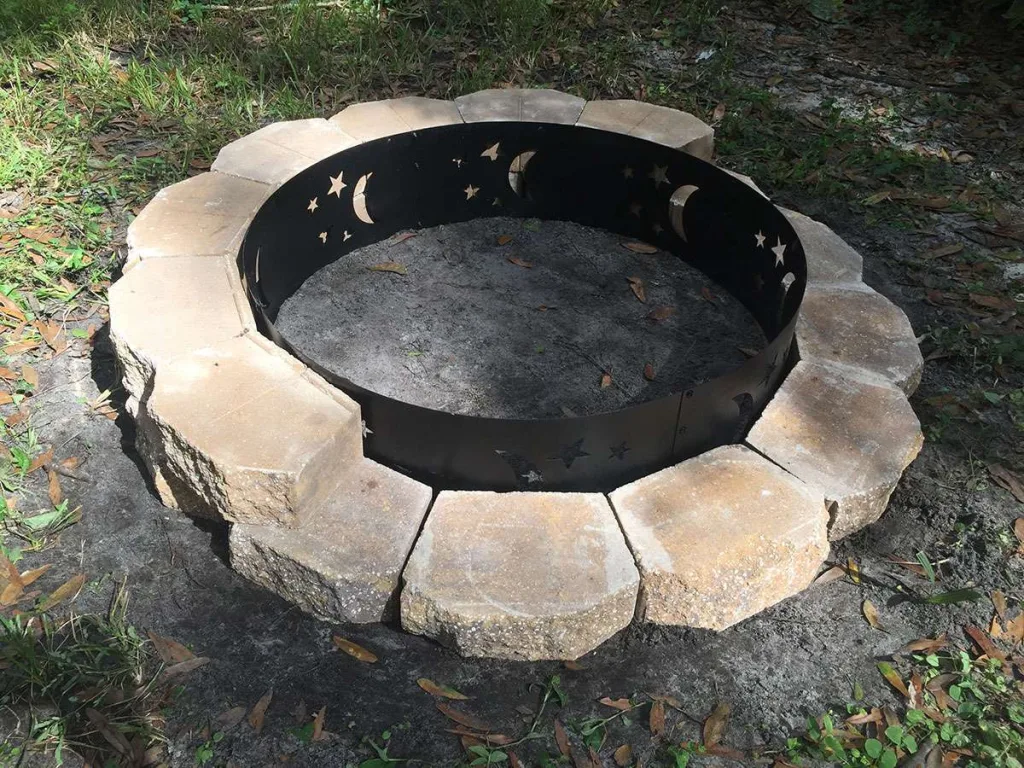
To save some money, I chose the second option. I was able to pick up a 36″ fire pit insert on Amazon for $35 on sale (this is the ring I used). I tried to find a solid one without a pattern, but those were far more expensive. I figure the small gaps in the ring won’t harm the pavers too much. They also sell them at Home Depot and Lowes, but they were out of stock when I went. From what I’ve read, a good fire pit size is generally 36-44″.
The insert arrived in four pieces and I assembled it using the included hardware.
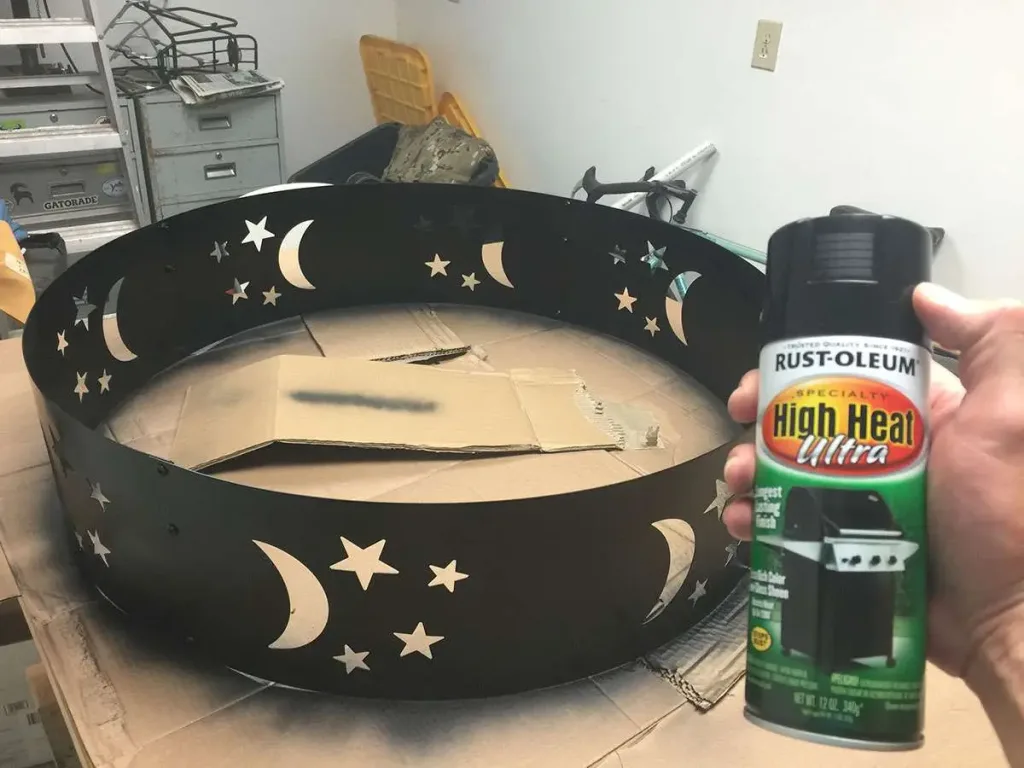
Next, I used high-temp BBQ grill paint to paint the fire ring. This is the BBQ paint I used. This isn’t strictly necessary but I know it will extend the life of the fire pit. I don’t quite trust the coating they put on these guys, let alone the cheap hardware they included. The can was $5, totally worth extending the life of the fire pit by a few years.
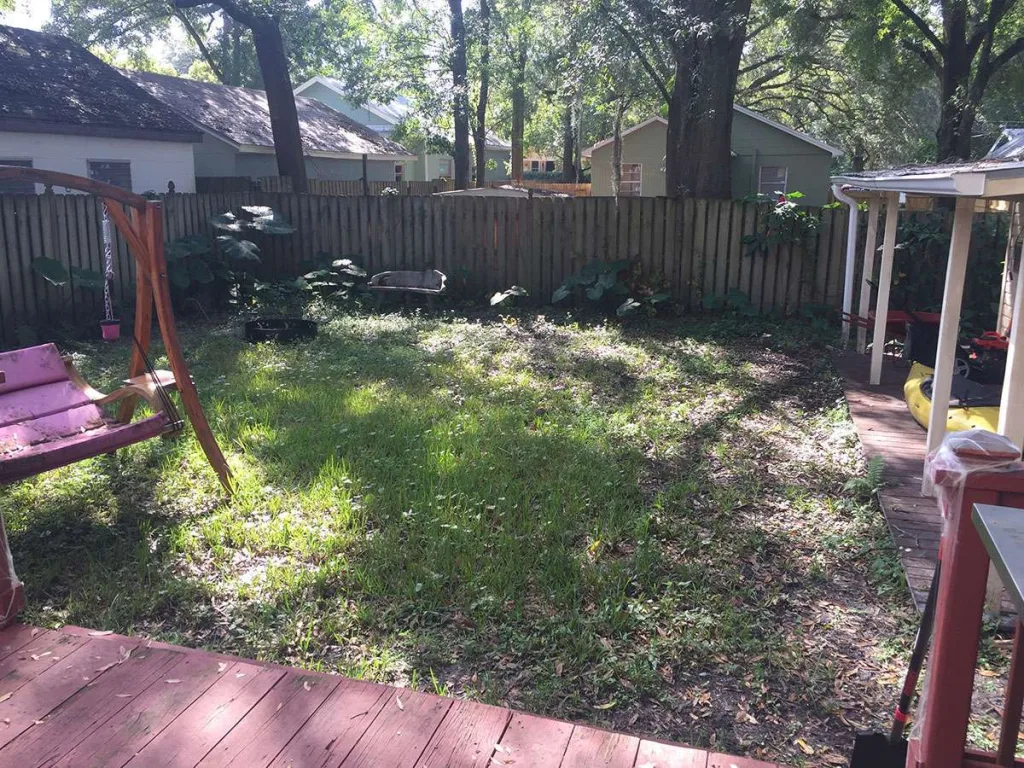
Choosing the location was a fun one — I decided on a spot where the grass doesn’t grow well. I live in Tampa, where the water table is super low, so it’s a challenge to keep grass healthy here. The fire pit did a good job of masking that fact. 🙂
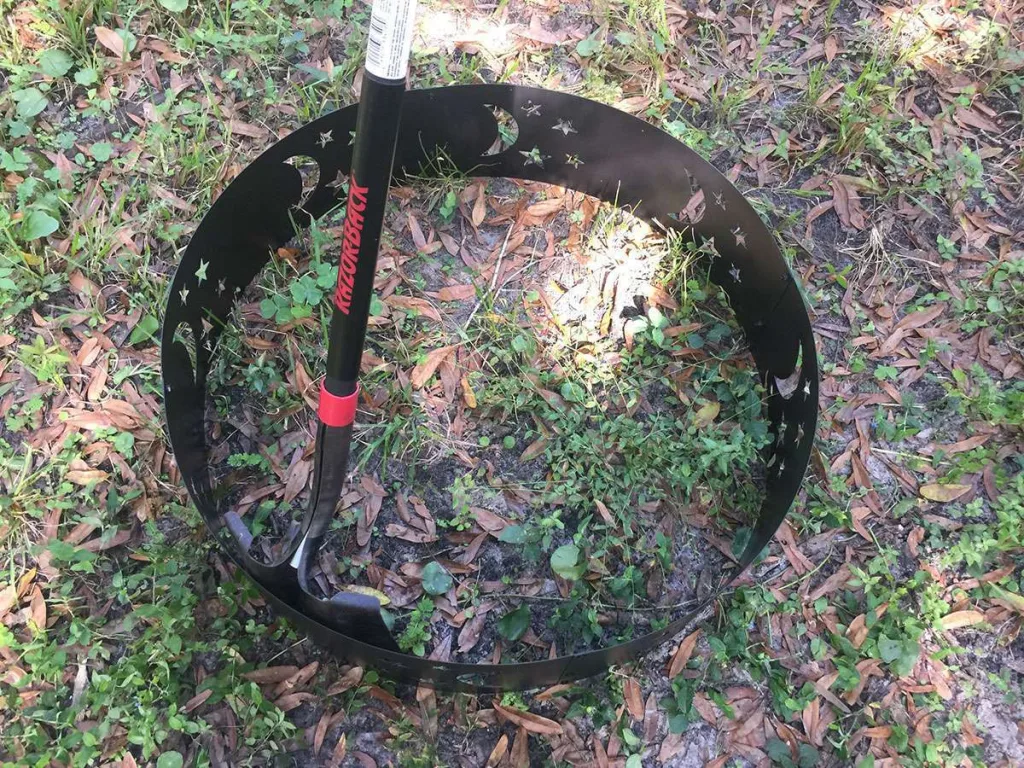
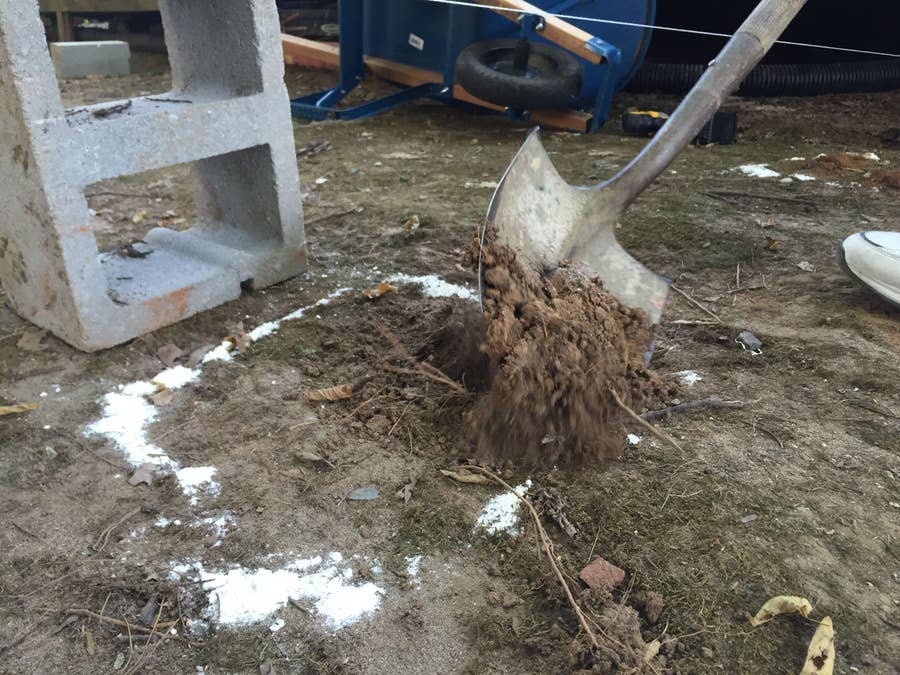
Using my shovel, I chopped around and marked where I would remove the grass. I had to be careful here not to scrape off the paint, which had dried but not fully cured yet.
Note: the spider webs are from a Halloween party I was having. 😉
Removing all the grass inside of the fire pit..
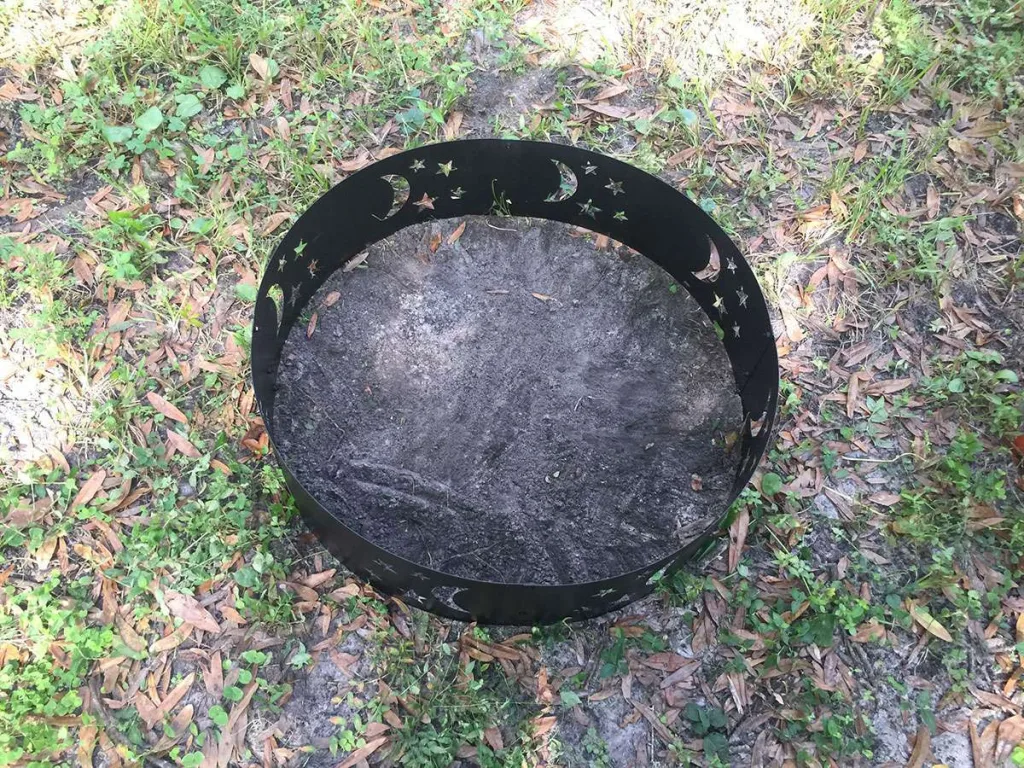
Next, I moved the fire ring and removed the grass directly surrounding it — this is so that I could compact the ground and so that my pavers would lay flat. Since I didn’t have a soil compaction tool, I just smashed the shovel (and used my own weight) to compress the soil. This is important to keep the fire pit from shifting over time.
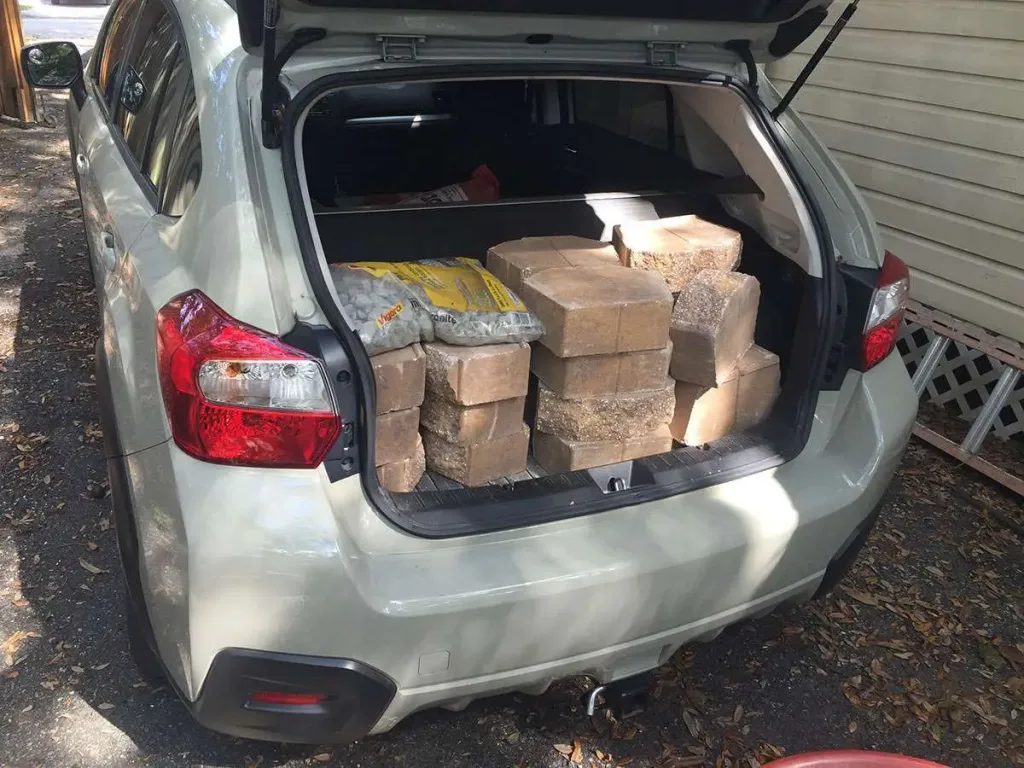
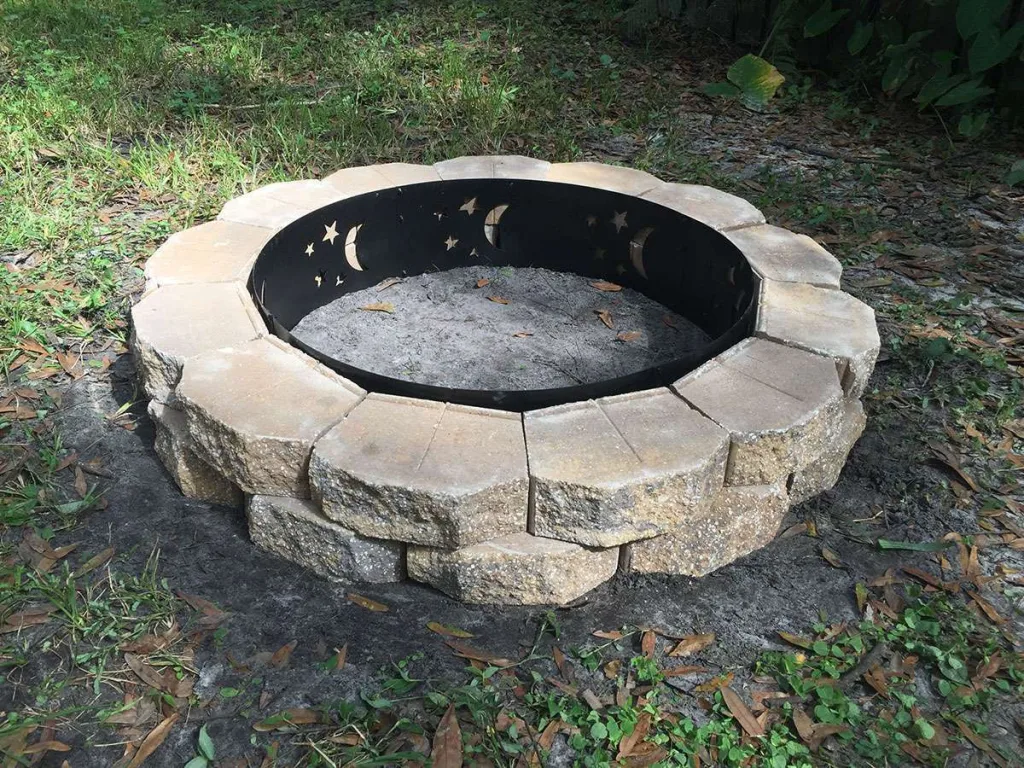
I picked up some cheap retaining wall blocks from Home Depot. Pavers also work well, but since these are literally made to be used as a wall, they stack nicely. The fire pit is 36″ in diameter, so its circumference is about 113″. Each block is about 9″ long on the short end, so I needed 13 bricks for each “level”. I decided on two levels, so this is 26 blocks total. Each block weighs 22 pounds, so my Subaru was not too happy about 600 pounds being loaded into its rear. Anyways, as always, it made the trip without incident and I began the process of carrying them back and forth into the back yard. The blocks were $1.25 each, so the lot cost me a little over $30.
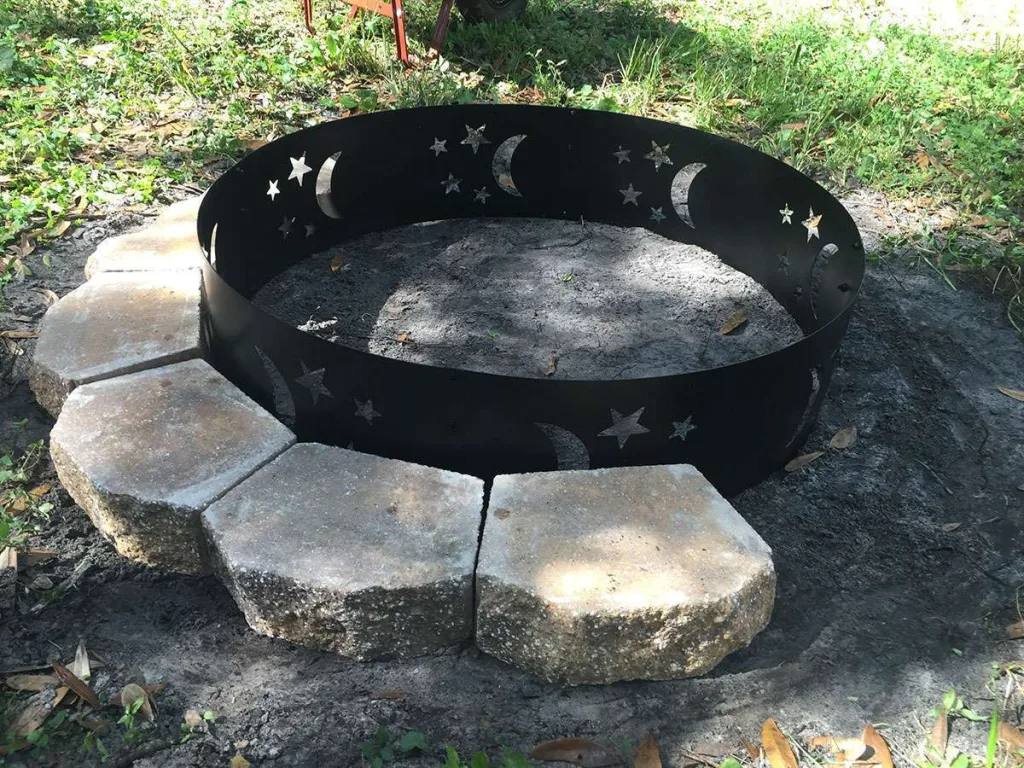
This is the easy part — since I decided not to use any mortar, the process of stacking them into a wall was easy and satisfying. I left a small gap between the ring and wall to allow for better air flow.
Layer one complete!
Adding the second layer.. I overlapped the blocks for greater structural integrity.
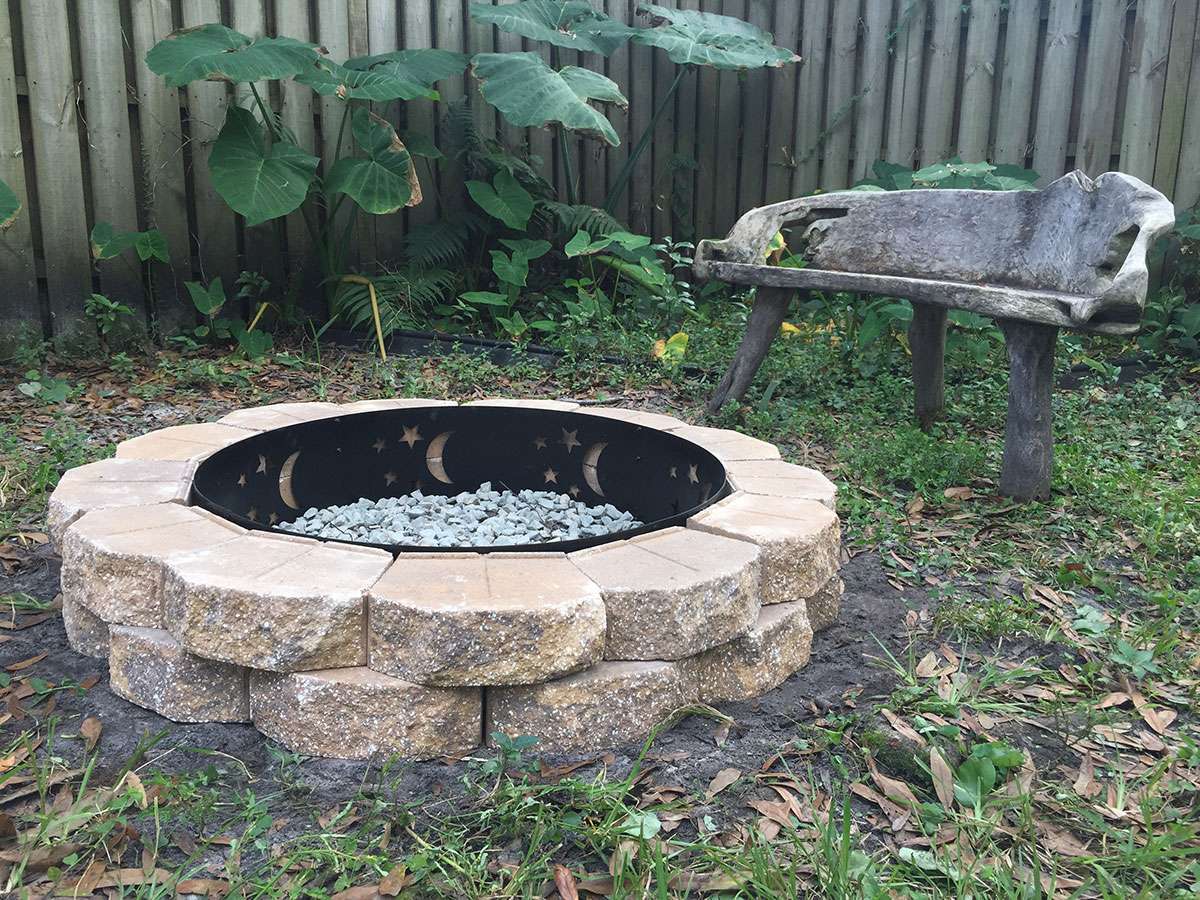
Walls are complete! The fire pit insert is 9″ high and each block is only 4″ high, so as you can see in this photo the lip of the insert protrudes an inch above the blocks. This didn’t look too great so later I used a rubber mallet to pound the insert into the dirt an inch. This was a pain in the ass but was totally worth it.
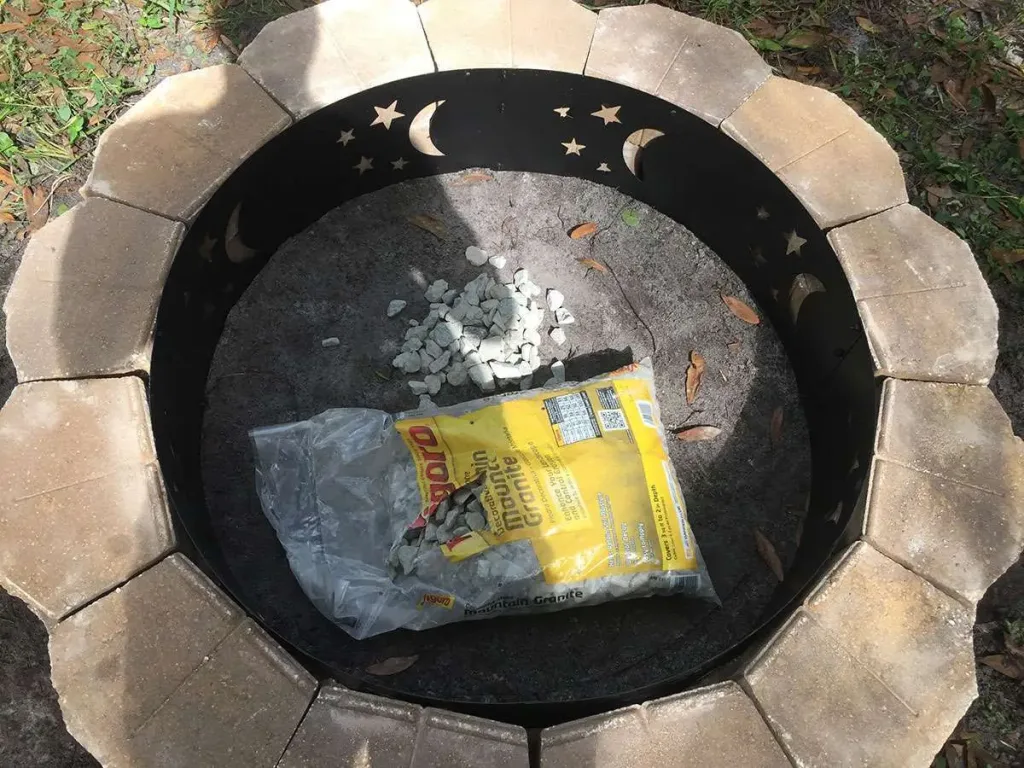
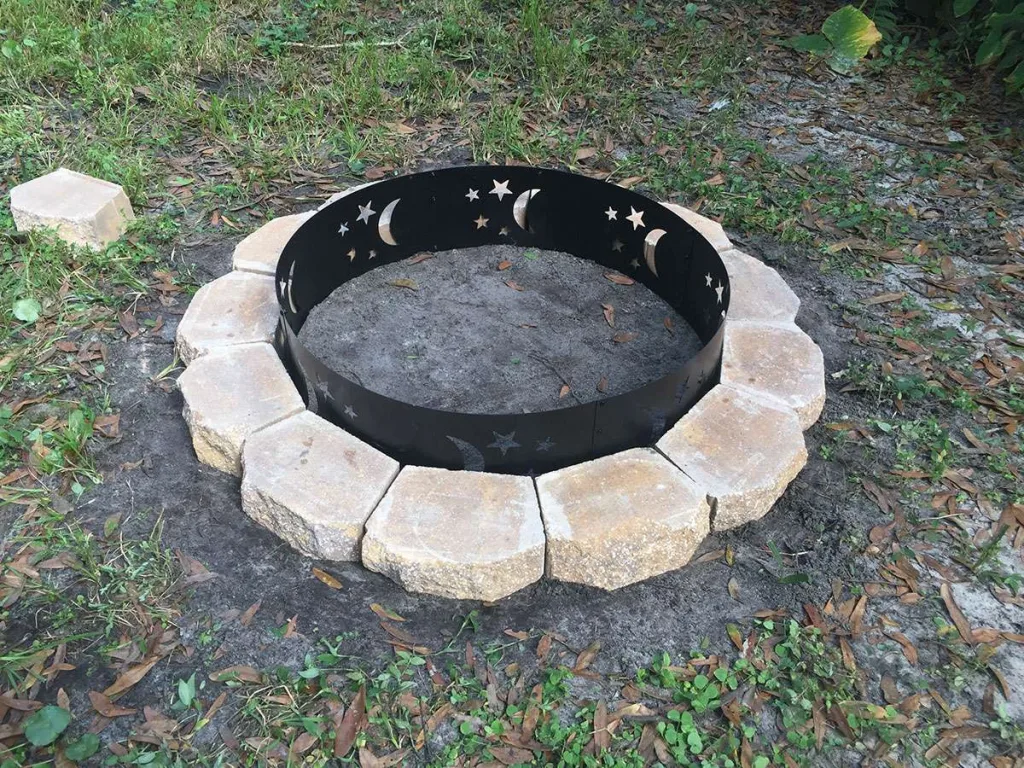
I added gravel to the bottom of the fire pit to keep it from getting muddy. This will allow for it to drain a bit. It’s important to use the right kind of gravel — some gravel (like river rocks) retain a lot of moisture and thus will explode when heated. Granite is a safe type of gravel to use and it’s not too expensive — about $4 for this bag.
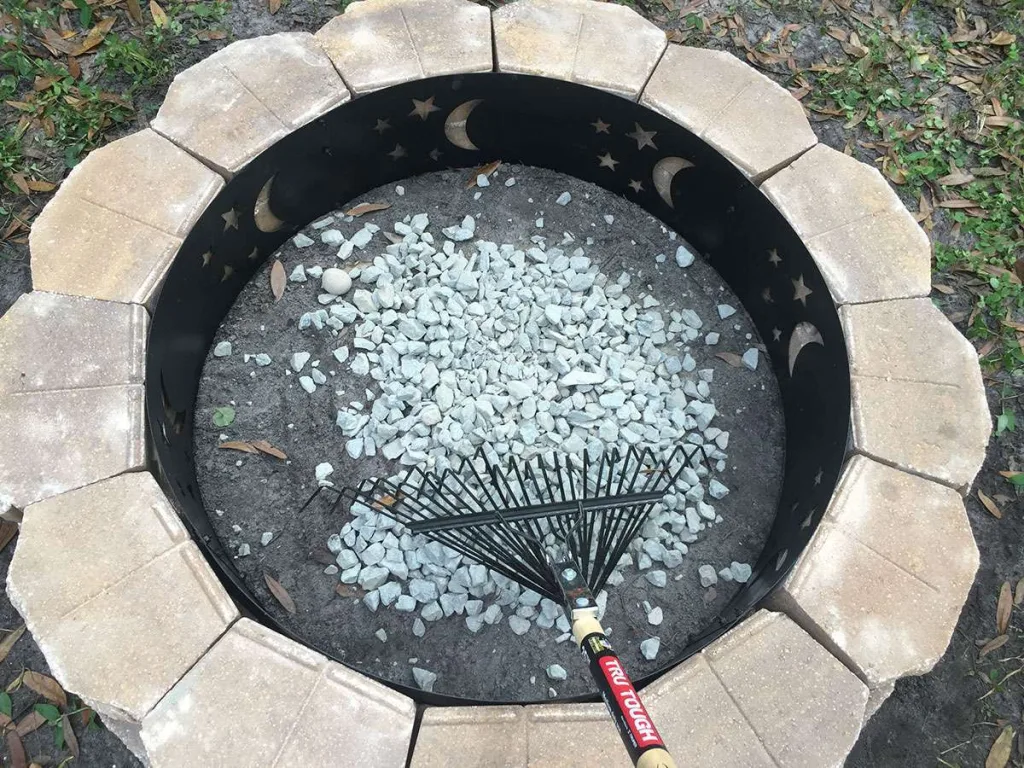
Spreading the gravel with a rake..
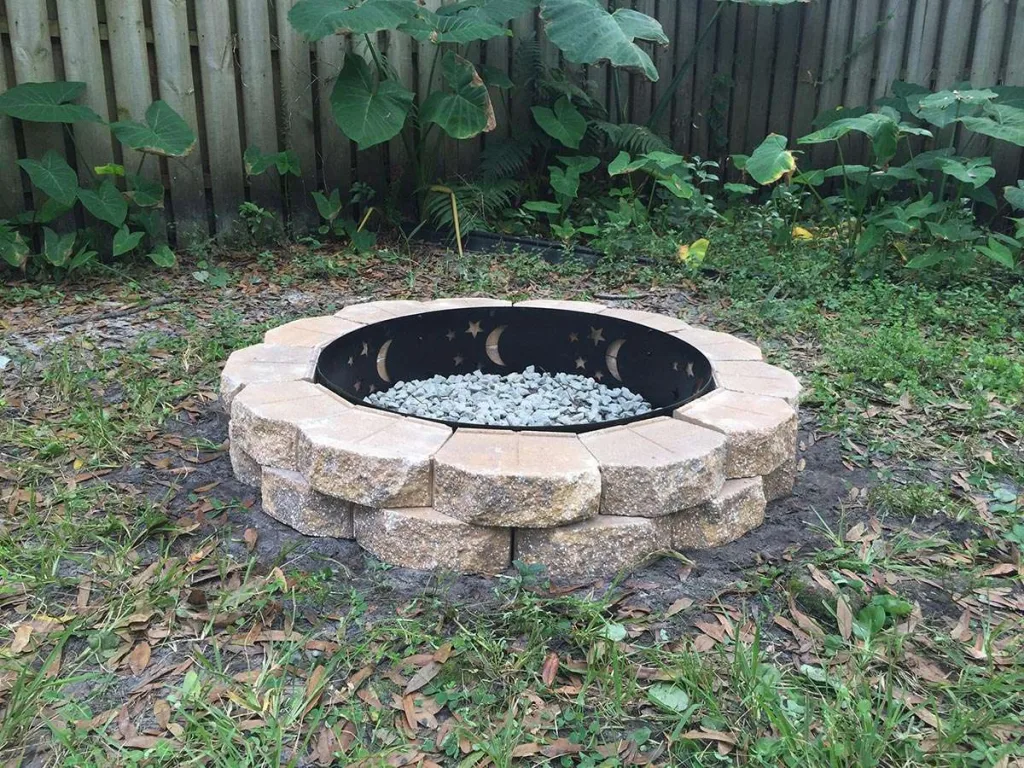
All done!
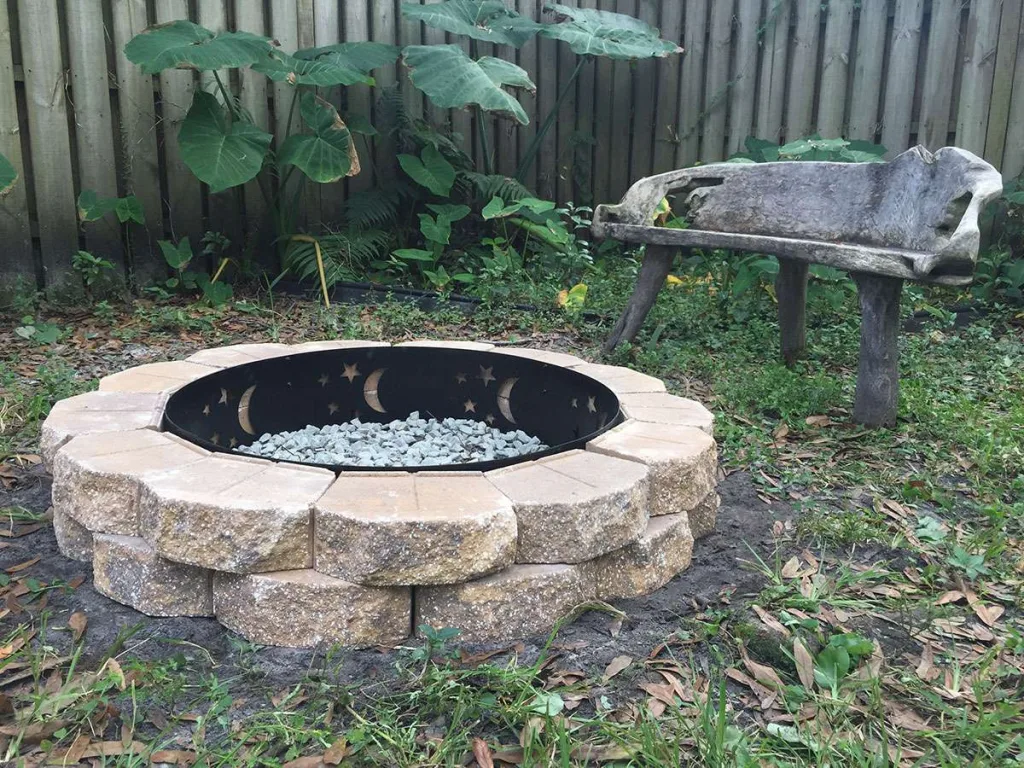
Action shot with a sweet bench that was carved from a tree trunk.
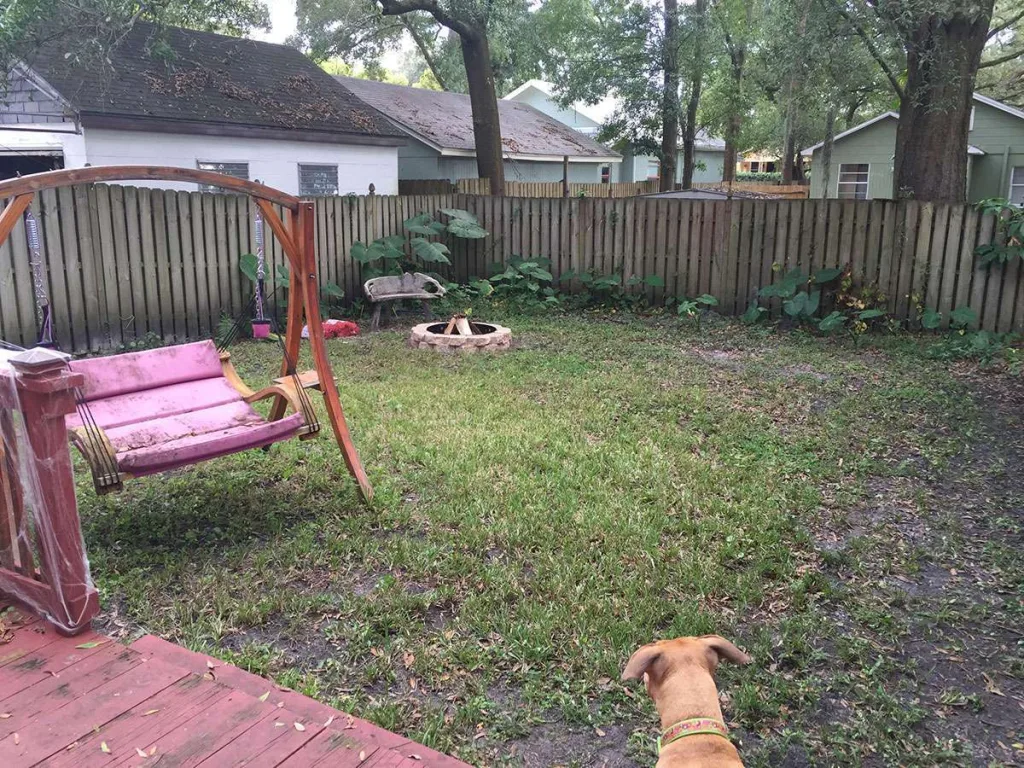
It does a good job of hiding how dead my grass is in that area. Also, Sydney likes it.
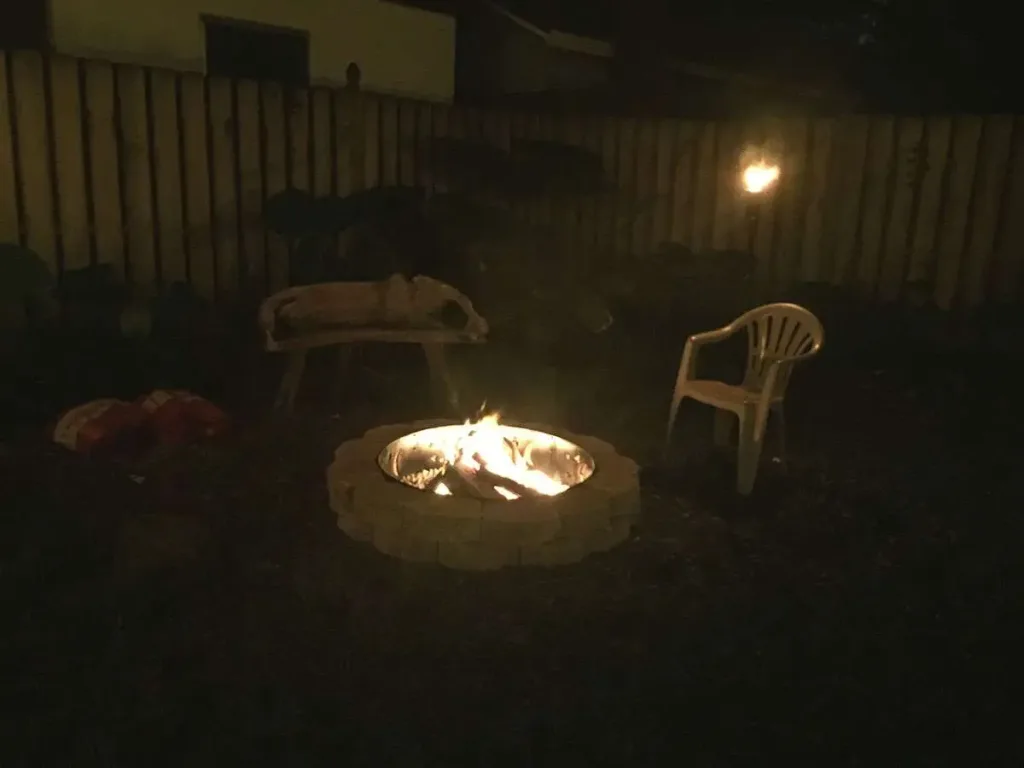
Here’s a terrible photo of it in action at night. I’ll try to get a better one next time and add it. If you want to build your own similar fire pit and have any questions, post below and I’ll be sure to help you out!