How to Connect Your Xbox One Controller to PC
Share
What you'll need
Interests
Xbox One controllers are one of the best controllers for PC gaming and can easily be connected using one of three methods—USB, Xbox Wireless, or Bluetooth.
You can even connect your Xbox One controller to your Raspberry Pi!
How to Use an Xbox One Controller on the Raspberry Pi
Get a grip and control your Pi!
1 – Connect your controller using a USB cable
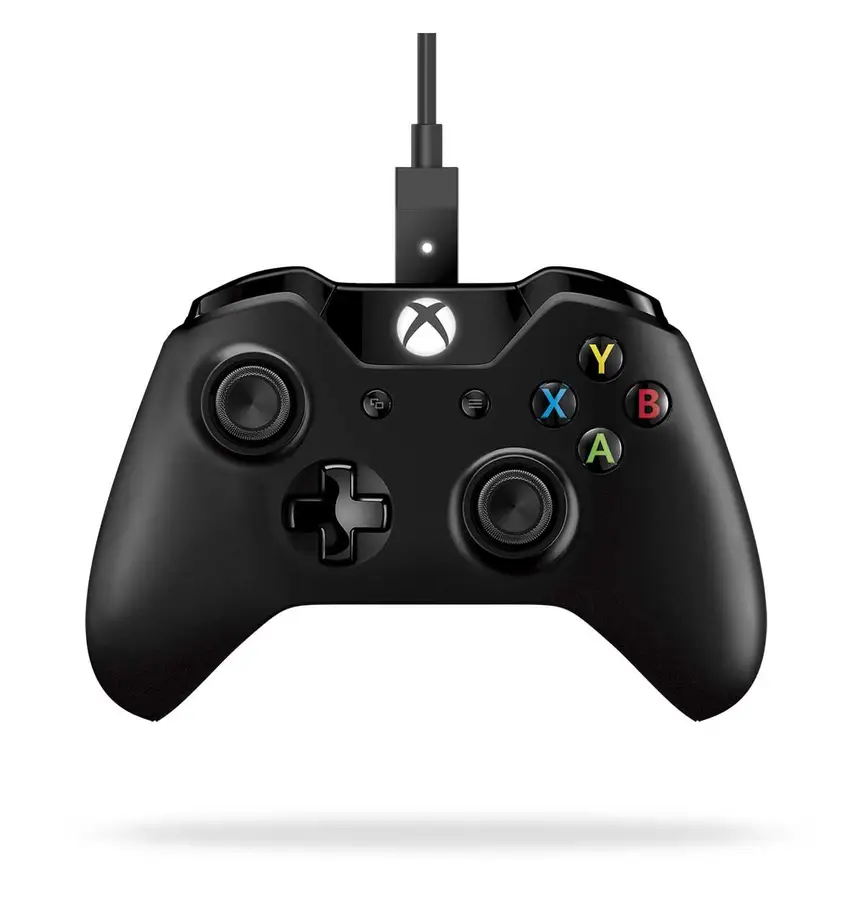
If you have a USB cable for your controller, plug the cable into a USB slot on your computer. It should automatically register as a usable USB controller.
2 – Connect your controller using Xbox Wireless
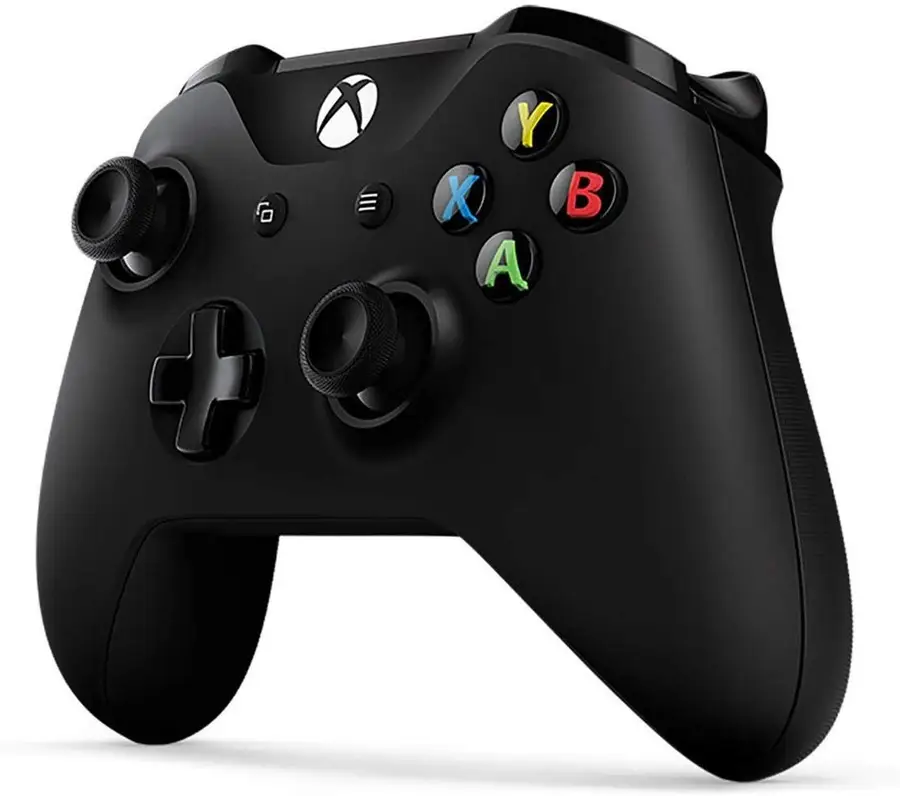
Xbox One controllers can use what’s known as Xbox Wireless. Some Windows PCs have an Xbox Wireless adapter built in, but you can easily snag one on Amazon if yours doesn’t.
- Open Settings then Devices
- Select Add Bluetooth or other device
- Go to Everything Else > Xbox Wireless Controller
- Choose Done
3 – Connect your controller using Bluetooth
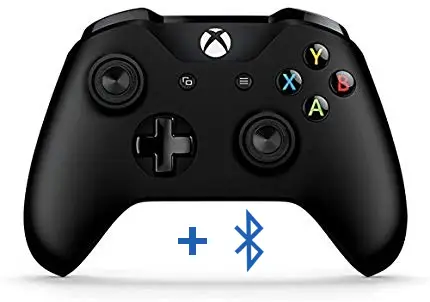
To connect your Xbox One controller using Bluetooth, your PC will need the Windows 10 Anniversary Update. You can find information about updating your computer on the official Windows blog.
- Turn on the Xbox One controller
- Press and hold the Connect button for at least 3 seconds
- On your computer, navigate to Settings > Devices > Bluetooth & other devices
- Make sure Bluetooth is enabled and look for your Xbox controller, it should be labeled Xbox Wireless Controller
- Choose Pair
4 – Test the connection
Now that your Xbox One controller is connected to the computer, it’s time to give it a test. Load up a game that uses USB controllers for input and see how well it holds up! We understand if the testing phase takes longer than expected.
Did you know you can also connect a PlayStation 4 controller to your iPhone? Give that a try next!


