How to Build a Solar-Powered Raspberry Pi


Share
What you'll need
Interests

Posted in these interests:

This guide will show you how to power your Raspberry Pi using solar panels. Powering your Pi using solar power will allow you to build green Pi projects powered by the sun. And with the right solar panel and battery, your project can also run continuously, forever.
Building a solar-powered Pi is a surprisingly easy task. Here’s a breakdown of how we’ll do it:
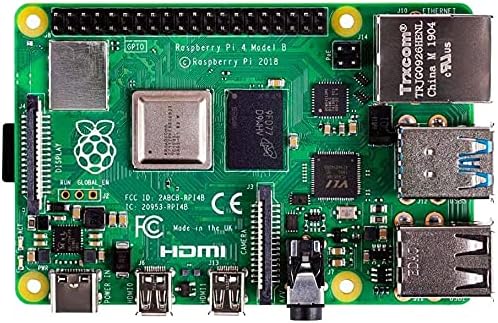
Power management board (HAT)
Depending on what Pi project you’re planning, you’ll want one of the great HATs for the Raspberry Pi. A HAT or power management board is connected to your Pi 3, Pi Zero, or any other model of Pi. This board will handle solar charging and monitoring of the battery, optionally performing a safe shutdown if power somehow gets too low—though this should never happen.
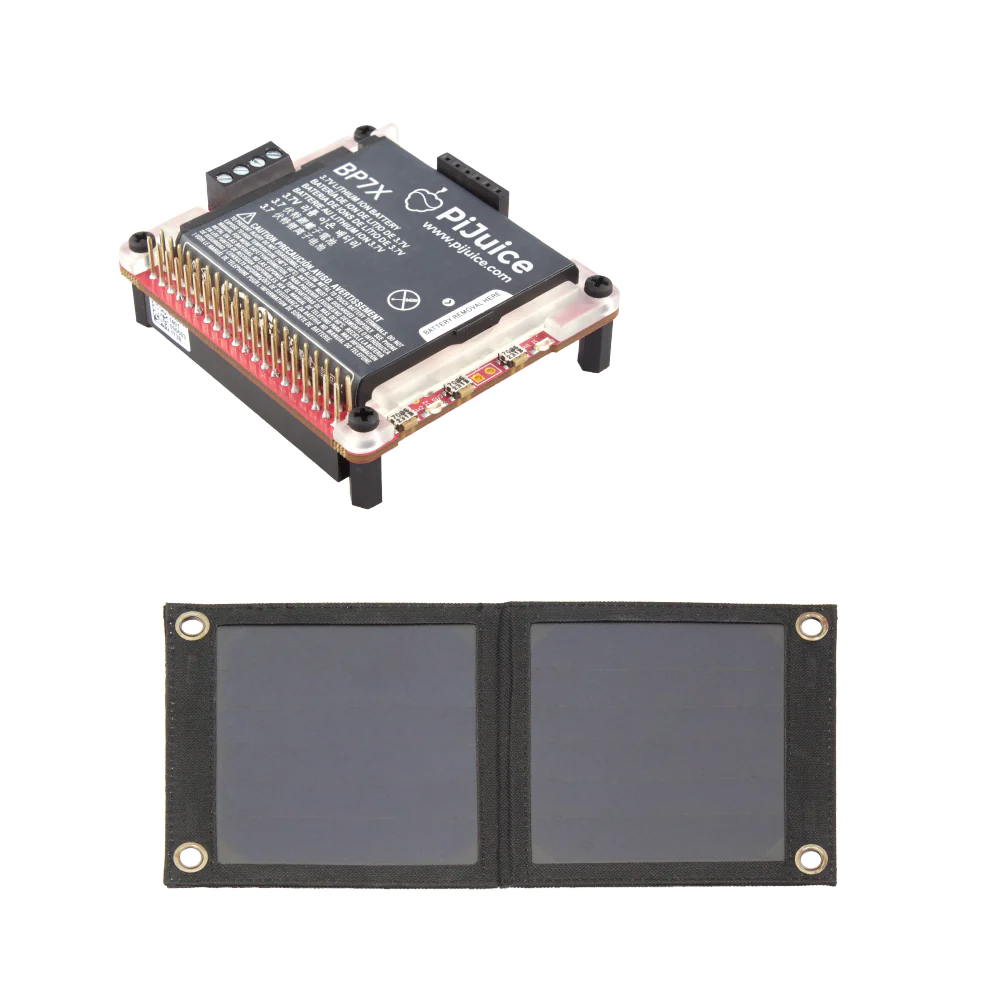
Solar panel and battery
A solar panel and battery are connected to your power management board.
Let’s get technical
Because I know some of you might be thinking this: technically speaking, you can power your Pi using a solar panel without needing a battery. However, this would assume a lot of factors:
- The solar panel is very large
- You live in a very sunny area
- The solar panel outputs exactly 5V, plus ample current
- You don’t want to run your Pi when it’s cloudy or dark
Therefore, I recommend your solar setup include a battery. I live in sunny Florida, and it still isn’t consistent enough here to do without it. This guide will cover the inclusion of a battery (and the power management board to charge it), but a battery isn’t strictly necessary if you want to get technical. 🙂
But I digress. Let’s get started!
1 – Choosing a power management board
First we’ll need to choose a solar power management board. Also known as a “HAT”, this board will connect directly to your Raspberry Pi’s 40-pin GPIO header. This board will convert the energy from the solar panel into stored battery power. Some boards (such as the one I’m using) will also power the Pi directly from the solar panel when the battery is full.
Recommended power management HAT
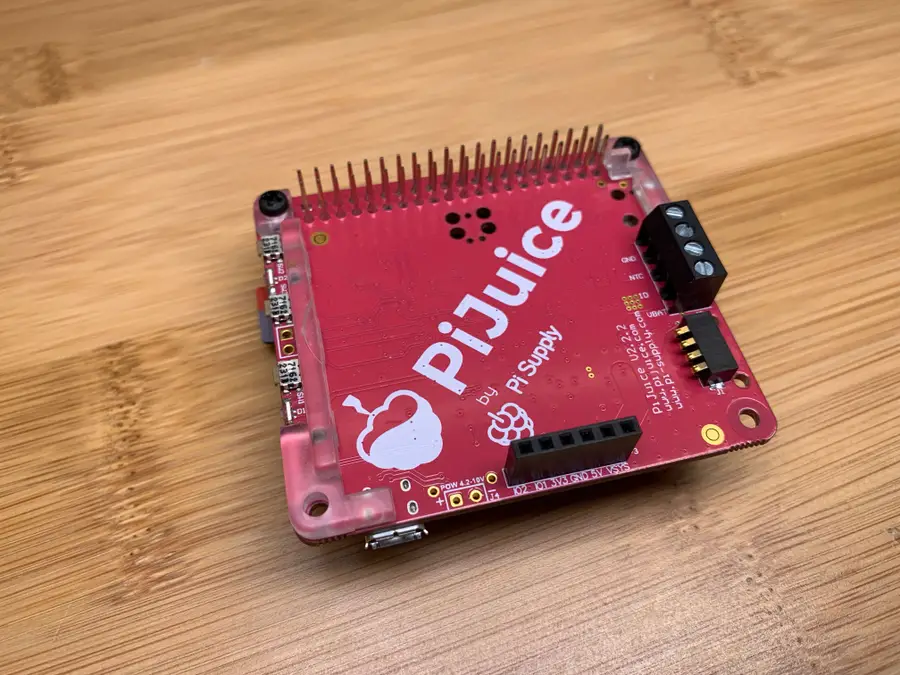
For this guide, I’ll be using the PiJuice Solar kit since it includes both a solar panel and a power management board. This board can also power the larger Raspberry Pi 3B+ whereas many kits can only charge the Pi Zero. The PiJuice Solar kit was featured in our Best HATs list for the Raspberry Pi.
Chances are this kit will be sufficient for your project. Other kits exist as well, or you can buy each item individually.
2 – Choosing a solar panel
The product listing for your solar panel should list how much current it can output (e.g. “two regulated 5V/2A USB outputs“). But if it doesn’t, figuring out your solar panel size is also pretty easy using Ohm’s Law.
Science ahead!
Ohm’s Law allows us to provide two values (V, I, W, or Ω) and use it to find the other two values:
I = V/R — Ohm’s Law for finding current (I) in amps (A)
By entering the solar panel’s output power in watts (W) and output voltage (V), we can derive how much current the solar panel will output (don’t worry, we’ll use a calculator to do this later).
Let’s take the PiJuice 12W solar panel as an example. Per the product description, this panel’s regulated output is 5 volts/10 watts (5V/10W).
Using this Ohm’s Law calculator, we’ll enter:
1. Power (W): 10W
2. Voltage (V): 5V
This gives us an output current (I) of 2A, or 2000mAh, for this solar panel.
How much current does my Pi need?
A good rule of thumb is to provide at least 2-2.5A (current) output for any Raspberry Pi. The Pi Zero can make do with a lot less (as low as 1-1.5A), but if your current is too low you will have strange and intermittent issues. In this case, you’ll usually see a yellow “undervoltage warning” lightning bolt in the top-right of your screen.
Solar panel capacity
I threw a quick table together to help you determine the minimum size solar panel you’ll want to use based on your Raspberry Pi:
| Raspberry Pi Model | Solar Panel Size | Output Voltage | Output Power | Output Current |
|---|---|---|---|---|
| Pi Zero/Zero W (minimum) | 6W | 5V | 5W | 1A (1000mAh) |
| Pi Zero/Zero W (recommended) | 12W | 5V | 10W | 2A (2000mAh) |
| Pi 3/3B+ (minimum) | 12W | 5V | 10W | 2A (2000mAh) |
| Pi 3/3B+ (recommended) | 22W | 5V | 20W | 4A (4000mAh) |
Recommended solar panel
I recommend a 12W solar panel for running any model Raspberry Pi. You can definitely get away with a 6W panel for the Pi Zero as well, though this will largely depend on which peripherals you attach to it the Zero.
To test the limits of both extremes, I bought both a 6W solar panel and a 40W solar panel. The 40W one is definitely overkill for this guide, but I plan on using it to power some additional equipment for a future project.
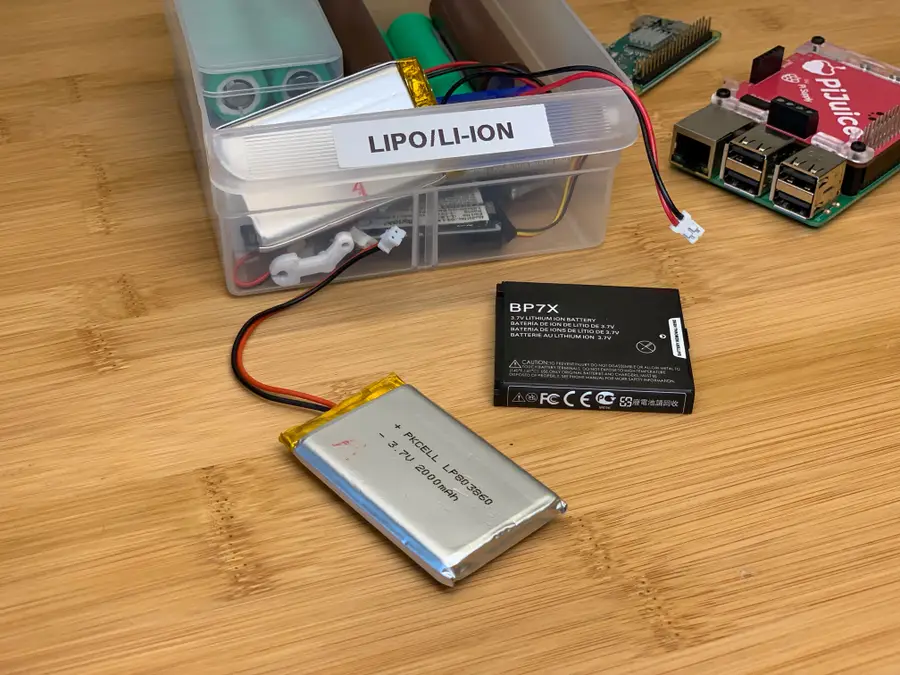
3 – Choosing a battery
Next, we’ll need to select a battery for our solar Pi. Here are considerations for choosing your battery:
Type
You’re going to want to use either a Lithium-Ion (Li-Ion) or Lithium Polymer (Li-Po) battery:
Lithium-Ion (Li-Ion)
Li-Ion batteries are generally cheaper but are also less dense, meaning you’ll have a physically larger battery. This generally isn’t a deal for a solar-powered project — unless you’re building a solar-powered Pi RC airplane, in which case you may want to opt for the lighter battery. 😉
Lithium-Polymer (Li-Po)
Li-Po batteries are more expensive but can store more energy in a smaller form factor; they’re also far more volatile and can explode if your power management board doesn’t have proper undercharge or overcharge protection.
I recommend a Lithium-Ion (Li-Ion) battery. They’re cheaper, and chances are you don’t care as much about size/weight. When choosing a battery, make sure your power management board supports charging your specific battery type! The PiJuice Solar supports both Li-Ion or Li-Po batteries.
Voltage
Your power management board will dictate the battery voltage supported. Choose a battery in the supported range.
The PiJuice I’ll be using accepts any Li-Ion or Li-Po battery that’s between 4.2V-10V. This is ideal for solar power as many high-capacity batteries are offered in a higher voltage.
Capacity
The battery’s capacity is denoted as mAh (milliamp-hours). A 1000mAh battery will provide 1A of power for 1 hour. Different Pis consume power at different rates and connecting additional hardware, such as a camera, will draw additional power.
Intended use
Are you adding solar power for a Pi that needs to run 24 hours/day, or just for a few hours a day? Obviously, you’ll need a higher capacity battery if you want to create a Pi setup that will run “forever”.
You can use the PiJuice discharge time calculator to estimate your battery size needs. Keep in mind that, depending on where you live and the time of year, your battery may need to power your Pi at night for 12 hours or more of darkness.
If you live in an area that’s intermittently cloudy, or if you plan on powering additional hardware from your battery, you may want to upgrade to a larger capacity battery. Unless your project is portable, there’s really no downside (other than cost) to having an oversized battery with a very high capacity.
Remember, if your project doesn’t need to run around the clock, you can always get away with a smaller battery that writes scripts that will safely shut down and boot the Pi at certain times or when battery power is low. 🙂
Recommended battery
I recommend choosing a Lithium-Ion battery of a voltage supported by your power management board. Make sure the battery will run long enough for your application.
Note: Some power management boards (such as the PiJuice) can only charge single-cell Li-Ion or Li-Po batteries. Thus, make sure you get a battery with the number of cells that your board supports.
I also recommend using a battery with onboard protection (over temp, overcharge, overcurrent, etc.) with an onboard NTC temperature sensor.
For the PiJuice Solar, I’ll be using the 1820mAh Lithium-Ion battery that it came with.
| 🛈 Not all power management boards accept batteries of a varying voltage. Check your board’s documentation to be sure. |
4 – Connect the Pi solar HAT
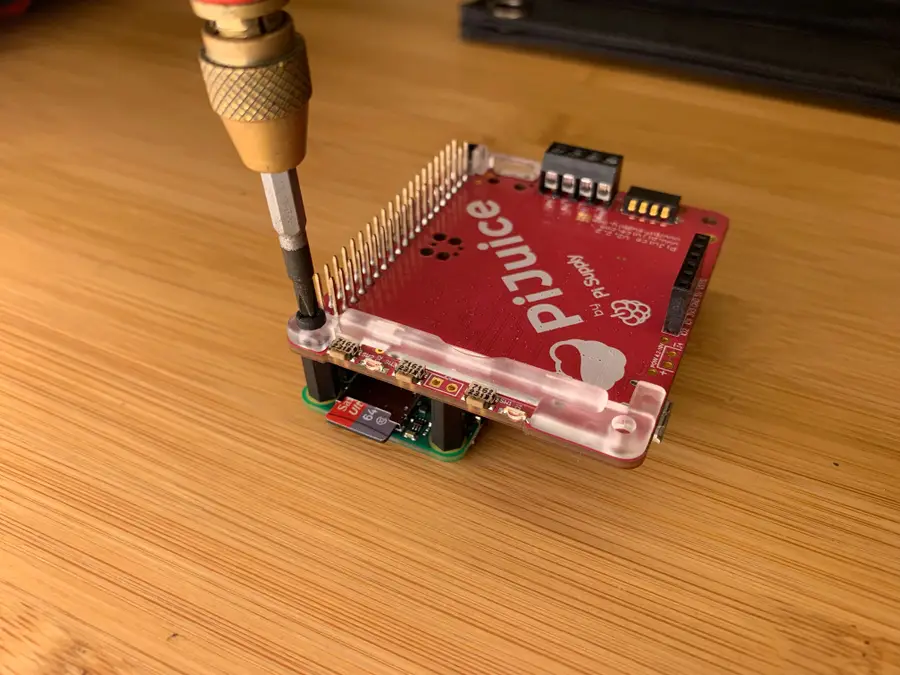
I’m going to reference the PiJuice Solar for the remaining steps; if you’re using a different board or solar panel, these steps will still work for you; just be sure to reference your hardware’s documentation as well. 🙂
Assembling the PiJuice hardware is easy. If you want a step-by-step assembly breakdown, check out my Raspberry Pi UPS guide, where I use the same PiJuice to make an uninterruptible power supply.
How to Build a Raspberry Pi UPS (Uninterruptible Power Supply)
Keep your Pi hot and ready.
5 – Connect the battery
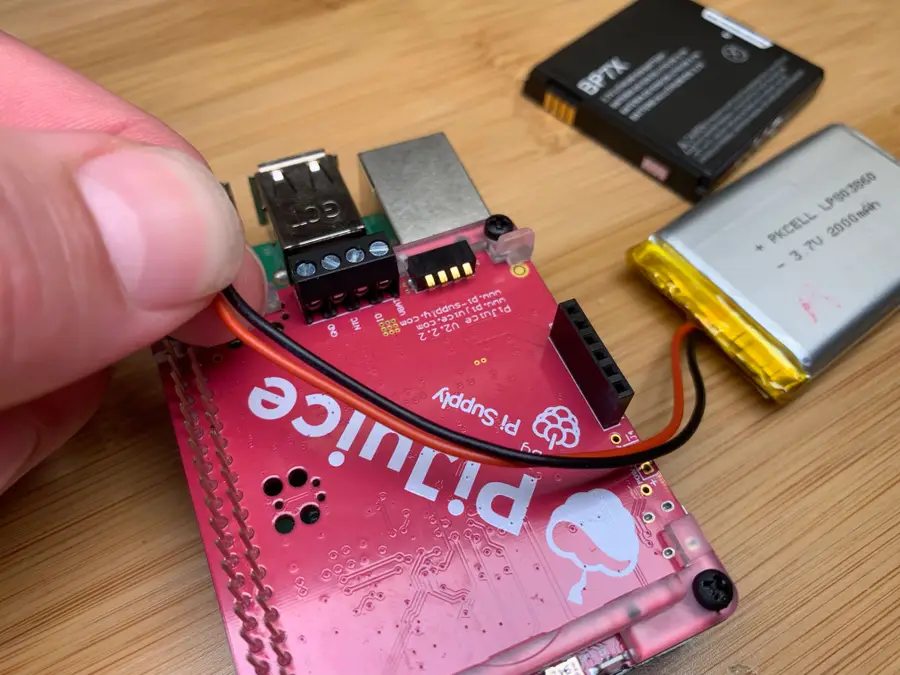
If you’re using the smaller 1820mAh BP7X battery that came with the PiJuice, skip this step.
If you’re using a separate external battery, you’ll need to remove the onboard BP7X battery.
You may need to clip off the small 2-pin JST connector from the external battery (one wire at a time).
Finally, use a small screwdriver to connect the two wires to the screw battery terminal as follows:
1. Red positive (+): Connect to VBAT
2. Black negative (-): Connect to GND
3. NTC temperature sensor (if equipped): Connect to NTC
| 🛈 When you cut off the old battery connector, cut each wire one at a time. Otherwise, you’ll short the battery together briefly which would be bad. |
6 – Connect the solar panel
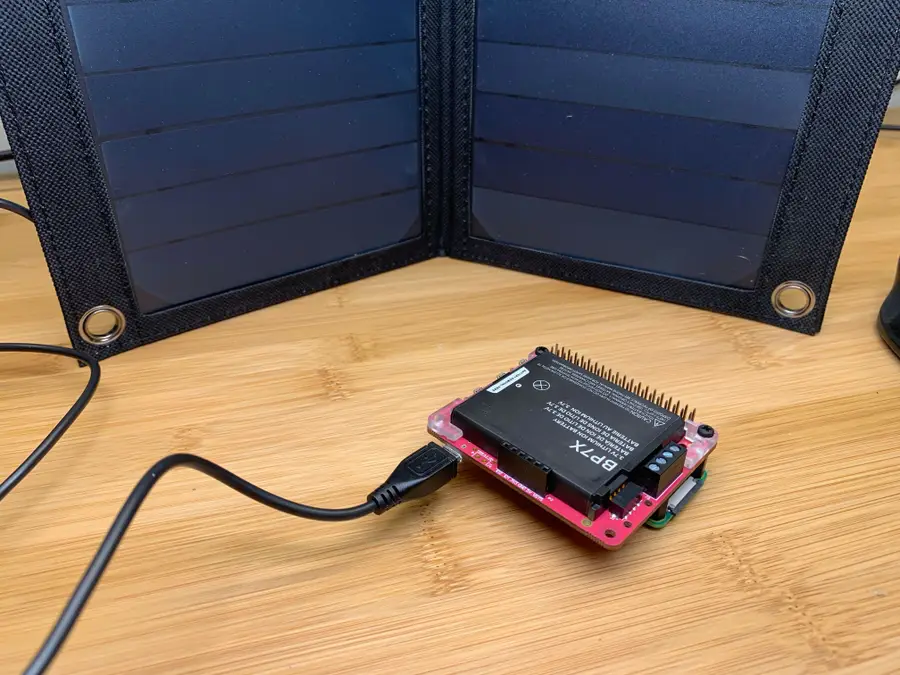
The PiJuice solar panel plugs directly into the power management board via Micro USB. If you purchased your hardware from a different manufacturer, different connectors might be in use.
Connect your solar panel to the power management board.
7 – Use a case/housing
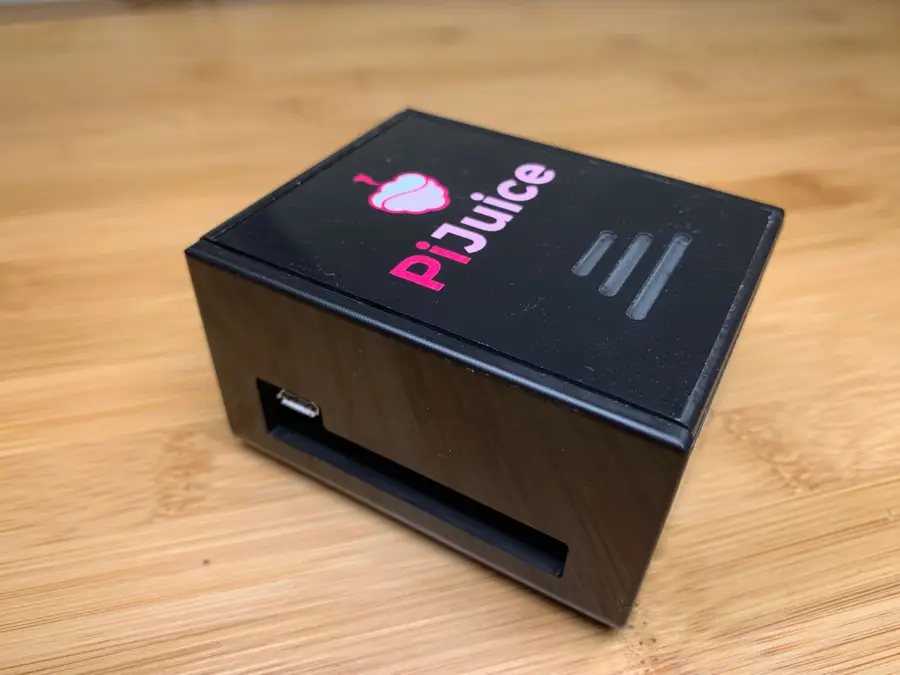
Since your project lives outside, chances are it’ll get rained on. Choose a case or housing that’s water-resistant. My project lives under the eaves of a house, so it’s already mostly protected from water. The PiJuice case I purchased provides additional protection.
Put your Pi, power management board, and battery into some sort of housing.
| 🛈 Make sure your housing is large enough or has some level of ventilation such that your Pi won’t overheat. |
8 – Optional: Install power monitoring software
The PiJuice will actually work out of the box, as-is.
However, we’re going to install some optional software so that we can monitor our Pi, its battery health, and perform functions such as sending notifications or performing a safe shutdown if your battery level gets too low.
The PiJuice software is a package built for any Debian/Raspbian-based OS. After installing and updating the latest version of Raspbian, connect to your Pi, an update it:

How to Connect to a Raspberry Pi Remotely via SSH
The preferred (and most common) method of connecting to your Pi to run commands.
sudo apt-get update && sudo apt-get upgrade --yesThen, install the PiJuice software:
For “GUI” (full) versions of Raspbian
If your Pi has a desktop you can log into, use this version.
sudo apt-get install pijuice-guiFor “CLI” (lite) versions of Raspbian
If your Pi is headless, use this version.
sudo apt-get install pijuice-baseIf you’re using a battery larger than the included one, you’ll also need to set up a battery profile so that the PiJuice software knows how big your battery is, what its voltage is, etc.
When you’re done, I also recommend that you configure PiJuice to safely shut things down when power is low.
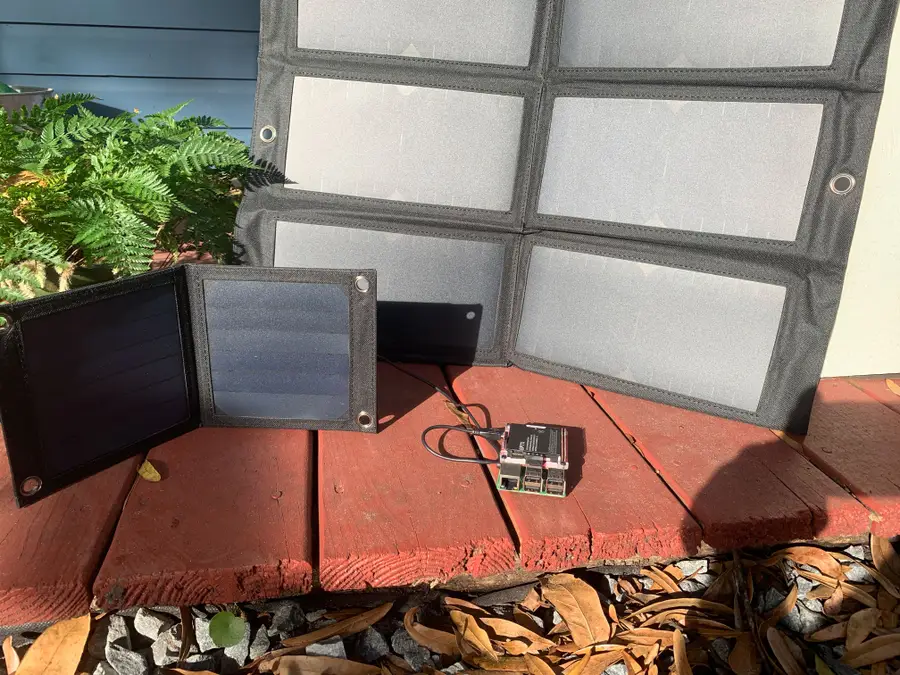
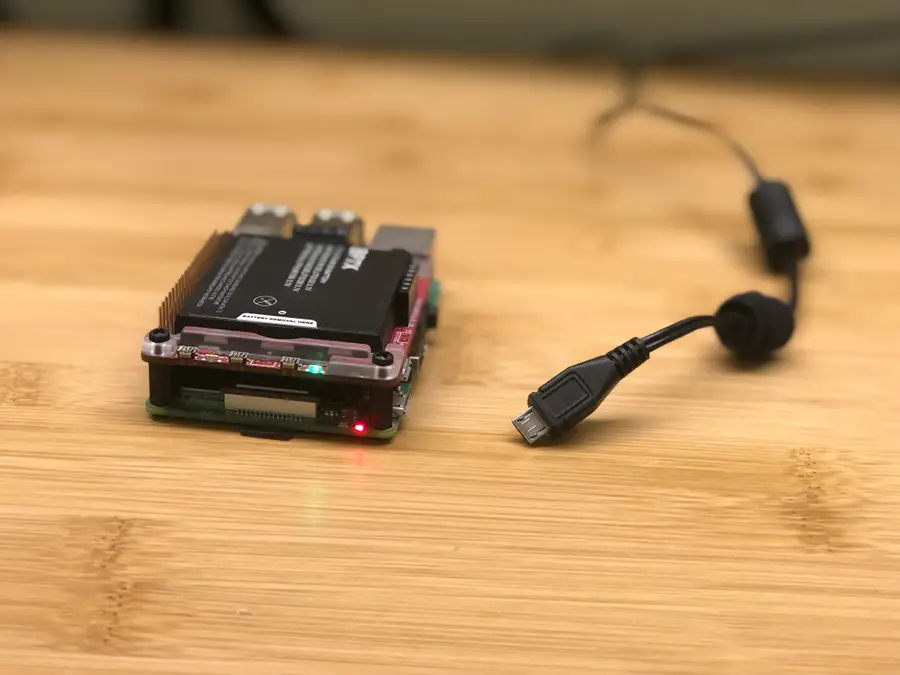
9 – Go to a sunny place
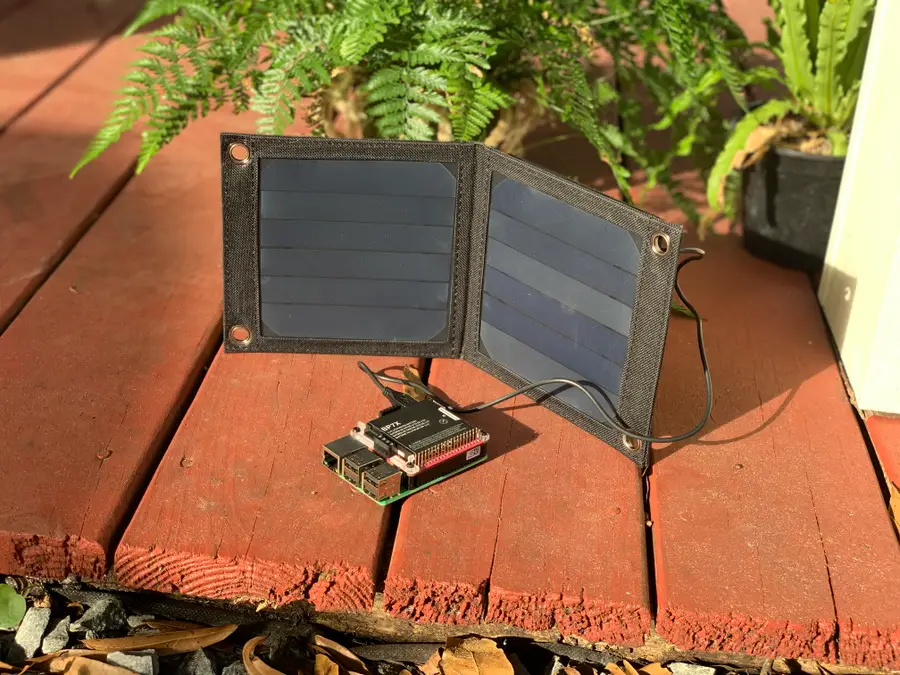
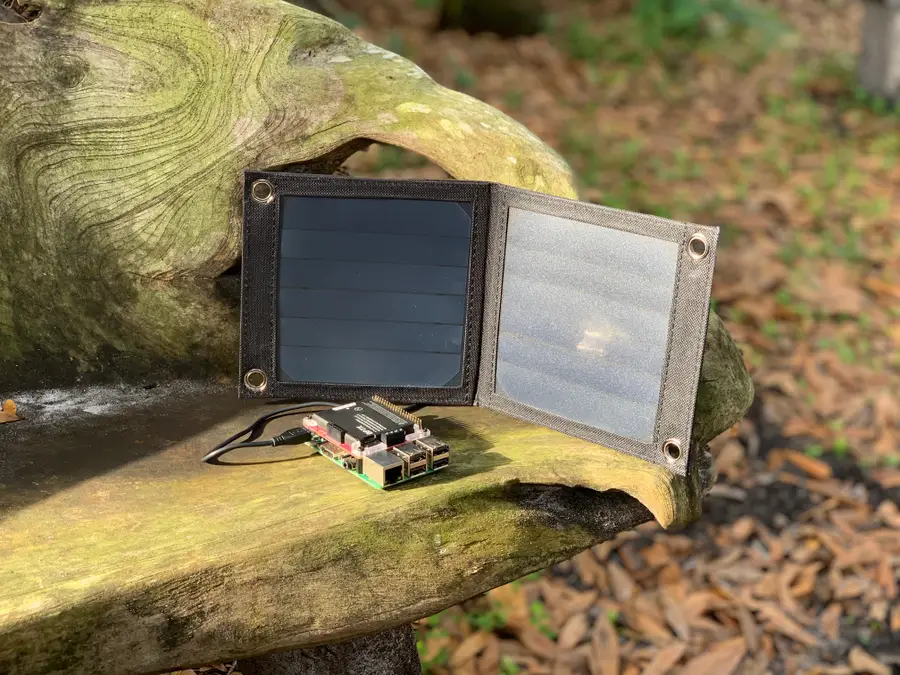
Let’s test our setup. Bring your rig outside and reconnect everything.
You’re all done!
| 🛈 Here you can see me testing the PiJuice out with my Raspberry Pi 3B+. |
10 – Questions? Comments?
Post in the comments section below and I’ll do my best to help you out!


