The Ultimate RetroPie Controller Guide

Share
What you'll need
Interests
Series


Posted in these interests:


Choosing and setting up a controller to use with RetroPie is incredibly easy. Everything is almost completely automated and the software provides us the opportunity for plenty of customization.

RetroPie: Build Your Own Raspberry Pi Retro Gaming Rig
How to install (and use) RetroPie!
This guide will teach you how to choose, set up, configure, and map both bluetooth and USB controllers in RetroPie.
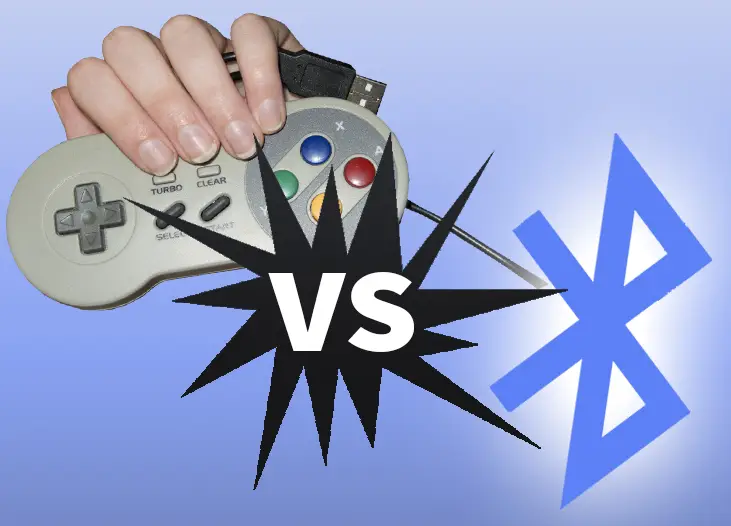
1 – Bluetooth vs USB controllers for RetroPie
Best controller for RetroPie
Choosing the best RetroPie controller often boils down to preference. Are you looking for a budget friendly option or something with desirable specs? Either way, below are the best bluetooth and USB controllers for RetroPie that have a sufficient number of buttons to play a wide range of games.

The Best RetroPie Controllers – Top 10 (2023)
Don’t skimp on your RetroPie controller—get the best!
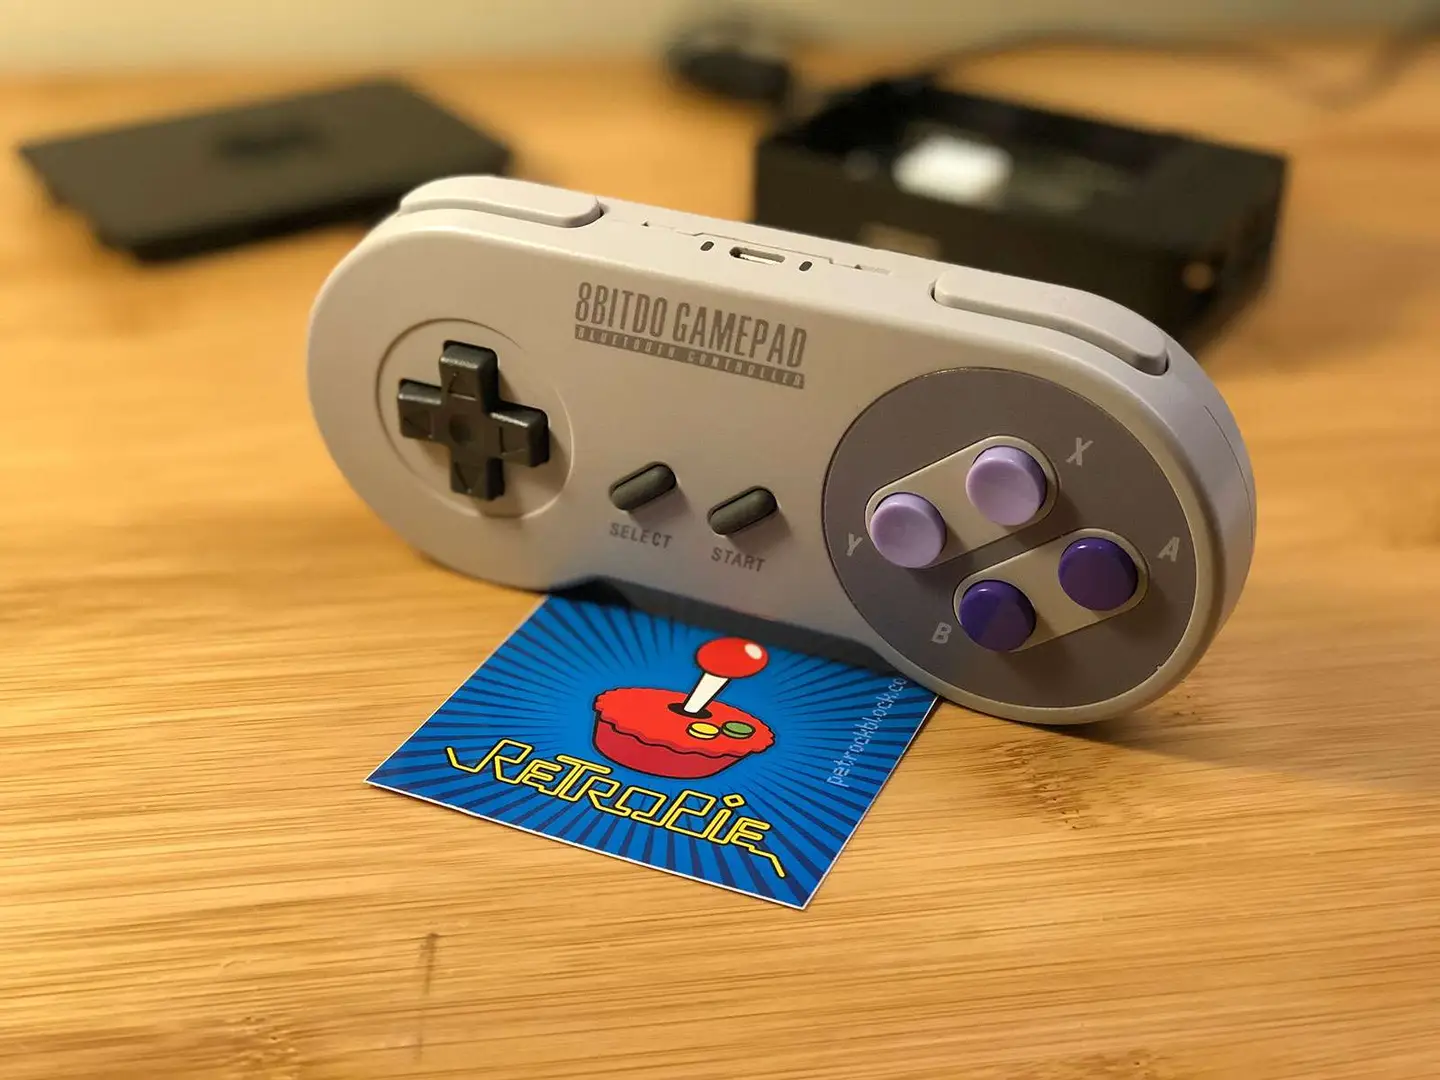
RetroPie bluetooth controllers
Bluetooth controllers are typically the more expensive option, but these controllers provide excellent wireless capabilities. Most modern Bluetooth controllers are very responsive, much like their wired counterparts. Visit our full guide on RetroPie bluetooth controllers.

How to Use a Wireless Bluetooth Controller with RetroPie
No more wires!
| Looking for the best bluetooth controller for RetroPie? We recommend the SF30 from 8bitdo. It has no noticeable input lag and the LiPo battery lasts a long time. |
RetroPie USB controllers
USB controllers are also a great option. Some users appreciate the direct wire for practical and nostalgic purposes. These controllers are much more affordable compared to Bluetooth devices. The downside is that USB controller cords are often short so it can be tough to sit back on the couch and relax.
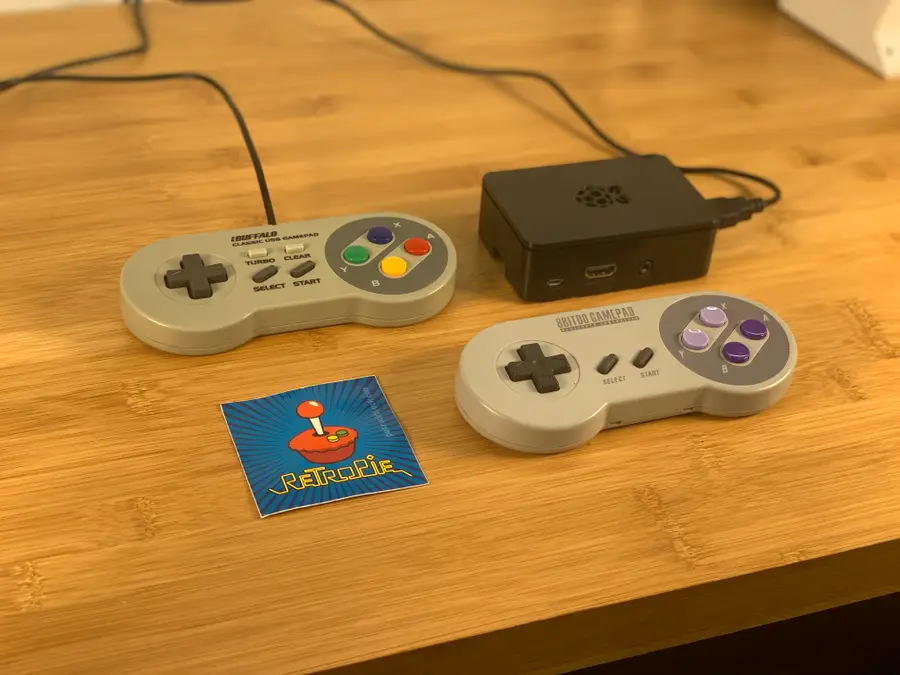
| Looking for the best USB controller for RetroPie? We recommend the iBuffalo from Buffalo. It’s inexpensive, has a nice weight to it, and is very responsive. |
2 – Use a compatible controller
The Raspberry Pi comes with USB HID ports on the side. Newer models come with built in Bluetooth capabilities. Your RetroPie setup should be compatible with almost any controller. Wireless controllers with USB receivers can work with the system as well.
To make sure your controller is compatible, do a quick search online for the make and model of your controller. Alternatively, plug it in and see if RetroPie is responsive to the input.
If you’re using a compatible Bluetooth controller, set up your Bluetooth controller with RetroPie first, then return here.
You can also use compatible USB and Bluetooth console controllers on your Raspberry Pi. For example, learn how to use an Xbox controller on your Raspberry Pi.

How to Use an Xbox One Controller on the Raspberry Pi
Get a grip and control your Pi!
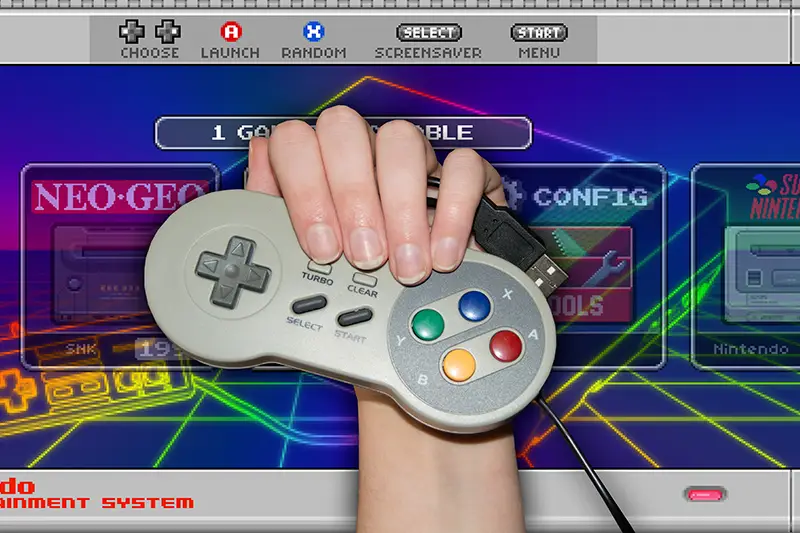
3 – First time RetroPie controller setup
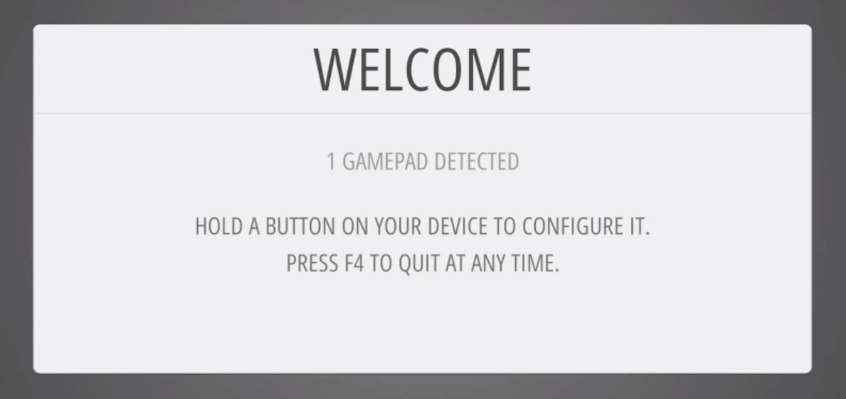
During the first time you set up RetroPie, an opportunity will arise to connect and configure your controller. The setup script will guide you through pairing the buttons.
You can visit the official GitHub page to read more about how to configure a controller during the initial RetroPie setup.
4 – Configure your RetroPie controller for a single console (gaming system)
To make your gaming experience feel more natural, you may need to swap a few buttons on occasion. But instead of changing the entire RetroPie controller configuration every time, all you need is a custom profile for the emulator core of your choosing.
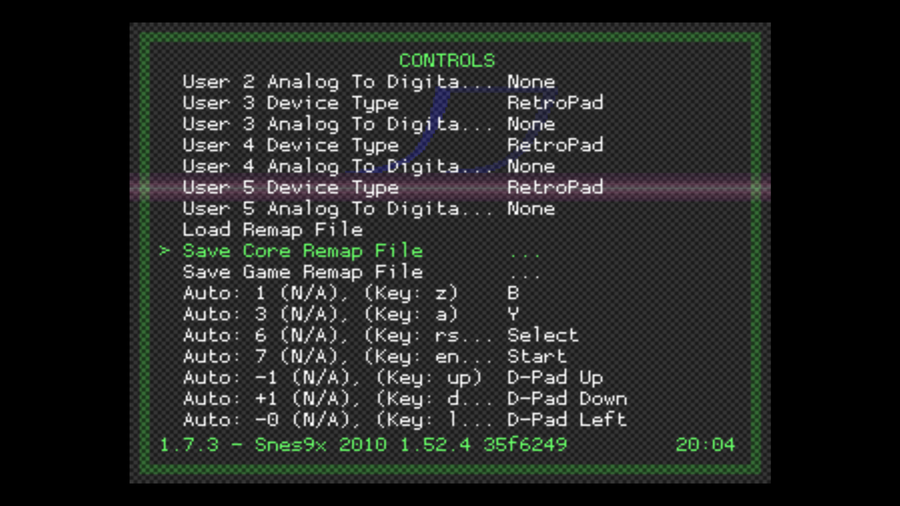
To create a custom profile for a single console…
- Open a game using the target console emulator
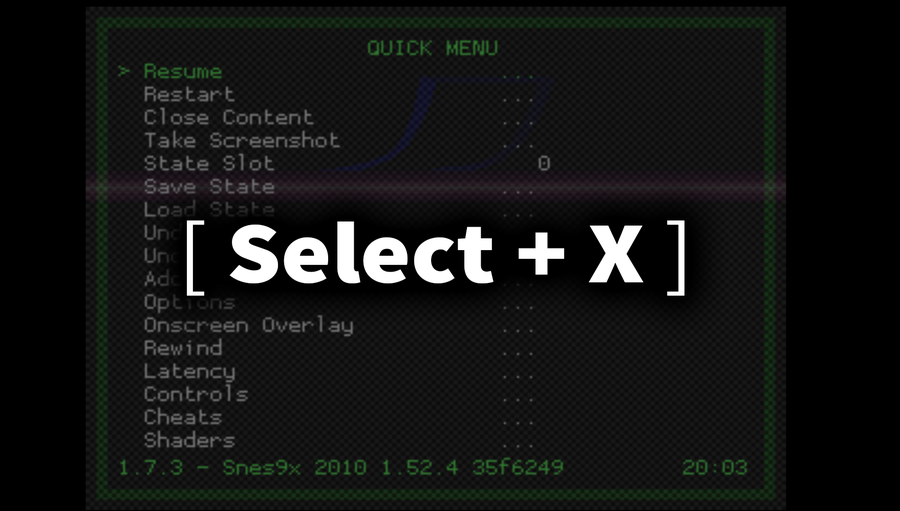
- Hold the Select button and press X
- Choose Controls
- Optimize your button configuration as needed
- Choose Save Core Remap File
5 – Configure your RetroPie controller for a single game
Some games are easier to play with a unique controller profile of their own. Setting up a custom game profile is very similar to creating one for the emulator.
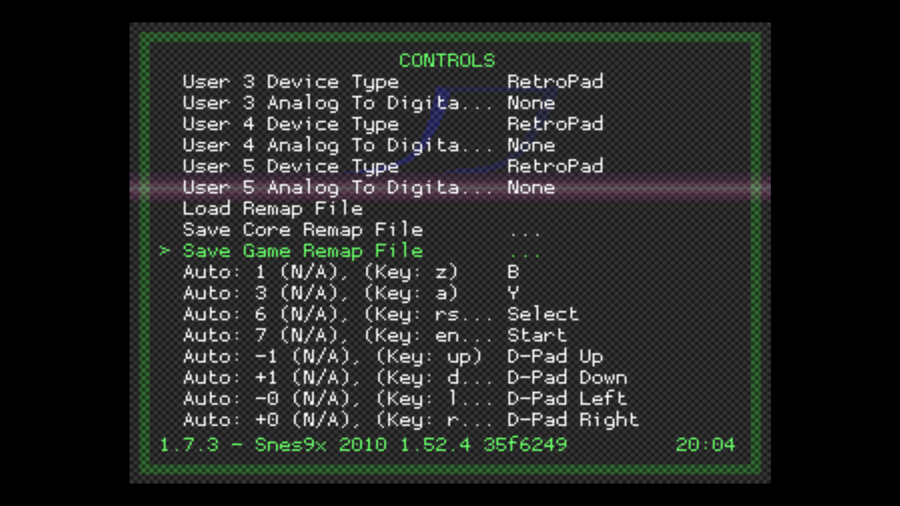
To create a custom profile for a single game…
- Open the game you want to create a custom controller profile for
- Hold the Select button and press X
- Choose Controls
- Optimize your button configuration as needed
- Choose Save Game Remap File
6 – Useful RetroPie hotkeys and where to find more
Hotkeys are an easy way to perform certain tasks or access special menu screens. They’re usually comprised of a two button combination. We’ve gathered a quick list of the most useful hotkeys below.
| Action | Hotkeys |
|---|---|
| Exit | Select + Start |
| Save | Select + Right Shoulder |
| Reset | Select + B |
| Access RGUI Menu | Select + X |

How to Save and Load Saved Games in RetroPie
No more marathons. Unless you want to.
7 – Troubleshooting
As always, if something isn’t working right we’ve got you covered. These are some of the most common issues facing RetroPie users with controllers.
Controller input is slow or delayed
This issue is common with wireless controllers. However, it can happen with wired ones as well. Try testing the controller on another device or computer to isolate the problem. If the controller is only slow when using the Pi, you may need to restart the device and configure it once again.
Custom profile is missing
Verify you have taken the proper steps to save the custom controller configuration. If the file isn’t saving, you will need to make sure both the SD card and destination folders are writable.
The custom controller profiles are saved in the following file path:
/opt/retropie/configs/RetroPie doesn’t recognize the controller
If RetroPie isn’t recognizing the controller, verify there are no obvious hardware issues causing the disconnect. The cable needs be completely inserted into the port, but shouldn’t require excessive force. Make sure the controller is working on other devices.
If the controller is working on other machines, it may be a compatibility issue with the Pi. You may need to restart the Pi and try to configure the controller once more. Search online, other users have encountered this problem using the same make and model controller.