How to change the RetroPie splash screen (or set a custom one)
Share
What you'll need
Interests
Series
Posted in these interests:


Splash screens are an incredibly fun way to customize your RetroPie setup. If you need something creative in your loading screen, this is the mod for you!

RetroPie: Build Your Own Raspberry Pi Retro Gaming Rig
How to install (and use) RetroPie!
1 – What is a splash screen?
This refers to the pictures or videos displayed while your Raspberry Pi is booting up (i.e. while RetroPie is loading). You can customize the splash screen in a variety of ways. You can choose pre-existing content or even create your own.
2 – How to change the RetroPie splash screen
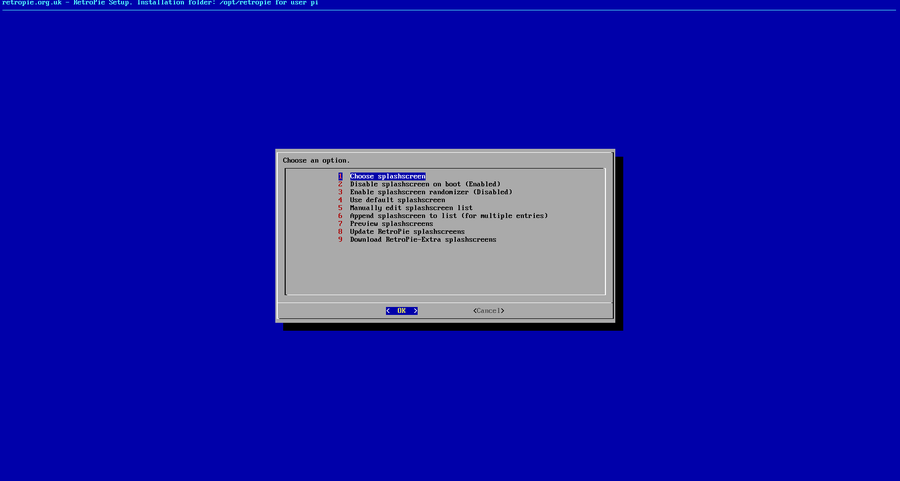
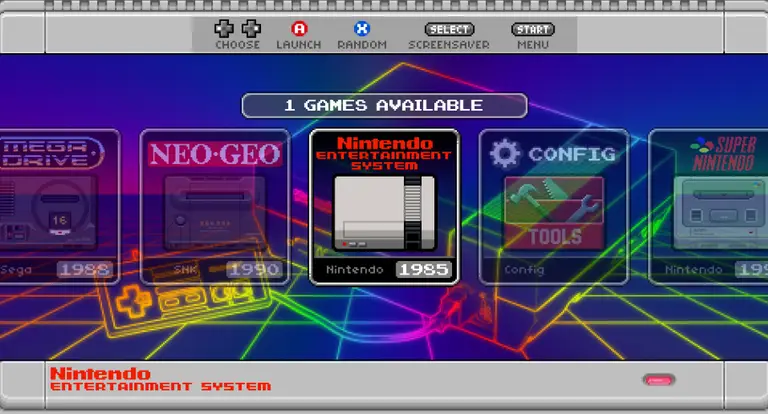
Under the configuration menu, you’ll find an option called “splash screens”. You can adjust a variety of settings for the loading screen in this menu. Use this page if you need to…
- Change the default splash screen
- Set the splash screen to a video
- Disable the loading splash altogether
- Add custom content to be used instead
3 – How to add a custom splash screen
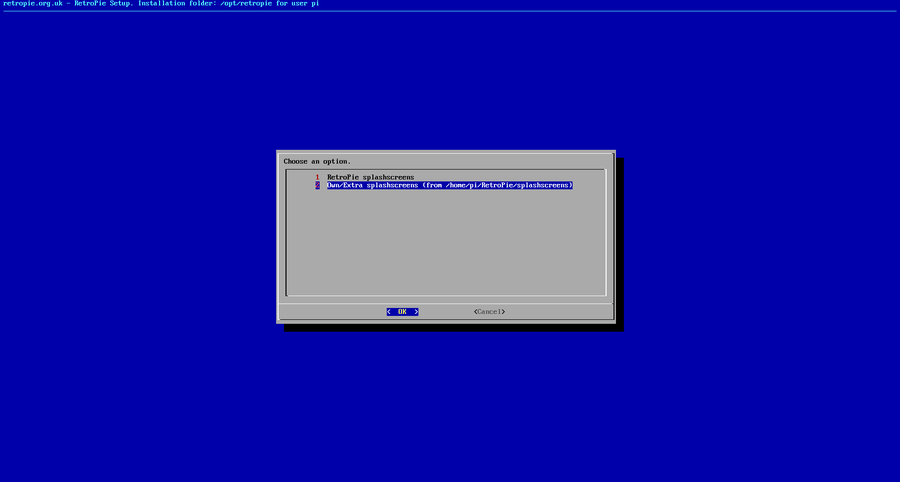
Custom splash screen content can be added to the Raspberry Pi quite easily. Using an FTP or SSH program of your choosing, store your custom splash screen content (both pictures or videos) to the following file path:
/home/pi/RetroPie/splashscreens/If you need to, check out our guide on how to log into your Raspberry Pi.

How to Connect to a Raspberry Pi Remotely via SSH
The preferred (and most common) method of connecting to your Pi to run commands.
Note: Images and videos need to be placed into their own unique folder. For example, to place a video named myvideo.mp4, the file path would need to include a unique folder just for the file itself.
/home/pi/RetroPie/splashscreens/myvideo/myvideo.mp44 – Using the default splash screens
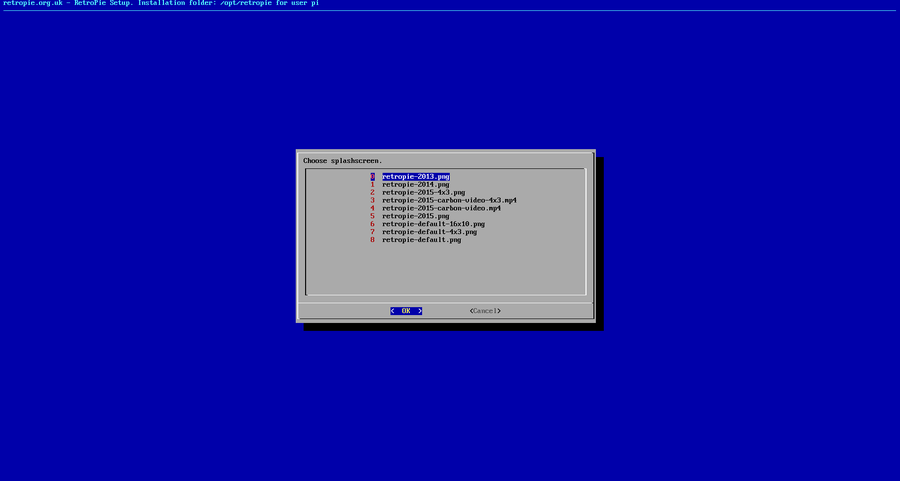
If you’re looking for something new with a little less effort, you should consider using the default RetroPie splash screens. RetroPie comes with several options for your loading display.
The default splash screens are pulled from this GitHub repository.
They can be set and accessed under the main splash screen menu. To get to this screen, open the RetroPie Configuration settings and choose “Splash Screens”.
5 – Adding a custom video
Custom videos are one of the coolest ways to add some flair to your Raspberry Pi project. Setting a custom video is almost as easy as setting a still image. The process for installation is the same, files need to be placed into this location with a unique folder:
/home/pi/RetroPie/splashscreens/However, the video files must meet certain requirements. For optimal results, be sure to use a video file that meets the following criteria.
Video Length
If your using an older Raspberry Pi 1, the recommended length is 20 – 40 seconds. Newer models come with a faster load time, making 5 – 10 second video clips ideal.
File Size
Be sure your video file isn’t too large. You’ll need to use a file size that easily fits within your storage capacity.
File Type/Format
Finding a compatible video format is often a tricky process. The need for common codecs is sometimes lost. That being said, the recommended file type for RetroPie splash screens is mp4. The mp4 file format is officially suggested by the developers for this task.
6 – Troubleshooting
Trying to update your Pi with custom content can sometimes be an intimidating process. Is something not working right? Don’t worry, we’re here for you. This list covers the most common splash screen issues.
The wrong splash screen is displaying
If the option you set isn’t displaying properly, tackle the easiest step first and try to reboot your RetroPie. Be sure to use the shutdown option from the menu.
If the issue continues, double check the splash screen settings and make sure the screen you want is still set. If the wrong file is still displaying, there may be a problem with the custom splash screen file you’re chosen.
No splash screen is displaying
This can be caused by several factors, the most common being a simple setting under the splash screens menu. Make sure the RetroPie is set to use a splash screen.
Another common cause for no display is file corruption. Make sure the file you’ve chosen is working properly and meets the file specifications outlined above.
Video isn’t playing properly
Sometimes you’ll find your custom video won’t play during the load screen. Make sure the video is set under the default menu.
The file specifications must match the official RetroPie requirements listed here. Make sure your file is free from corruption and accessible to the Pi.


