Create a Raspberry Pi MIDI keyboard synthesizer

Share
What you'll need
Interests

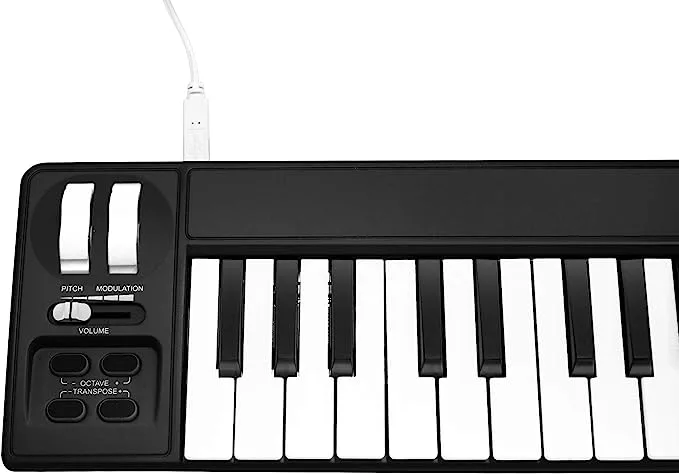

Waiting for the bass to drop? Wait no longer! Today we’re making our own Raspberry Pi-powered synth controlled with a MIDI keyboard. This project will allow us to create our own sounds and play them by pressing keys on our keyboard. I’ll be using a Yamaha keyboard with a USB MIDI port to interface with a Raspberry Pi 3 B+, but this project should work with any Raspberry Pi and keyboard with MIDI output.
Short demo video
We’ll build our synth system using a program called Pure Data (abbreviated as PD). PD was created by Miller Puckette in the late 90’s. The tool is used professionally and even runs on different operating systems, making it ideal for our project. PD uses files known as patches, which can be created on one machine and easily transferred to a different one. Follow along as we install, configure, and use Pure Data on the Raspberry Pi to work with a MIDI keyboard.
PD can be used for a lot of different projects. Today we’re using it to make a MIDI controlled synthesizer, but it’s scope of capabilities is much more broad. You can create a vocoder, autotune incoming audio streams, and even use it to make pedal boards for electric guitars.
1 – Install and update Raspberry Pi OS
Let’s get started with a fresh OS. For this project, I’m running Stretch. The latest version is called Raspberry Pi OS but all of the tools we use in this project may not work with it. Check out our guide on installing Raspbian Stretch to do what I did.

How to Install Raspberry Pi OS on Your Raspberry Pi
Get the new official Raspberry Pi OS on your Pi.
Usually, it’s just a matter of running the following code:
sudo apt-get update && sudo apt-get upgrade --yesFollow the update with a nice reboot.
2 – Install Pure Data
Pure Data is an awesome piece of open source software. You can find all sorts of expansions and add ons to really make the most of your synth projects. But today, we’ll keep things simple by using vanilla PD. To install the basic PD package, run the following code:
sudo apt-get install puredataFollow the prompts to ensure the package installs. As a general rule of thumb, I restart my Raspberry Pi after a new software install.
3 – Install ALSA tools and aconnectGUI
We need to install sound tools to connect our MIDI keyboard to Pure Data. ALSA tools has everything we need to create the connection. AconnectGUI will provide us with a pretty user interface to work with. If you don’t want to use the GUI, the operations can be performed via command line.
Run the following to install both ALSA tools and aconnectGUI.
sudo apt-get install alsa-base alsa-utils
sudo apt-get install aconnectgui
Follow the prompts to complete the installation and restart the Raspberry Pi.
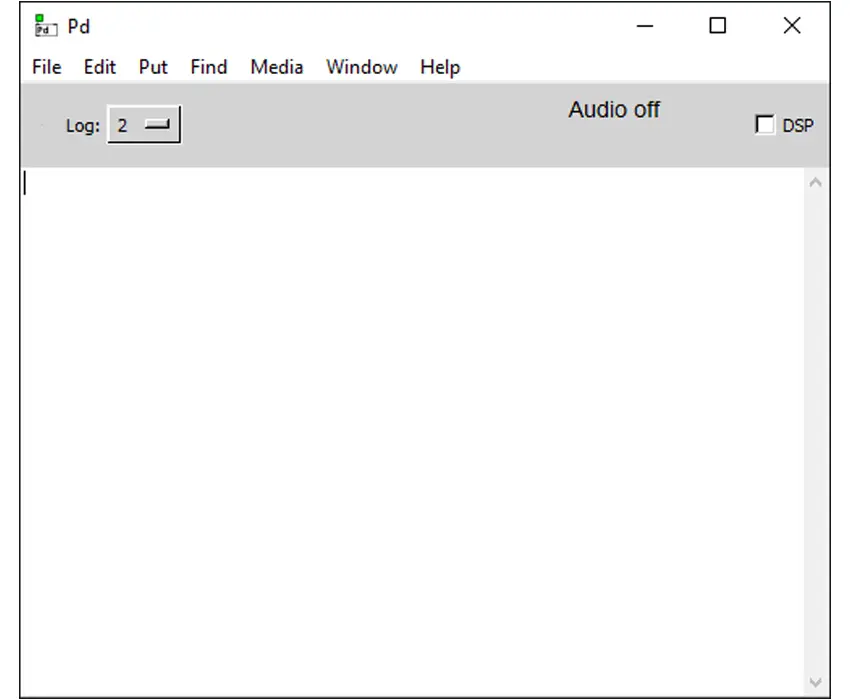
4 – Open Pure Data
I’m running Pure Data on a Raspberry Pi with a screen. It is possible to run PD headless, you can find a complete list of Pure Data command line functions here. There are a few ways to launch Pure Data. It can be found under the start menu folder Sound & Video.
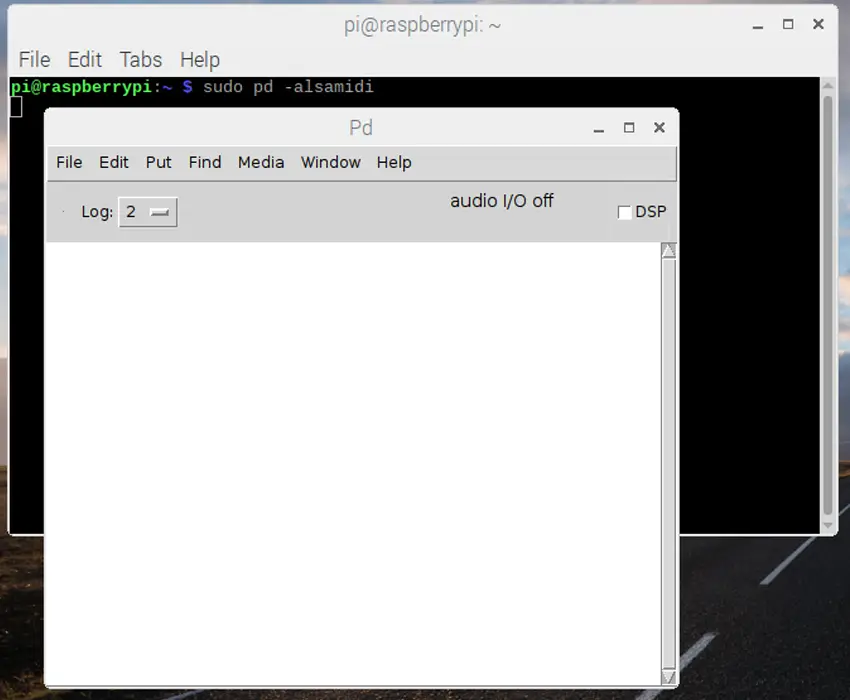
However, I’ll be launching PD via command line so it starts with admin privileges. I’m also including the tag -alsamidi so Pure Data launches with ALSA set as default. Run the following to launch Pure Data from a terminal.
sudo pd -alsamidi5 – Adjust MIDI settings
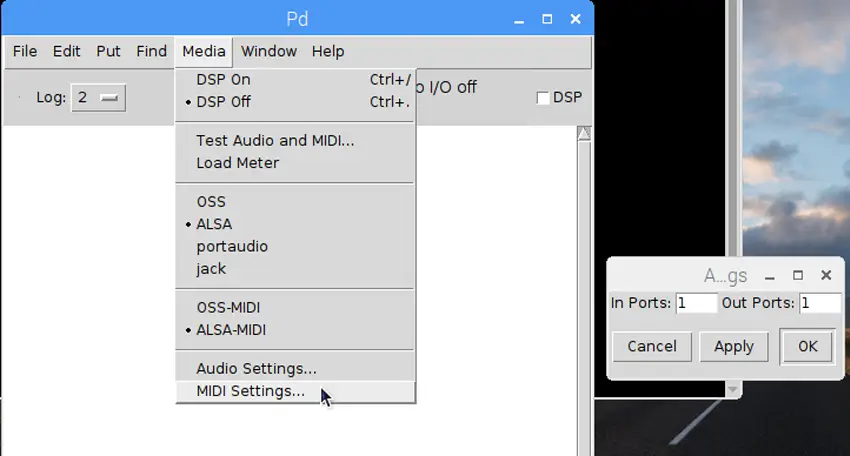
Next we need to open virtual ports within Pure Data. We’ll use these ports to connect our MIDI keyboard. ALSA should be set as default if you opened PD via terminal in the last step. To be sure, Open Media from the top PD window menu. ALSA-MIDI should be selected. If it’s not, left click to select it.
Open Media once again and choose MIDI settings... from the drop down menu. A small window will appear with text fields next to In Ports: and Out Ports:. These text fields each need to be set to 1. Click OK. This will activate the Pure Data MIDI ports we need.
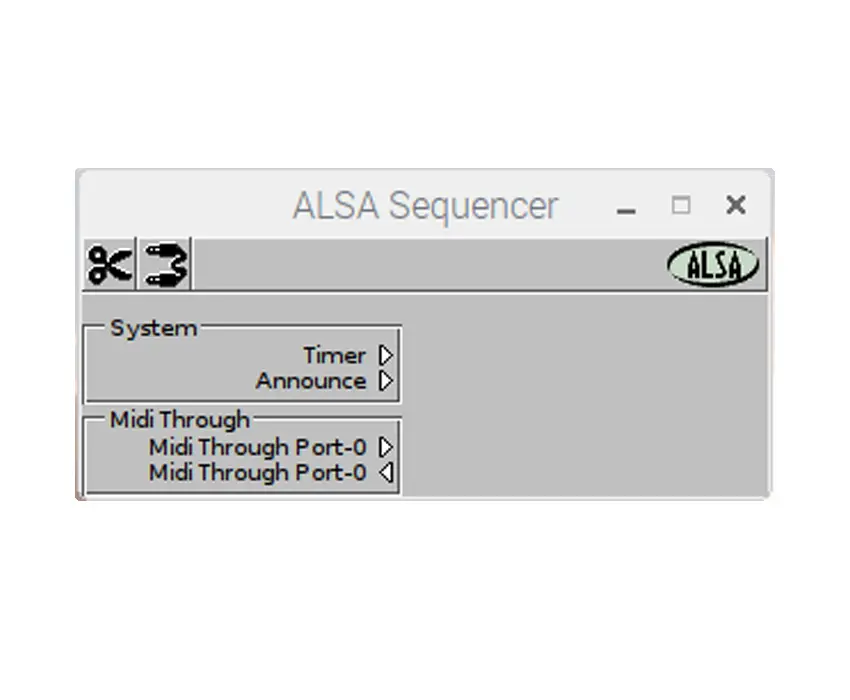
6 – Connect keyboard to Pure Data
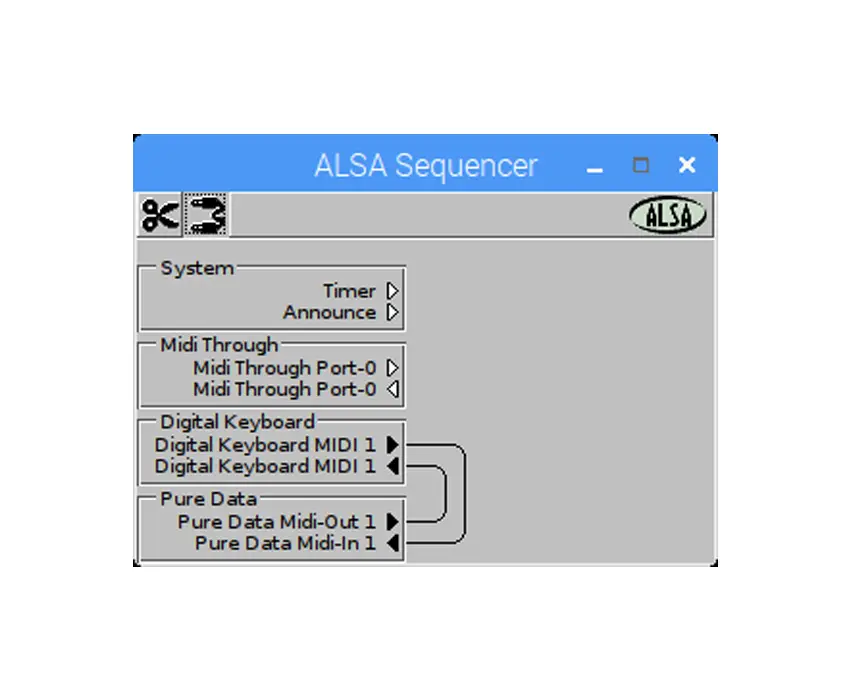
Plug your MIDI Keyboard into a USB port on the Raspberry Pi and turn the keyboard on. I will be using the aconnectGUI to complete the connection. You can find aconnect GUI under the start menu Sound & Video folder. The application will say ALSA Sequencer at the top of the window.
There are two buttons at the top of the window: scissors and a cable. Click the cable button to enable the connection mode. Locate your MIDI keyboard in the list then drag and drop the arrows to connect it to the Pure Data ports we opened.
7 – Open a patch (or create your own!)
Now it’s time for the fun part! Pure Data uses files called patches. Starting your PD synthesizer journey only takes an afternoon. I found several useful resources along my way and want to pass them off to you to help you get started.
- LWM Music
- Pure Data Official Documentation
- FlossManuals Pure Data Documentation
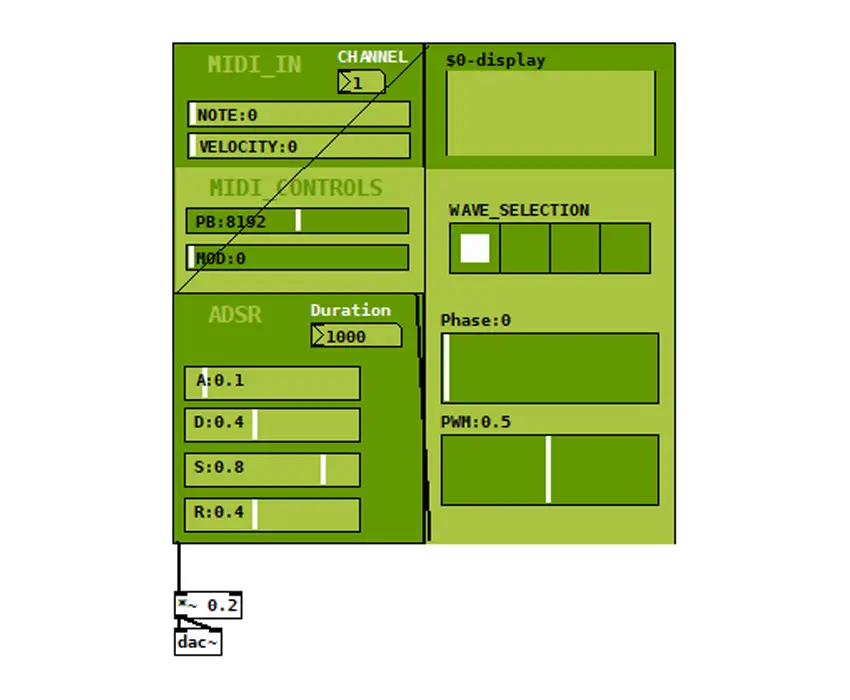
If you’re ready to jam now, download this MIDI patch I created and start playing immediately. Note: Patch files are built on existing patch files. The github link contains a zipped folder with 8 patch files. To launch the MIDI control module, unzip the folder and open MIDI_synth.pd.
This patch was made with the help of LWM Music tutorials on LWM Music. Dr. Lawrence W. Moore has a series of videos available on YouTube as well. The series is very well paced and thoroughly covers the basics of Pure Data. If you’re looking to build a solid foundation, this is a great place to start.
I recommend looking into different PD functions to implement them into your own patches. Additive Synthesis, for example, is a way of combining two waveforms to create unique wave patterns.
Congratulations! Your Raspberry Pi is now a funky fresh MIDI controlled synthesizer machine.