How to Add a Fan to the Raspberry Pi 4 for Proper Cooling (You Need One)


Share
What you'll need
Interests
Series


Posted in these interests:


The Raspberry Pi 4 has been a hot topic since it’s release—and no one knows that better than Jeff Geerling. In a recent blog post, Jeff reveals a serious issue that’s impacting the performance of the Pi 4.
Be sure to also check out our guide on adding a Raspberry Pi fan that will turn itself on and off automatically!
Automatically Control Your Raspberry Pi Fan (and Temperature) with Python
It’s getting hot in here (so hot), so let’s just write some code.
Update 11/30/20: An official Raspberry Pi 4 case fan was recently released. This is ideal for anyone who wants to cool their Pi with name-brand hardware. It’s specifically designed to fit the official Raspberry Pi 4 case, so if you’re using this case you can order this fan instead—doing away with the need to drill a hole!
1 – Why the Pi 4 needs a fan

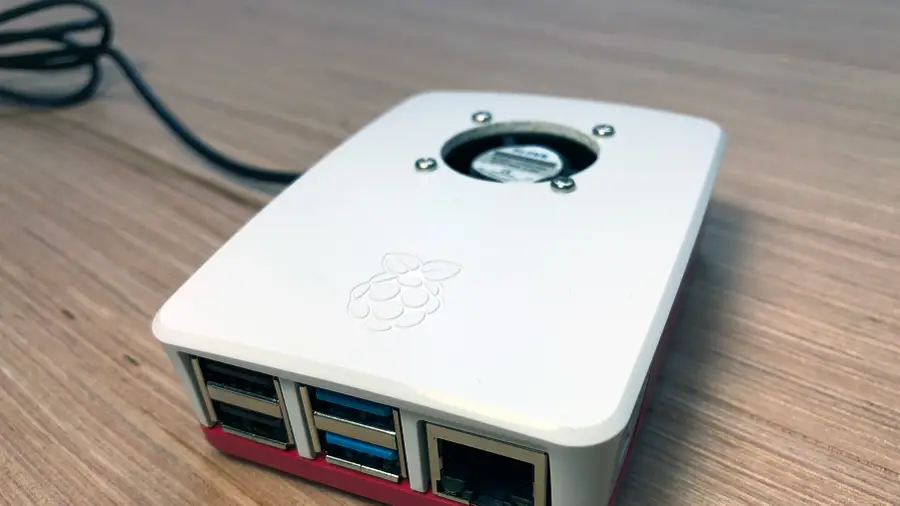
The Raspberry Pi Foundation released an official Raspberry Pi 4 Desktop Kit. The kit comes with a new plastic case featuring holes for every port on the Pi 4, but nothing at all for ventilation. This project uses the official Raspberry Pi 4 case, though you can use any other case to accomplish this project as well.
Most Raspberry Pi models don’t need fans or heatsinks for everyday use—but the Pi 4 is another story. The CPU idles around 60°C. Running heavy processes can heat the board so much it hurts to touch. Too much heat will cause the CPU to throttle, causing serious performance issues.
Jeff revealed some telling images by photographing the Pi 4 with a thermal imager. Most of the heat appears to come from the USB-C power circuitry. Since the heat has nowhere to leave inside the Pi 4 case, he decided to install a fan. Here’s a quick breakdown of the project.
2 – Drill a hole for the fan
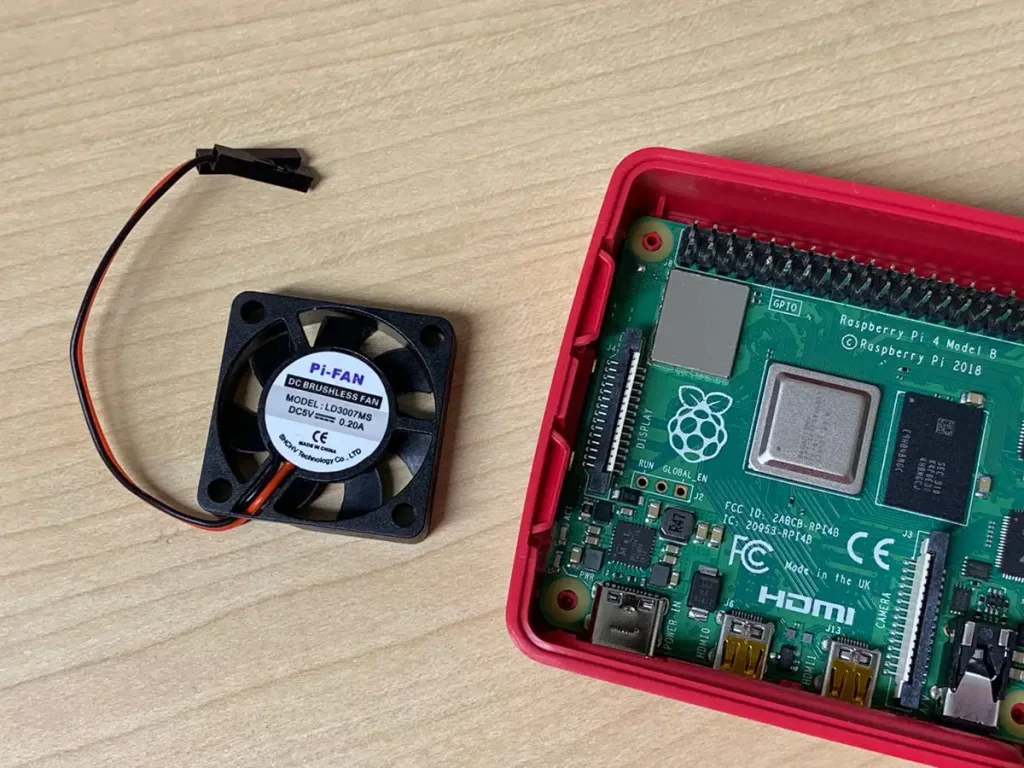
The Pi-Fan is attached to the top half of the Pi case. Drill a hole in the center using a 1-1/8″ hole saw. Be sure to smooth out the edges with a file or sandpaper.
| 🛈 Because the plastic is fragile, I recommend running the hole saw backwards to drill the hole more slowly and carefully. |
3 – Drill holes for the fan screws
Line the fan up with the newly drilled hole and mark the screw holes with a pen or pencil. When drilling the screw holes, you will need a 7/64″ drill bit. Smooth out the edges and remove any remaining plastic.
4 – Mount the fan to the case

Place the fan inside of the Pi case with the “Pi-FAN” sticker facing up. Line up the fan and screw it into place.
5 – Connect the fan to the Pi
Connect the fan’s red wire to GPIO pin 4 (5V) and the black wire to GPIO pin 6 (ground). The fan should receive power automatically when the Pi is booted.
If you’d like your fan to only run when needed (based on Pi temperature), check out our Raspberry Pi fan controller guide.
Automatically Control Your Raspberry Pi Fan (and Temperature) with Python
It’s getting hot in here (so hot), so let’s just write some code.
6 – Run a stress test (optional)
After installing the fan, you may want to initiate a stress test to see how it’s impacting the Pi. Jeff’s observation resulted in a lower temperature that kept the Pi 4 well under its throttling point by about 20°C. You can find more details on performing a stress test in his original post. Don’t forget to check out our guide on how to measure the core temperature of your Raspberry Pi.

Measure the Core Temperature of Your Raspberry Pi
Hot pie is delicious, but a hot Pi is not.
7 – Watch Jeff install a fan to the Pi 4
In this video, Jeff breaks down everything you need to add a fan to the Pi 4. Don’t forget to check out the full post on Jeff Geerling’s website!


