
Starting with MacOS Sierra and High Sierra, your Mac will no longer play a “pop” sound w
As a website designer, I work with a lot of files—and a lot of file types. Nothing’s worse t

Your Mac has a “feature” that will put time machine backups on your local disk if your p

Blender is one of the most popular open-source 3D creation suites today. It doesn’t cost a dim
In this guide, we’re going to use AppleScript and a tool called osascript to display
With the introduction of the new macOS, Big Sur, many things like even securely emptying your t

Blender has made a name for itself over the years as the go-to open source 3D modeling application.
As a big fan of Sublime Text, I was excited to find out that somebody made a port of the Monokai the
This guide will show you how to install SSHFS on various operating systems. 1 – On macOS Using
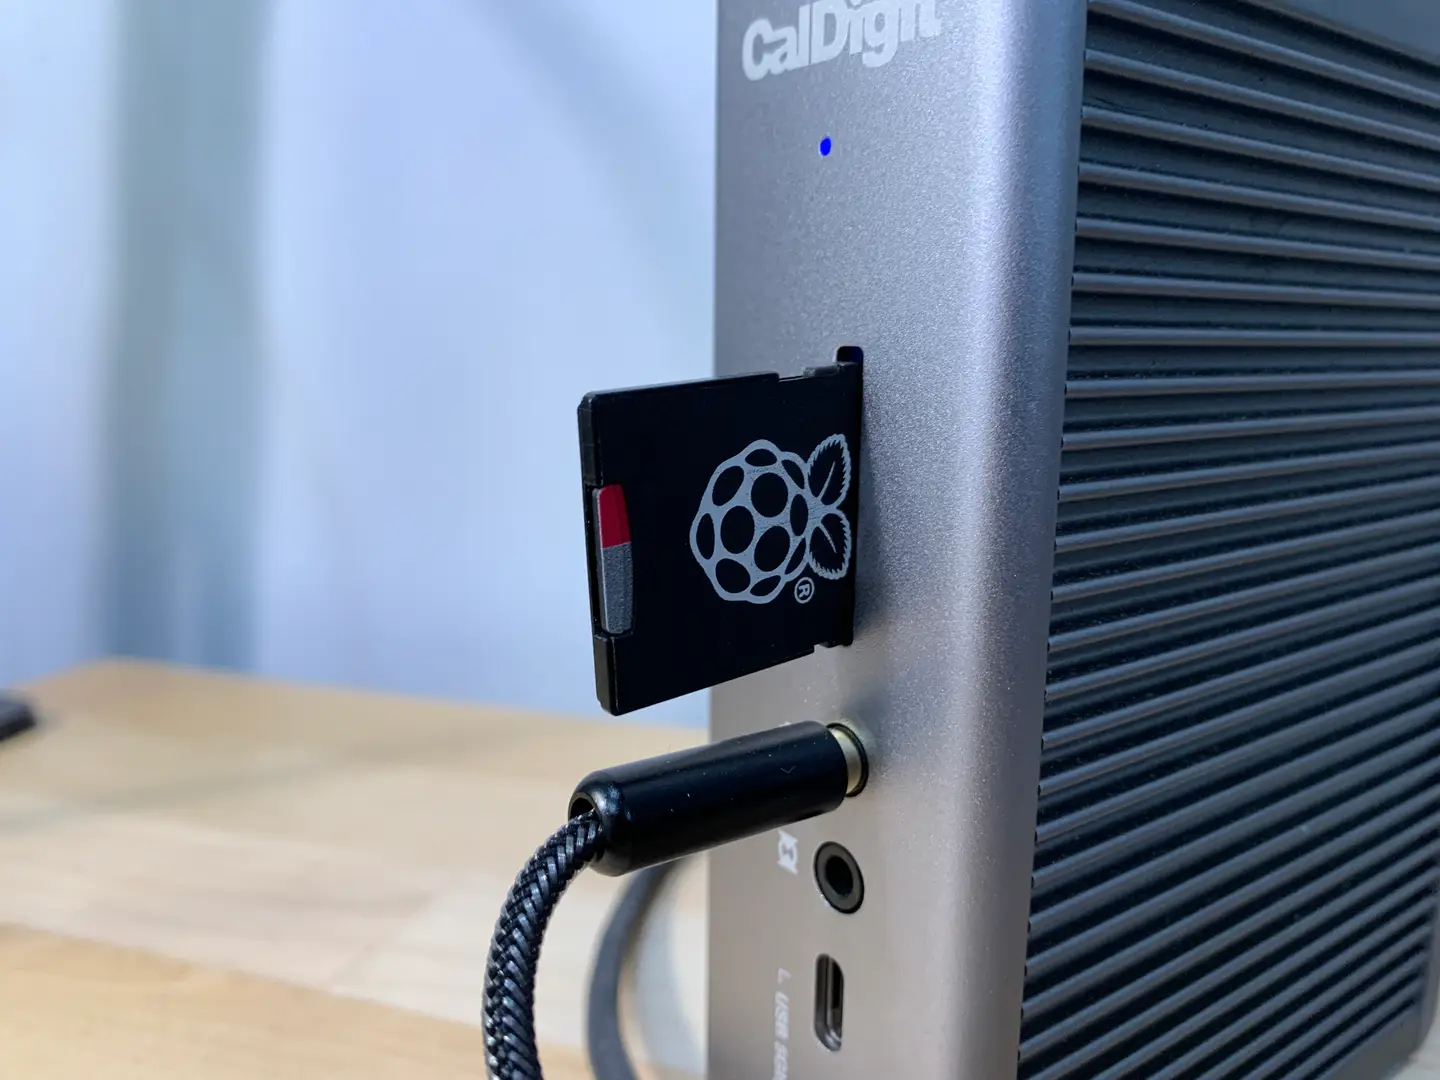
This short guide will show you how to create a backup image of your Raspberry Pi’s SD card on
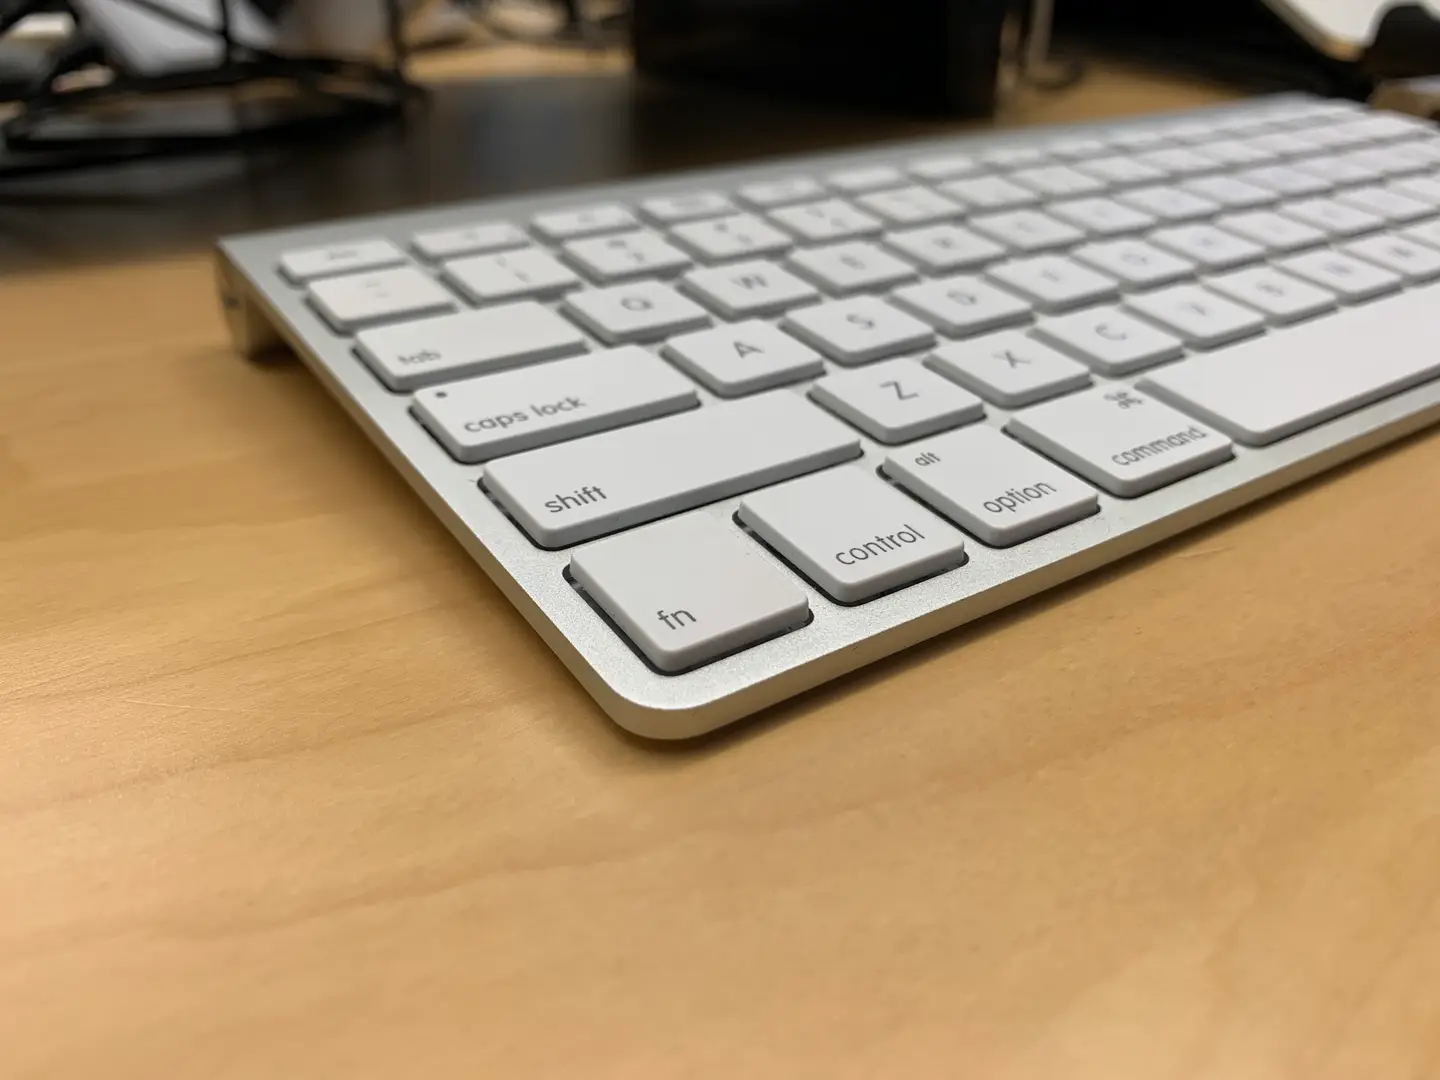
I rarely, if ever, use the function key on my Mac keyboard. Moreso, decades of computing has taught

You probably use your backspace [delete] key quite a bit. If you have a Macbook Pro, you p
