
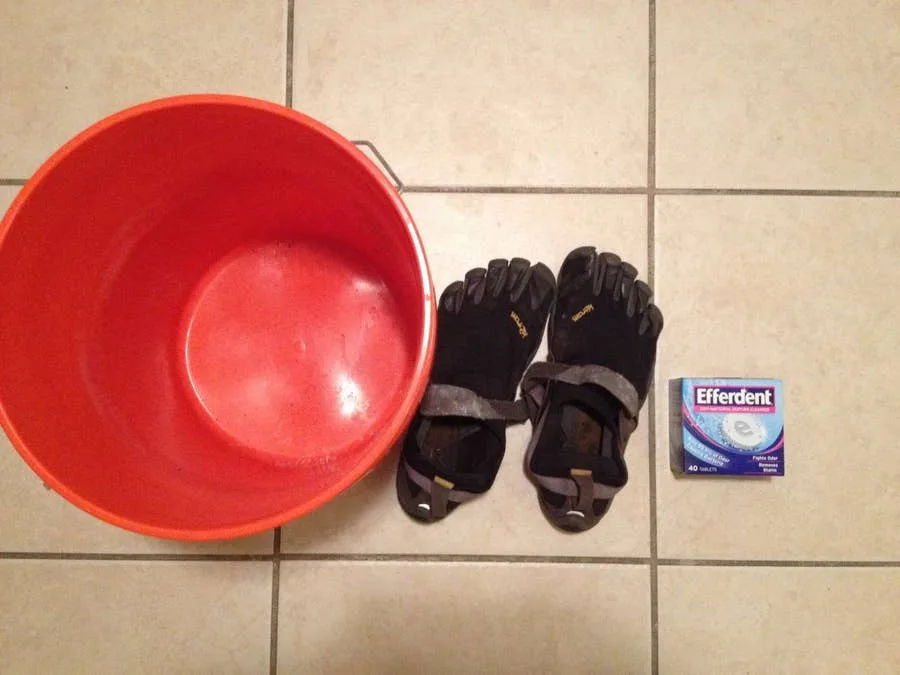
Vibram Five Finger shoes are awesome pieces of running gear. But you can also use them for hiki
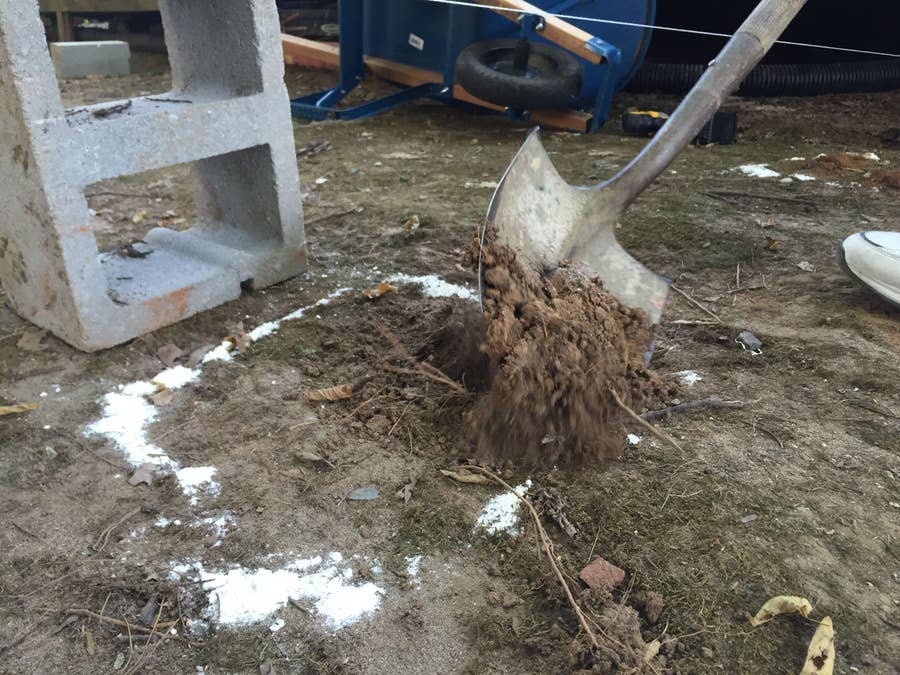
Clay can be a real pain to dig in. Whether its footers for a backyard deck or simply potted plants,
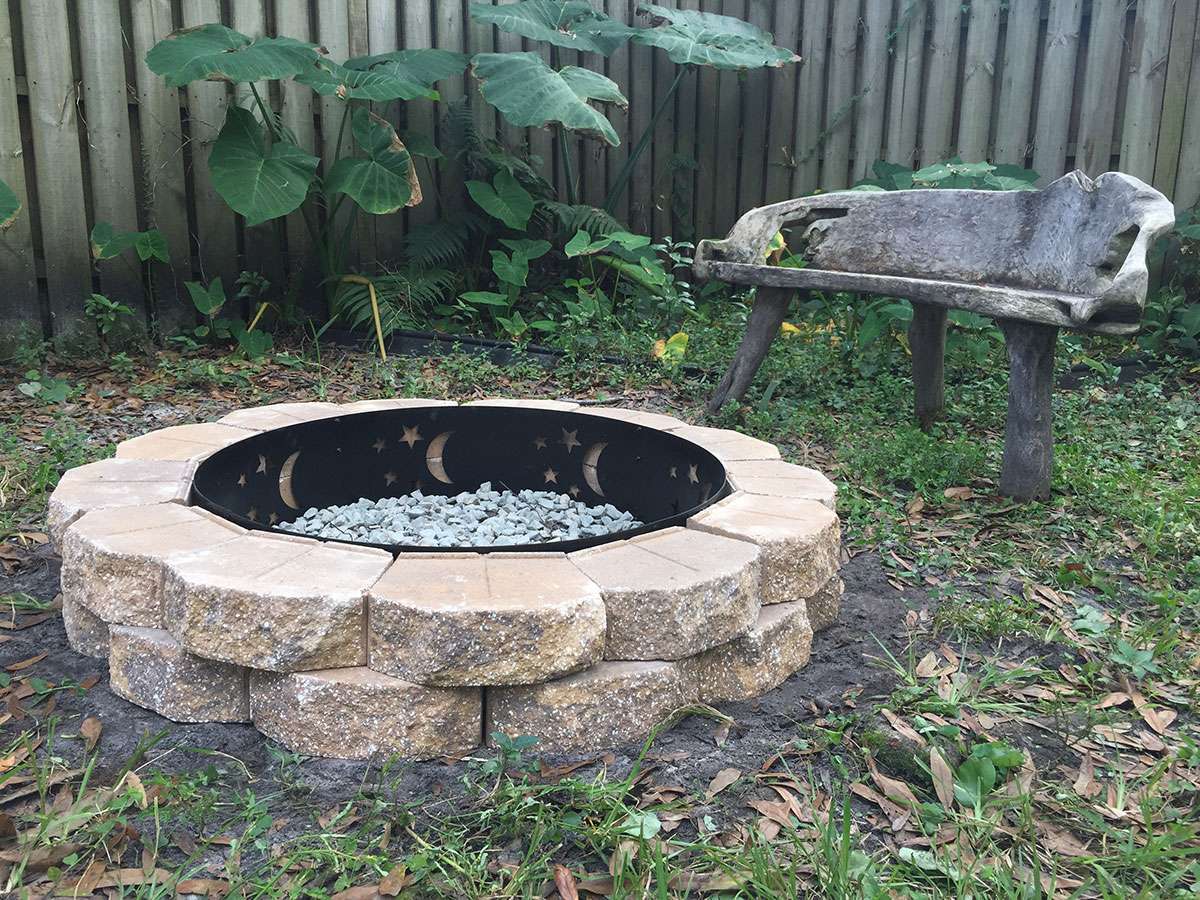
There’s nothing like a fire pit to bring friends together! I decided to make a budget-consciou
