How to Back Up and Restore Your Raspberry Pi SD Card on Mac

Share
What you'll need
Interests

This short guide will show you how to create a backup image of your Raspberry Pi’s SD card on Mac (MacOS and OS X), as well as how to restore the image later. This approach will also work for cloning your SD card to another card.
Backing up a properly configured system is a good idea that will save you tons of time down the road.
Let’s get started!
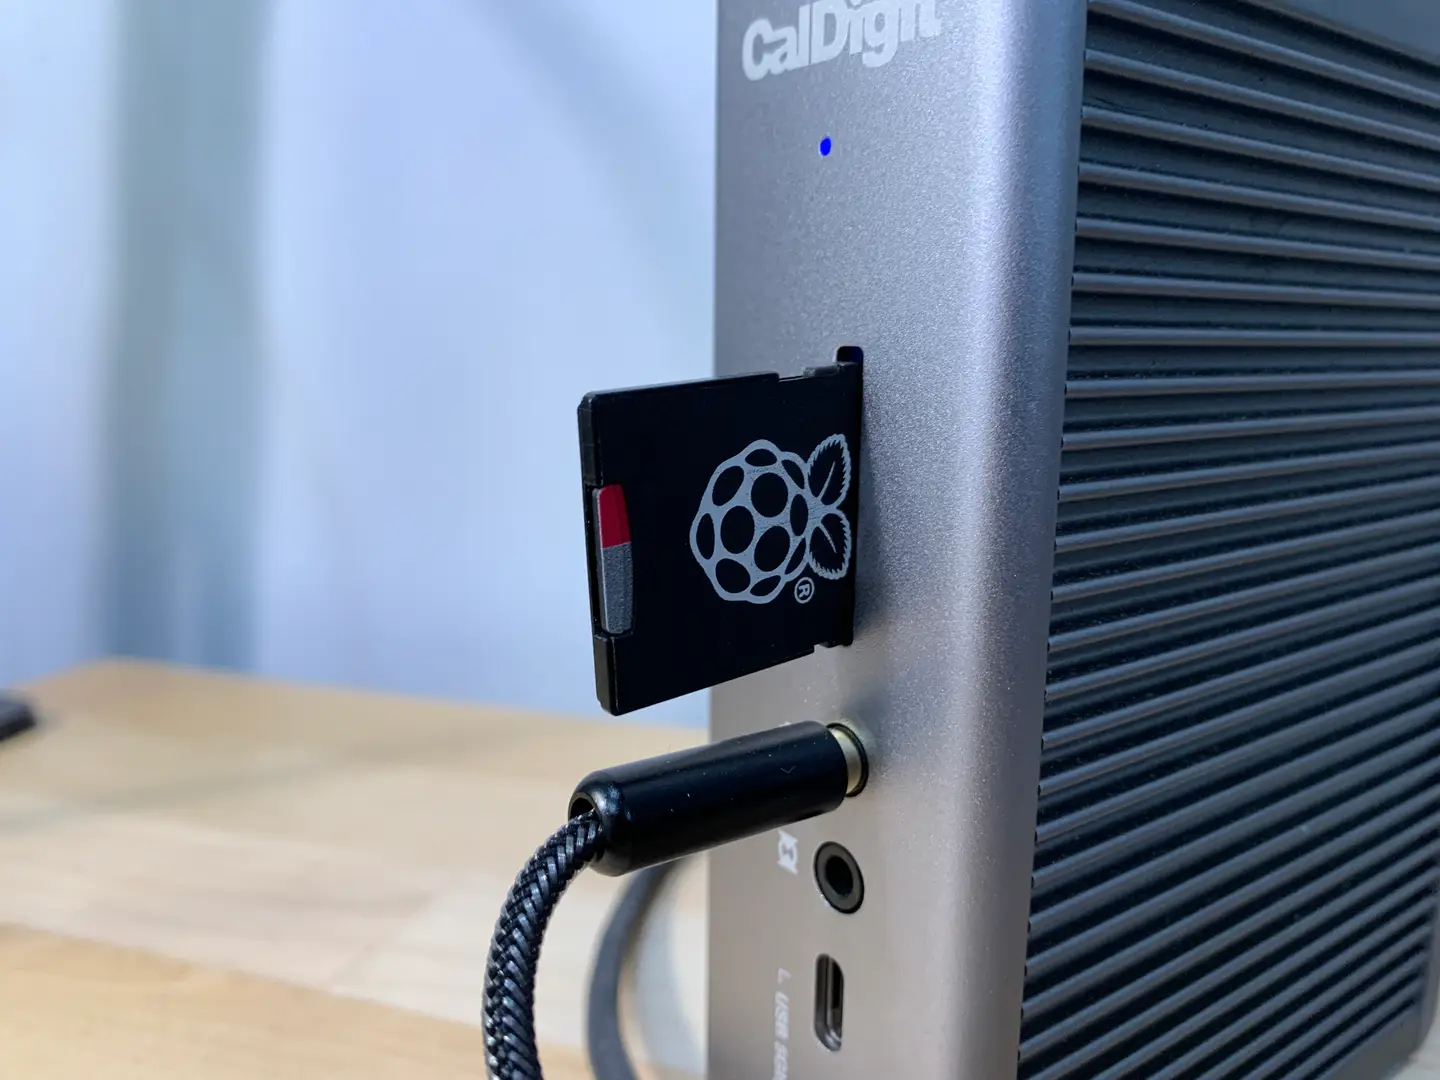
1 – Connect the SD card to your computer
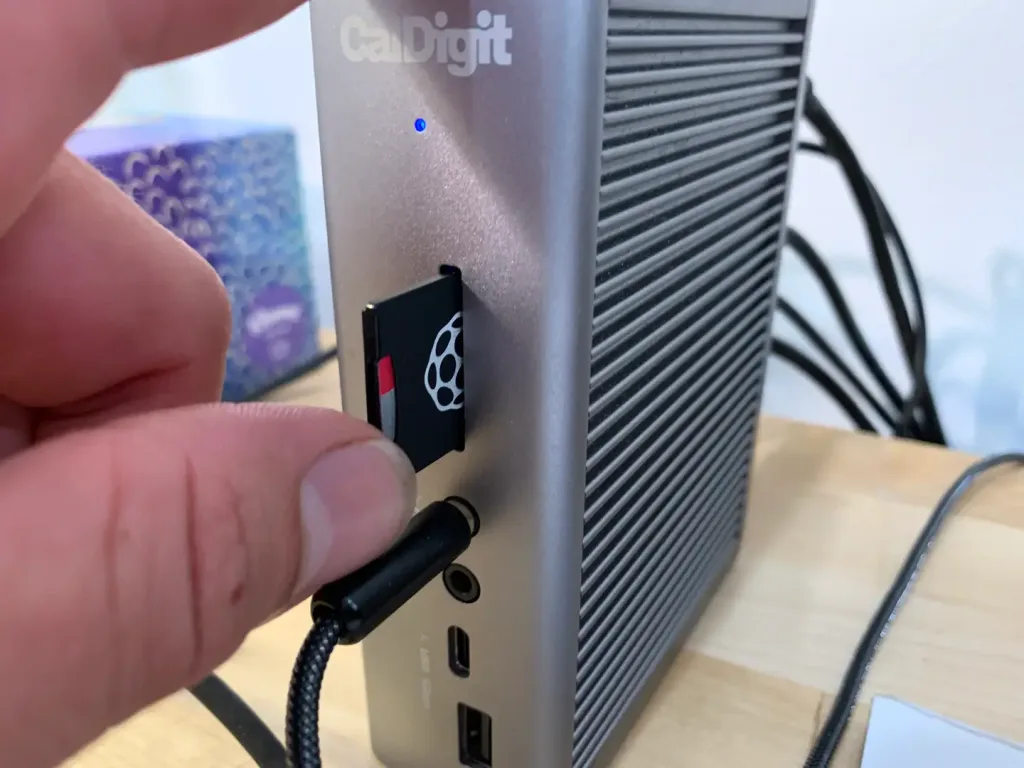
Use whatever SD card adapter you have to connect your SD card to your computer.
2 – Open Terminal
Navigate to Applications > Utilities > Terminal.
3 – Find your SD card name
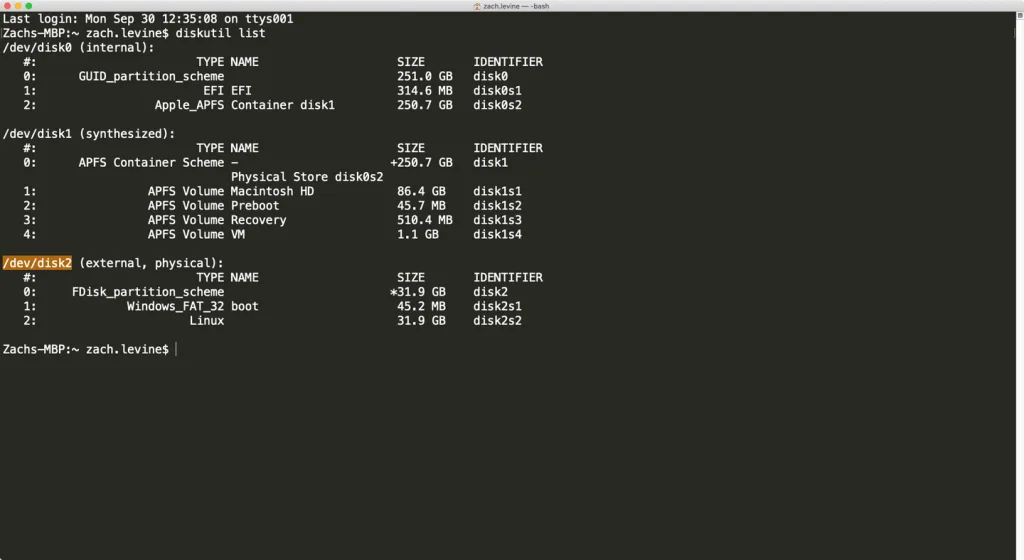
Enter the following command to find your SD card’s name:
diskutil listYou can identify your card by size and partition type. You should see the Raspberry Pi boot partition type of Windows_FAT_32 next to the drive.
For example, my card’s name is /dev/disk2.
4 – Create a full SD card backup
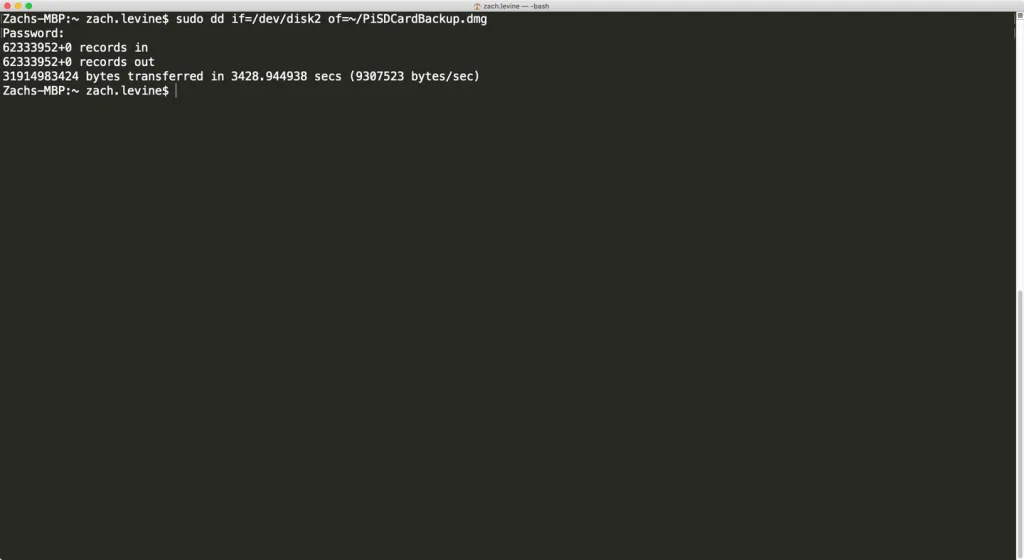
Use the following command to use the dd utility to backup your Raspberry Pi SD card, changing /dev/disk1 to your disk’s name and path:
sudo dd if=/dev/disk1 of=~/PiSDCardBackup.dmgEnter your password when prompted.
This will create a file named PiSDCardBackup.dmg in the user directory (~). To change the filename or put it somewhere else, you can change ~/PiSDCardBackup.dmg to something else. For example, ~/Documents/OctoPrint.dmg will name the file OctoPrint.dmg and place it in your Documents folder.
While the backup process is running, you should just see a flashing | indicator.
| 🛈 Depending on the size of the contents of your card, this may take a while! It took about an hour to create a backup of my full 32GB SD card. |
5 – Safely eject your SD card
Don’t forget to safely eject your card before removing it from your computer to prevent data corruption. You can do this in Finder by clicking the eject icon in the sidebar. You’re all done!
6 – Restoring the SD card
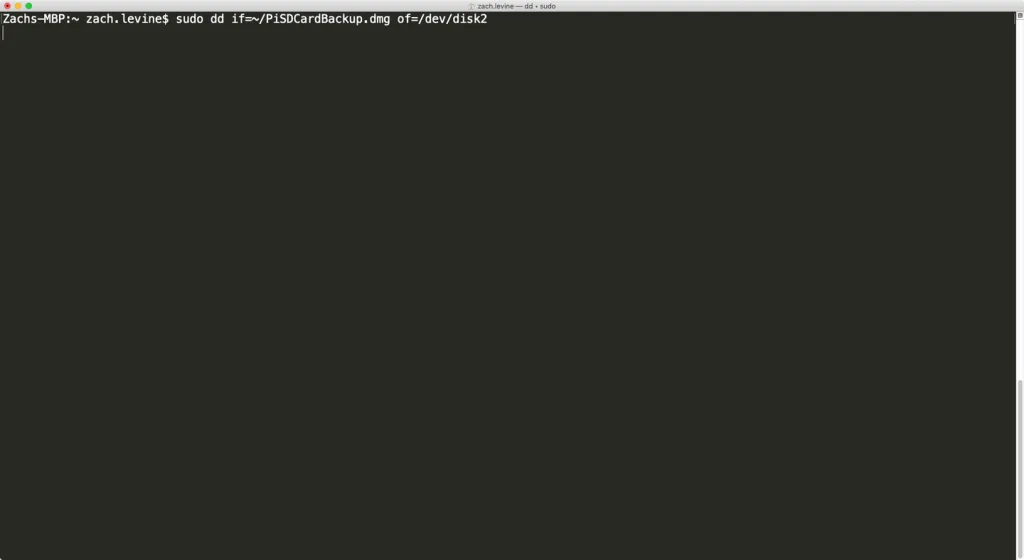
To restore your backup or clone it onto another SD card, reinsert it into your computer and use the following commands:
diskutil unmountDisk /dev/disk1
sudo dd if=~/PiSDCardBackup.dmg of=/dev/disk1
Be sure to replace /dev/disk1 once again with your card ID, and specify the proper location for the backup image you’re restoring from.
When you’re finished, eject your SD card once more.
| 🛈 The card ID might have changed since reinserting the card; be sure to always check for the card ID each time you want to back up or restore a card. |