How to Set up Your Raspberry Pi Without a Keyboard, Monitor, or Mouse

Share
What you'll need
Interests

Posted in these interests:

If you don’t have an extra keyboard and monitor laying around, or if you generally prefer working on the command line, then you’ll benefit from a headless Raspberry Pi setup. In this case, headless simply means that we’ll set up and use the Raspberry Pi without any monitor or other GUI. This guide will walk you through the process of setting up a headless Raspberry Pi.
I recommend using a Raspberry Pi 3/4 or Raspberry PI Zero W since they have onboard WiFi. If you’re using a different version of the Pi, you’ll need to add a Raspberry Pi WiFi USB adapter.

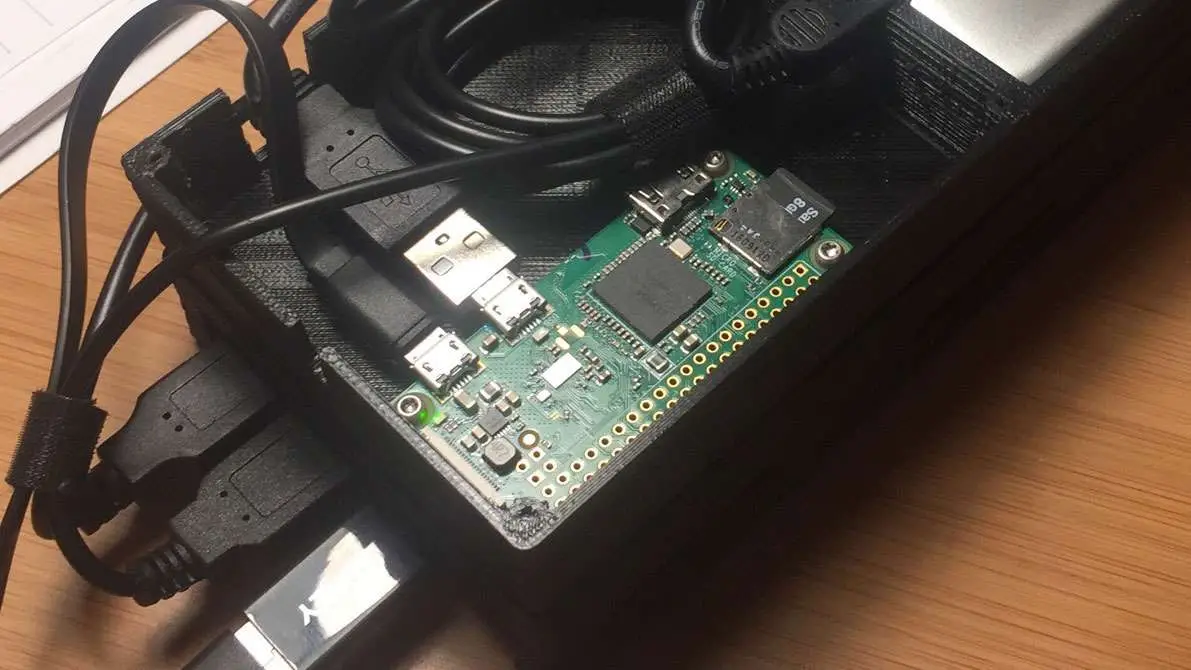
In addition to the Pi, you’ll need a power supply, SD card, and another computer.
1 – Install Raspberry Pi OS on the SD card
We’ve written a detailed guide on how to install Raspberry Pi OS on your Raspberry Pi. Follow this guide to get the latest version of Raspberry Pi OS on your SD card.

How to Install Raspberry Pi OS on Your Raspberry Pi
Get the new official Raspberry Pi OS on your Pi.
After installing Raspberry Pi OS on the card, leave the SD card in your computer. We’ll do much of the remaining setup from here.
2 – Enable SSH
To enable SSH, first navigate to the boot directory:
cd /Volumes/bootNow create an empty file called “ssh”:
touch sshThis will enable SSH when the Pi is booted. If you need more details on this process, view the full guide to enable SSH on Raspberry Pi OS without a screen.

How to Enable SSH on Raspberry Pi OS Without a Screen
The SSH protocol is disabled by default.
3 – Enable WiFi
In order to SSH into your Pi, you’ll need to be connected to your local network. You can, of course, use Ethernet, but if you’re using the Raspberry Pi 3, you’ve got WiFi built-in. So let’s add our WiFi configuration to the Pi so it’s available when we boot.
Navigate to the boot directory:
cd /Volumes/bootAnd create a file called wpa_supplicant.conf. Add the following to this file:
For Raspbian Jessie:
network={
    ssid="YOUR_NETWORK_NAME"
    psk="YOUR_PASSWORD"
    key_mgmt=WPA-PSK
}
For Raspbian Buster or Stretch:
ctrl_interface=DIR=/var/run/wpa_supplicant GROUP=netdev
network={
    ssid="YOUR_NETWORK_NAME"
    psk="YOUR_PASSWORD"
    key_mgmt=WPA-PSK
}
You’ll need to add your wireless network name and password.
Again, if you need more details on this process view the full guide on how to set up WiFi on your Raspberry Pi without Ethernet.

How to Set up WiFi on Your Raspberry Pi Without a Monitor (Headless)
No monitor, keyboard, or mouse? No problem.
4 – Unmount the SD card and boot the Raspberry Pi
At this point, you can access the Raspberry Pi via SSH. Remove the SD card from your computer, then put it in the Pi and boot.
5 – Find the IP address of the Pi
Now we’ll need to find the IP address of the Pi. If you’ve only got one Pi on your local network, this is easy. Simply use ping.
ping raspberrypiIf you’ve got multiple pi’s, you may need to scan the network with nmap and locate your Pi.
nmap -sn 192.168.1.0/24You’ll need to make sure you’re using the correct subnet. Then find the address of your Pi in the output. For more information see the full guide on finding the IP address of your Raspberry Pi.

6 – SSH into the Pi
With the IP address located, you can SSH into the Pi using:
ssh [email protected]Of course, you’ll need to substitute your IP address.
7 – (Optional) Mount the Raspberry Pi onto your computer
This is not a necessary step, but for many it’s preferable to mount the Pi’s filesystem locally rather than work directly on the Pi. We’ll use sshfs to create the mount, so first install sshfs.
Now create the directory where you’ll place the mount. I’m going to use /Volumes/pi.
sudo mkdir /Volumes/piNow create the mount.
sudo sshfs -o allow_other [email protected]:/ /Volumes/pi


