How to Take a Photo with Your Raspberry Pi Camera
Share
What you'll need
Interests
Posted in these interests:

Why not turn your Raspberry Pi into a camera? After all, you need some way to prove to your loved ones that your dog, not you, ate the food that was on the counter.
Using the Raspberry Pi camera and the Python module, picamera, it’s a pretty trivial task. This guide will walk you through the process of setting up the camera and writing a Python script to snap a picture.
Using your Pi for still photo or video capture options a ton of possibilities — from home automation to facial recognition to DIY Pi security systems, the opportunities are endless.
1 – Connect your camera to the Raspberry Pi
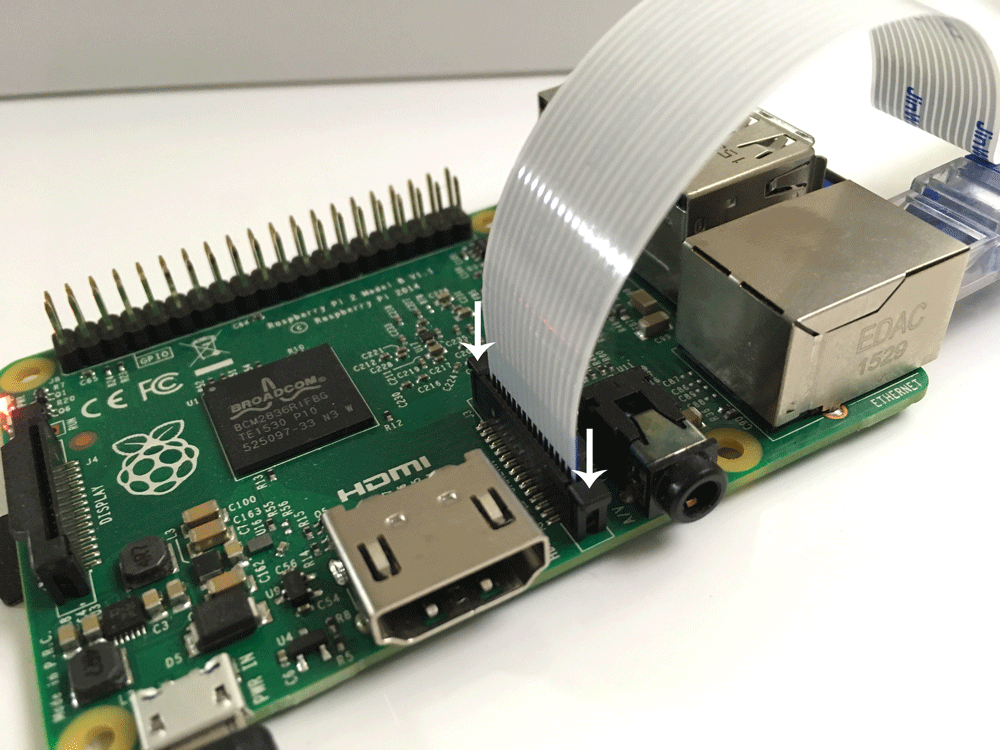
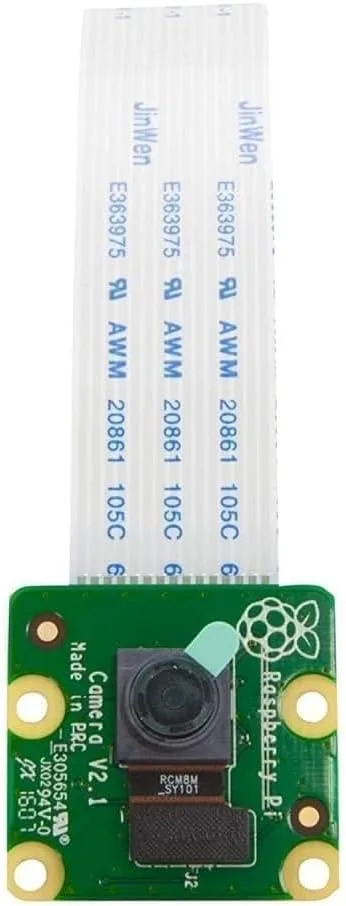
For this guide, we’re going to be using the Raspberry Pi Camera. If you’ve done it before, connecting the camera is easy. If not, you might want to follow our more detailed guide on connecting the camera to the Raspberry Pi.

How to Connect a Camera to the Raspberry Pi
Get ready to record!
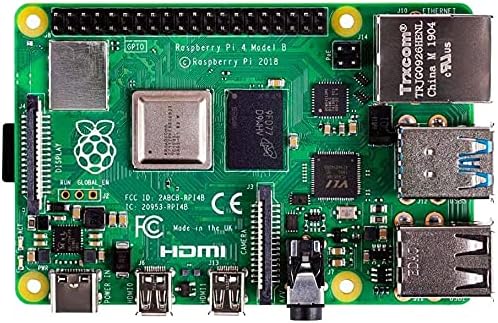
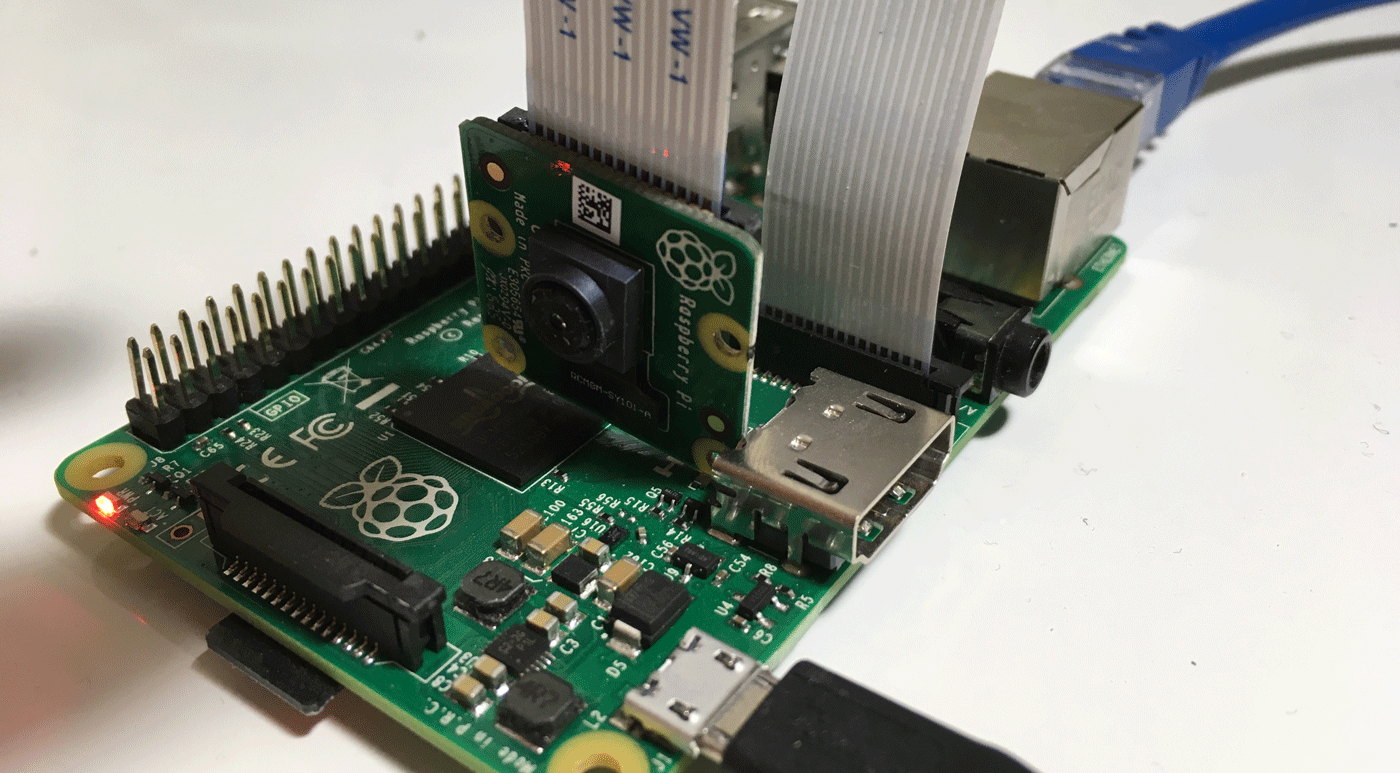
To connect the camera, first shut down the Pi. Then locate the camera port, and lift up on the tab. Slide the camera’s flex cable into the port, and then close the tab to lock it in place. Then you can power the Pi back on.
2 – Connect to the Pi via SSH
You can ssh into your Raspberry Pi by opening a shell and typing the following:

How to Connect to a Raspberry Pi Remotely via SSH
The preferred (and most common) method of connecting to your Pi to run commands.
ssh pi@raspberrypiThe default password is “raspberry”.
3 – Enable the camera
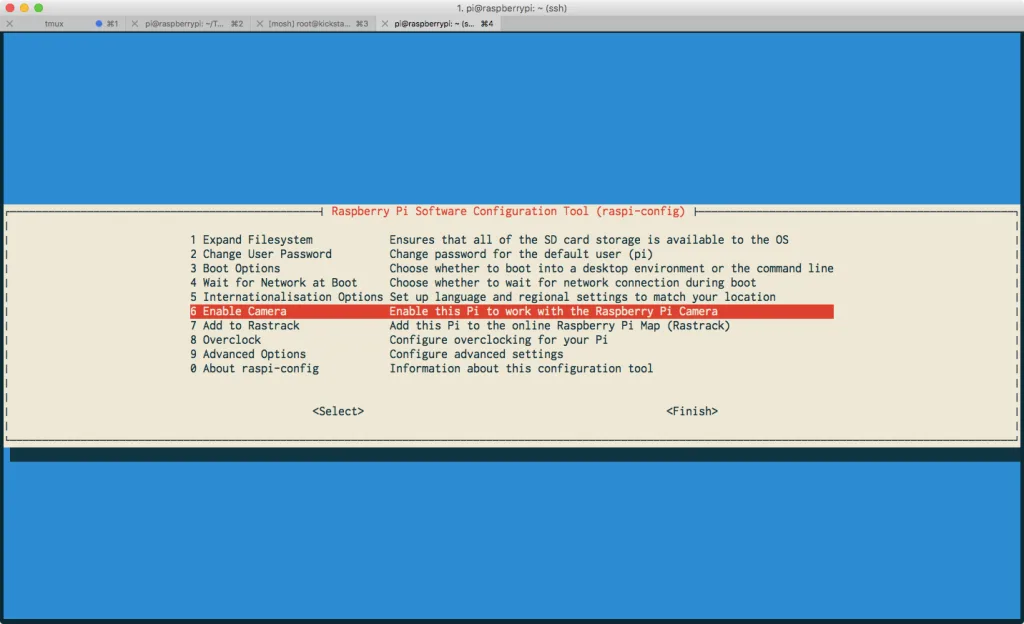
To use the camera you’ll have to enable it using raspi-config.
raspi-configOnce raspi-config opens, use the arrow keys to navigate to the line that says “Enable Camera” and hit enter. Then select “Yes” and hit enter again. Select “OK” and then “Finish”.
You’ll be prompted to restart the machine. In order for the camera to work, you’ll have to reboot.
4 – Create camera.py
We’re going to create a Python script to snap a picture called “camera.py”.
You can do this right in the pi user’s home directory (which is where you should be if you ssh’d in). To create the file, type:
touch camera.pyThen you can edit the file in your favorite editor. Add the following to camera.py.
#!/usr/bin/env python

from picamera import PiCamera
from time import sleep

camera = PiCamera()
camera.start_preview()
sleep(5)
camera.capture('/tmp/picture.jpg')
camera.stop_preview()
As you can see, this file is pretty simple. We use the picamera module to control our camera. First, we start a preview. This turns on the camera and allows it to begin to focus. We wait 5 seconds to give it enough time to focus, and then we capture the picture. For this example, we save the picture to /tmp/picture.jpg.
5 – View the picture
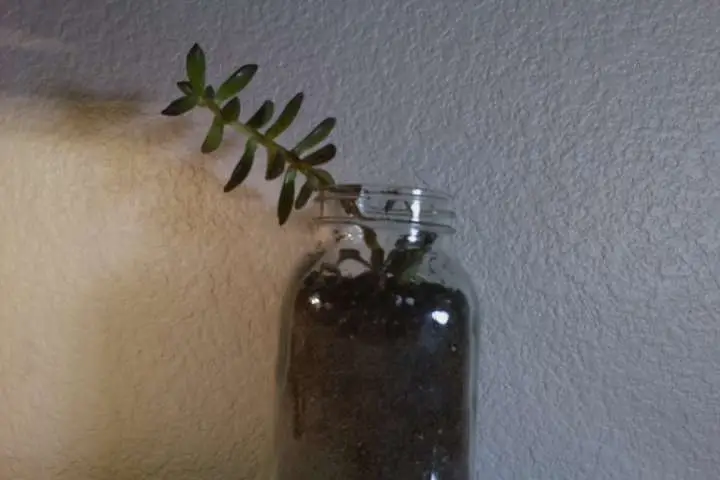
To see the picture there are a few options. First, you can log in to the Pi using VNC and view the image from the Pi desktop. Or you can simply scp the file to your local machine and view it there.
To do so use:
scp pi@raspberrypi:/tmp/picture.jpg ~/Downloads/This will place the image in your Downloads folder. Enjoy this picture of the succulent on my desk.
| 🛈 It’s a really good succulent. |

