Power Your Raspberry Pi Zero with a Battery Using the JuiceBox Zero

Share
What you'll need
Interests
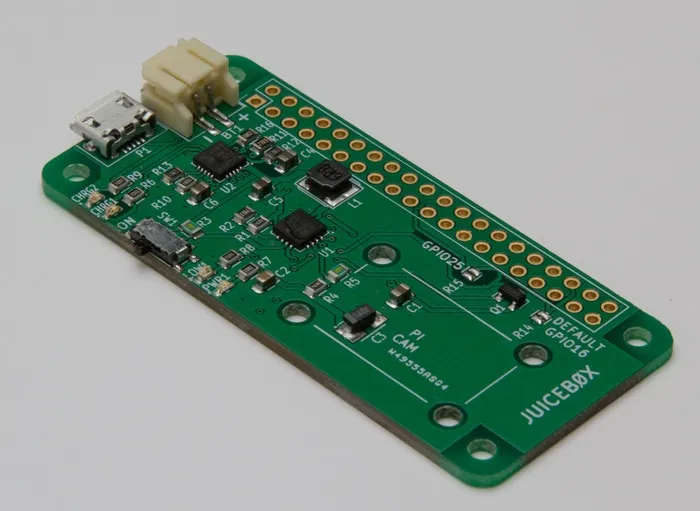
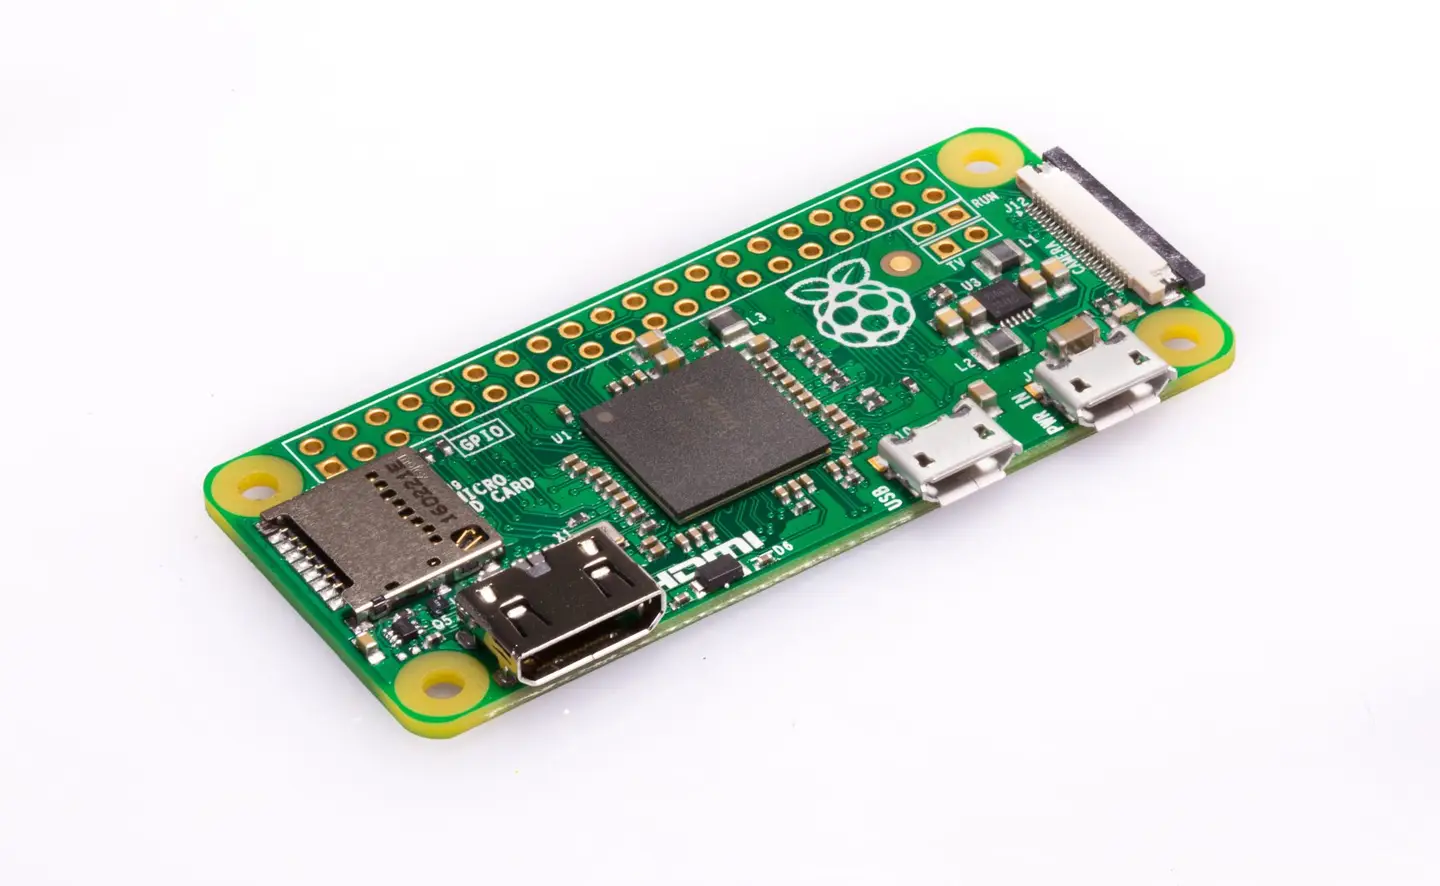
The Raspberry Pi Zero is an incredible tool for building a wide variety of IoT devices. And until lately, many projects I’ve worked on have been limited due to power supply constraints. Then I stumbled across the JuiceBox Zero, a battery management board for the Raspberry Pi Zero. This board provides portable power for your Pi Zero with a Li-Ion single cell battery, as well as charge the battery. In this guide, I’m going to show you how to assemble and use the JuiceBox Zero.
1 – Add GPIO header to your Pi Zero
You can find the full article on raspberrypi.org.
2 – Put the stacking header and standoffs on the Pi Zero
Start by placing the stacking header onto the Pi Zero, then place four standoffs. Make sure the standoffs you use are the same size as the stacking header.
3 – Place the JuiceBox Zero onto the header and secure with screws
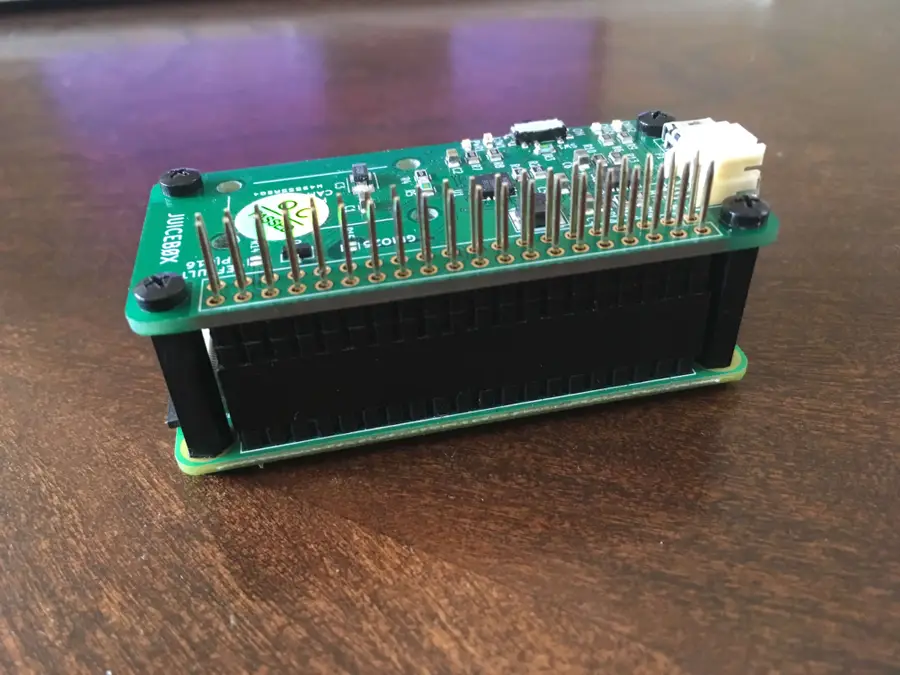
Put the JuiceBox Zero in place, and fasten to the standoffs down with screws.
4 – Solder the header to the JuiceBox Zero
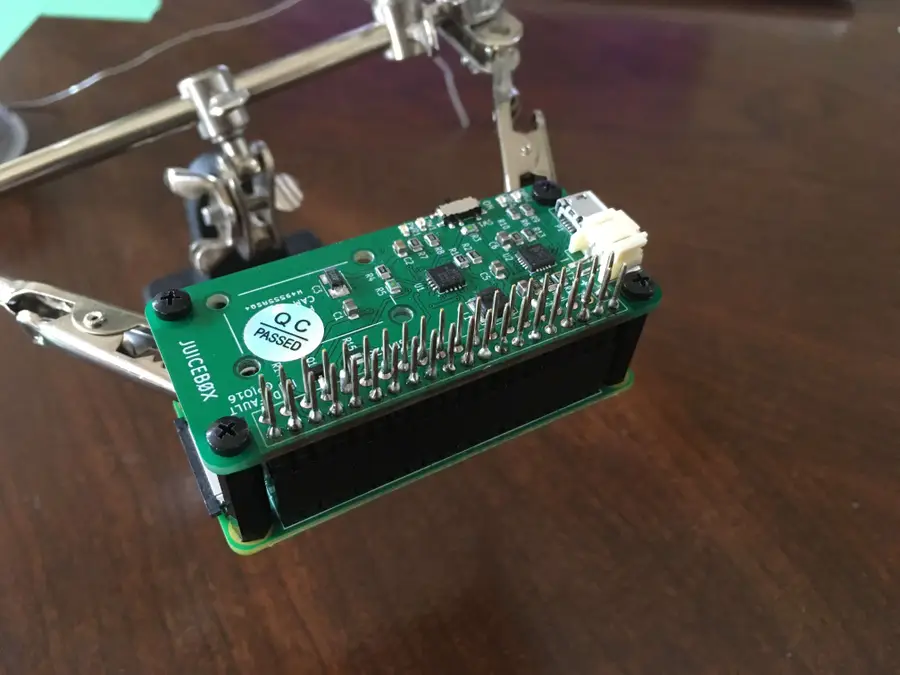
Again, refer to the raspberrypi.org video from Step 1 to learn how to solder.
| 🛈 If you don’t have much experience, practice. And do a better job than I did. |
5 – Plug the battery into the JuiceBox Zero
Make sure you use a JST‑compatible, single‑cell lithium‑ion battery.
6 – Cover the Micro USB port on the Pi Zero
When you’re using a JuiceBox Zero with your Pi, you need to stop using the micro usb port on the Pi. Trying to power the Pi Zero directly could damage the Pi Zero or the JuiceBox Zero. So place a USB cover (or kapton) tape over the USB charging port on the Pi.
| 🛈 You can also use electrical tape. |
7 – Turn the power switch on
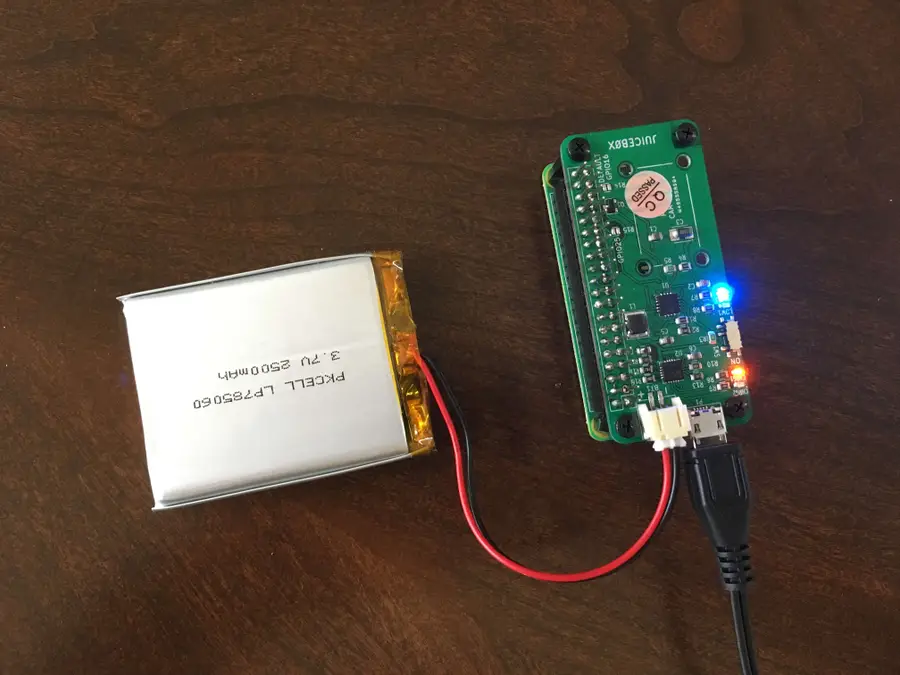
Now you’re ready to test it out! The JuiceBox Zero comes with a slide switch to power the Pi on or off. Simply slide the switch into the ON position.
8 – Charge the battery
Connecting the JuiceBox Zero to a power supply will both power the Pi and charge the battery. This allows your project to run continuously.
9 – Perform a safe shutdown when the battery is low
The low battery LED will light up when the battery voltage reaches 3.2V. At this time, the GPIO16 pin will go HIGH. So in order to safely shutdown the Pi when the battery is low, we’ll run a script in the background that listens for a rising edge on pin 16, then shuts down the Pi.
So first, use your editor to create a new file called safeshutdown.py in the /home/pi directory. Add the following:
import os
import RPi.GPIO as GPIO

GPIO.setmode(GPIO.BCM)

shutdown_pin = 16
GPIO.setup(shutdown_pin, GPIO.IN, pull_up_down=GPIO.PUD_DOWN)

def shutdown_callback_function( shutdown_pin ):
    os.system("shutdown -h now")

GPIO.add_event_detect(
    shutdown_pin,
    GPIO.RISING,
    callback=shutdown_callback_function,
    )
Refer to the JuiceBox Zero Github Repository for more details.
Now, edit the crontab by typing the following in a shell:
sudo crontab -eAnd add the following to the end of the file:
@reboot python /home/pi/safeshutdown.py &This will cause the safeshutdown.py script to run in the background when the system boots. It will listen for a rising edge on pin 16, and then shutdown the Pi safely!

