How to Use an LED Matrix Panel with Your Raspberry Pi

Share
What you'll need
Interests


Posted in these interests:

LED matrix panels are just awesome. They look retro and have the added benefit of being useful. You can build just about anything using an LED matrix—a ticketing system display, an NHL scoreboard, a stock ticker, a clock, etc.
You might be surprised, however, as to how difficult it is to integrate an LED matrix into your project, especially for beginners. Since I needed this display for a cryptocurrency ticker I’m working on, I decided to write a generic guide that makes using the display a bit more accessible for beginners.
In this guide, you’ll learn how to set up and start using an LED matrix with your Raspberry Pi.
1 – Prepare your Pi
We’ve listed the Raspberry Pi Zero WH as the preferred Pi for this project because it’s small enough to fit behind the display, includes WiFi, and comes with GPIO headers pre-soldered.
If you happen to be using a Pi Zero W (without headers), you’ll need to go ahead and solder on your headers.
Need a soldering iron? Check out our guide to the best soldering irons.

The Best Soldering Irons: Read This Before You Invest (2022)
We’ve put together a guide to help you find the best soldering iron for your next project.
2 – Install Raspberry Pi OS
Next, you’ll need to install Raspberry Pi OS. To do so, please check out our detailed guide on how to install Raspberry Pi OS on your Raspberry Pi. After installing the OS, I recommend that you enable SSH and configure Wi-Fi as well, but this is only required if you’re using a fully headless setup.

How to Install Raspberry Pi OS on Your Raspberry Pi
Get the new official Raspberry Pi OS on your Pi.
3 – Connect the bonnet to the Raspberry Pi
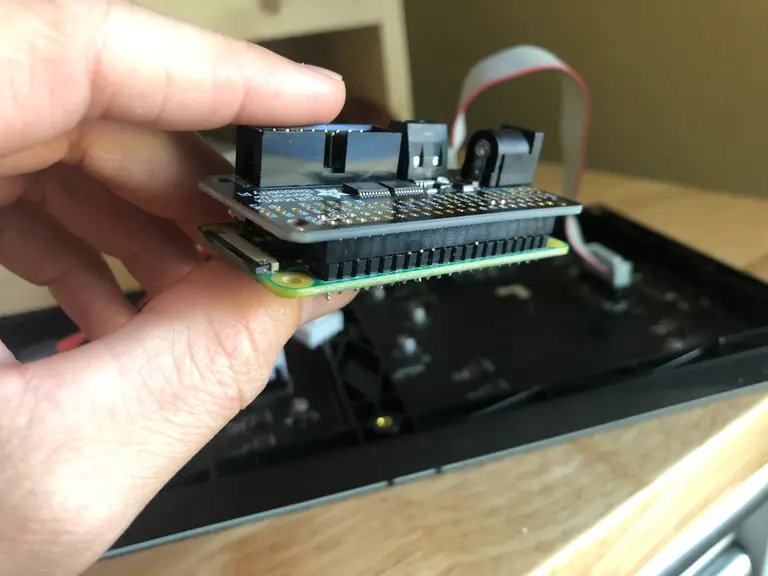
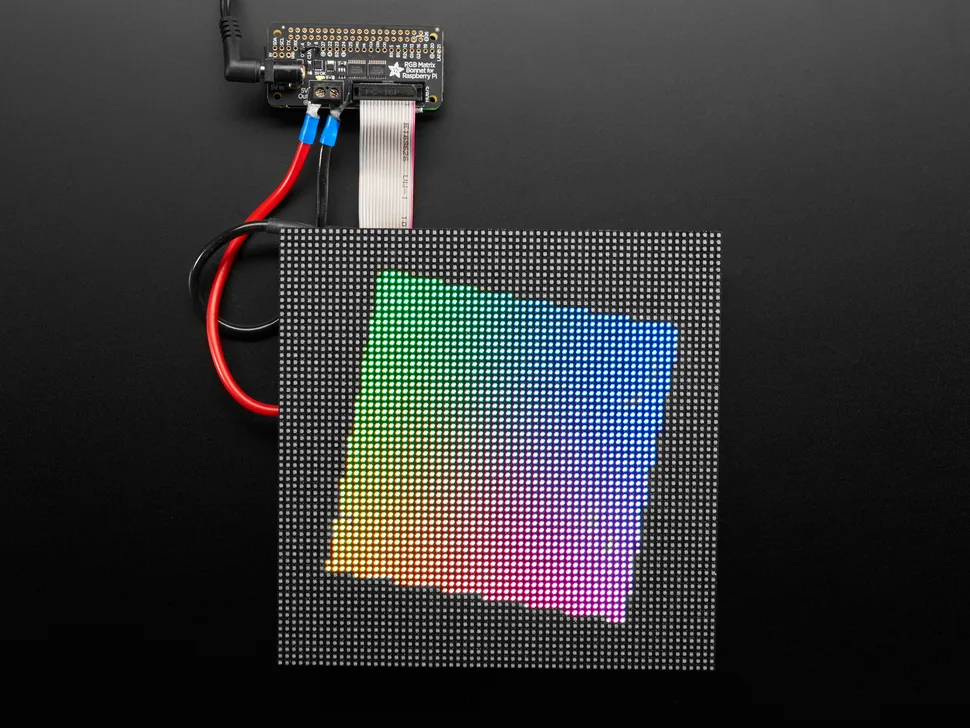
The Adafruit RGB Matrix bonnet is one of the best Raspberry Pi HATs for this purpose. Connect it to the Raspberry Pi. To do this, you’ll need to line up the GPIO pins on the Pi with the female adapter on the bonnet.
Don’t rush this step. If you push too hard or try to do it too quickly, you could damage the GPIO pins.
With the pins lined up, press firmly and evenly across the GPIO pins. Squeeze the boards together between your thumb and index fingers. If you do it correctly, you should see the GPIO pins entering the female adapter evenly all the way across.
Optional:
You could add standoffs between the Pi and the bonnet on the non-GPIO side if you want to add support. This isn’t necessary as long as you’re careful when you’re connecting the rest of the hardware.
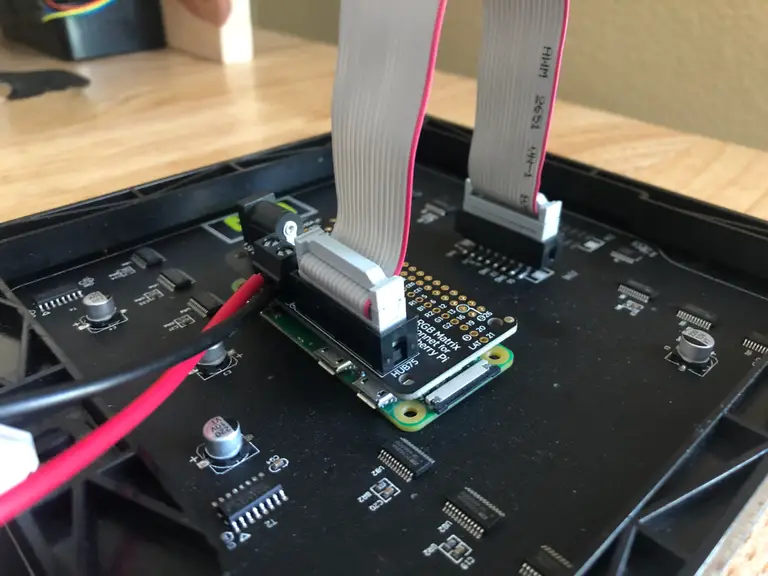
4 – Connect the panel’s power cables to the bonnet
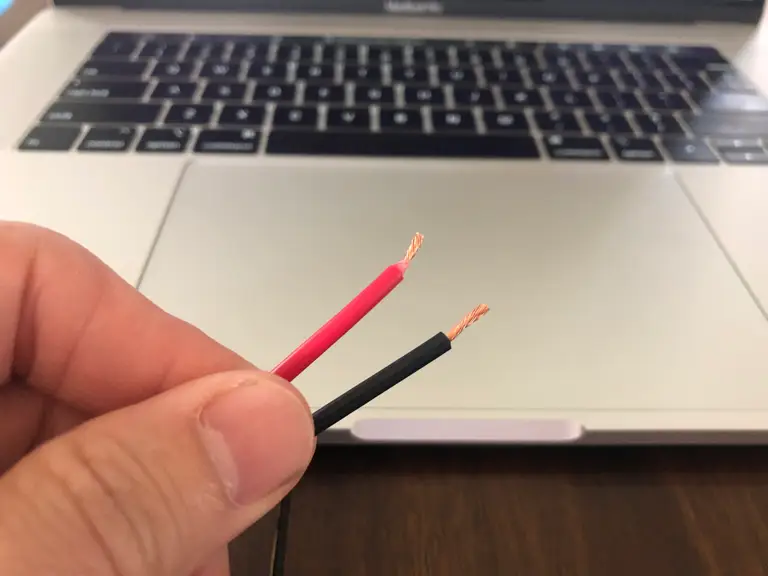
The RGB matrix bonnet will provide power to both the panel and the Raspberry Pi. The Raspberry Pi will receive power through the GPIO pins, but we’ll need to connect the panel to the bonnet to provide power to the panel.
Depending on the exact panel you purchase, you will likely need to cut and strip the red and black wires.
Then on the bonnet:
- Unscrew the small screws at the top of the terminals.
- Slide the exposed copper from the cables into the terminals
- Then tighten the screws to secure them.
5 – Connect the ribbon cable
At this point, you’re ready to connect all of the hardware.
- Connect the ribbon cable from the panel to the RGB matrix bonnet.
- Install your SD card in the Raspberry Pi.
- Connect your power supply to the bonnet.
Now, you’re ready to write some code!
6 – Optional: Print the LED panel housing
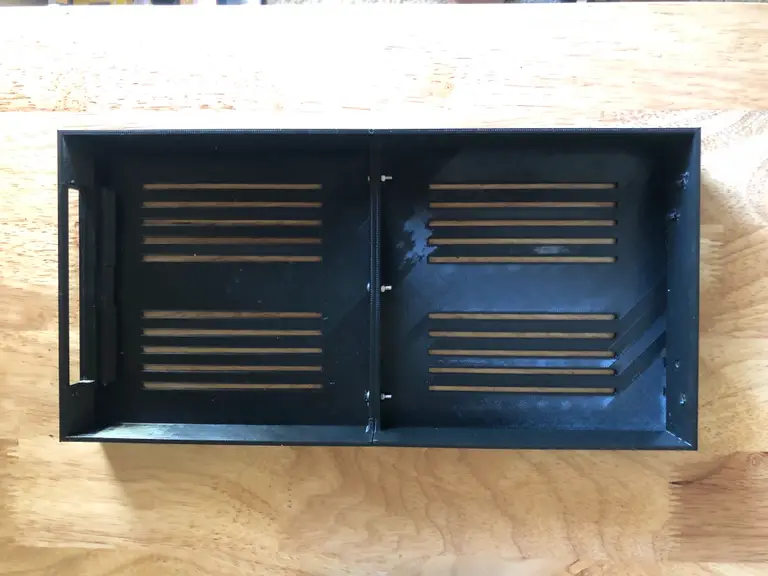
Print the housing
If you’ve got a 3D printer, you should consider printing a housing for your project. You can find the model on Thingiverse. If you don’t have a 3d printer, you can look into other ways to get the model printed.

How to Get Things 3D Printed Without a Printer
No printer? No problem.
You’ll only need to print the following parts:
Frame_Rasp_Pi_Side_Slots_3.stlFrame_Battery_Side_Slots3.stlCover_RPi_side.stlCover_Battery_Side.stl
The names may be updated by the time you download the model, but in short, you you need to print both frame pieces and both cover pieces.
Assemble the panel
Assemble the panel using M3x8mm bolts and nuts, which you can find included in our recommended kit on Amazon. Start by attaching the frames to the panel, then secure both pieces of the cover together. When you’re ready to enclose your project, secure the case to the frame. If you need more detailed instructions, check out the tutorial written by the creator of the housing.
7 – Optional: Add a power button
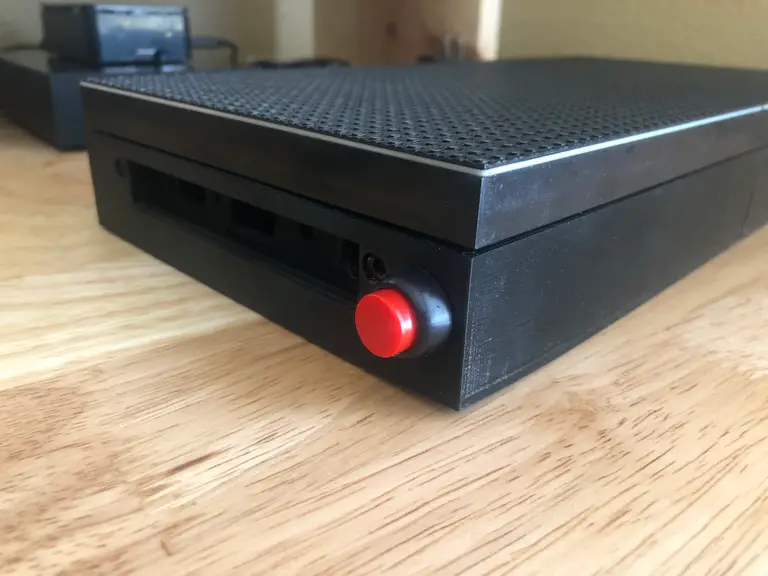
A power button is a nice addition, especially if you’re going to use the housing. As you may know, the Raspberry Pi doesn’t ship with a physical power button, so adding a power button provides a quick and safe way to shut down the Pi when you’re not using it.
To add the power button, I recommend you start by reading our full guide on how to add a power button to your Raspberry Pi. The guide will show you how to wire up the button and provide all of the software required to use it.

How to Add a Power Button to Your Raspberry Pi
Because you should always safely shut down your Pi.
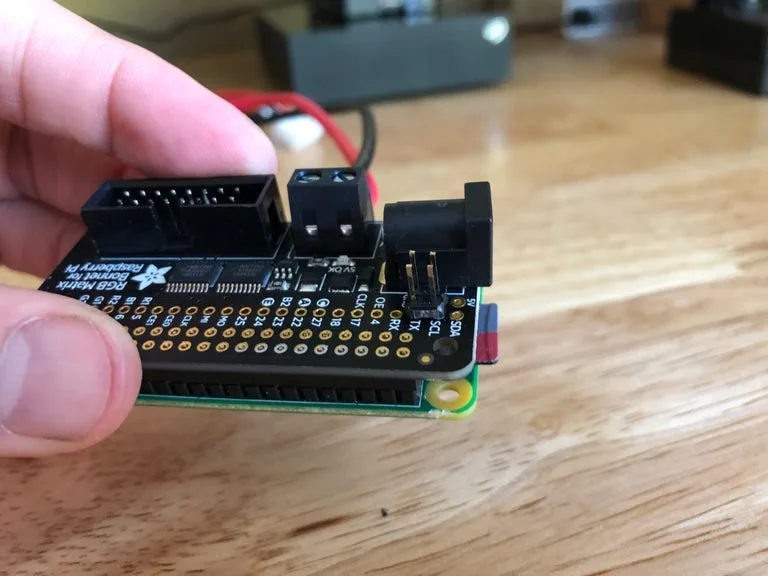
Solder the male header pins
The RBG Matrix Bonnet provides the GPIO holes you need to wire up the power button. You can solder the wires directly to the board, but I recommend soldering male header pins. For simplicity, I would use a 2×2 square such that it covers both the SCL and GND holes on the bonnet. If you’ve got a breakaway header you can use a pair of snips to cut out the 2×2 square.
Drill a 1/2″ hole in the housing
It should be noted that for this particular project, our recommended button requires a 1/2″ hole, which is larger than the hole provided by the housing. You can find a smaller button, but I recommend using the button we sell because it comes from a reliable source and you get to support your favorite DIY site 🙂
To use our button, you’ll need to drill a 1/2″ hole in the housing. You can put it wherever you’d like, but you’ll likely need male-to-female jumper cables to reach from the Pi to the leads on the button.
Connect the leads to the bonnet
When you’re ready to secure the housing, attach the leads on from the power button to the SCL and GND pins on the bonnet. If necessary, use jumper wires to extend the leads.
8 – Install the rpi-rgb-led-matrix library
From here, you’ll need to either connect your Pi to a keyboard and monitor or if you’re comfortable with the command line, you can work via ssh. If you’re using the Raspberry Pi OS Desktop, you’ll need to log in and open Terminal.
There are a few ways to configure this library. I’m going to configure the library for use with Python 3. You can also install the bindings for Python 2, C++, or C#, or just use it as a command-line tool.
To get going, you’ll need to install some dependencies:
sudo apt-get update && sudo apt-get install -y git python3-dev python3-pillowThen you’re going to install the rpi-rgb-led-matrix library. Let’s start by cloning the repository:
git clone https://github.com/hzeller/rpi-rgb-led-matrix.gitNow, cd into the repo folder and install:
cd rpi-rgb-led-matrix
make build-python PYTHON=$(which python3)
sudo make install-python PYTHON=$(which python3)
Each of these commands should run without a hitch.
9 – Hello, world!

With our hardware set up and the software installed, let’s run a simple test.
The library ships with some sample code to get us started. You’re going to use a Python script called runtext.py that scrolls text across the screen on repeat.
Navigate to the samples directory:
cd bindings/python/samplesNow run the following command:
sudo python3 runtext.py --led-cols=64 --led-gpio-mapping=adafruit-hat --text="Hello, world!"Note: Some of the sample scripts are a little bit feeble. You must be in the samples directory for the fonts to load properly.
Let’s break down this command.
- This is important. We’re calling this script with
python3because that’s how we built the library. It will not work usingpythonor./. - Then, because the default display size is 32×32 and my panel is 64×32, I’m passing in
--led-cols=64to override the number of columns. - And, because we’re using the adafruit bonnet, we need to specify the hardware with
--led-gpio-mapping=adafruit-hat. Finally, for this particular sample script, we can pass in the text we want to scroll with--text.
Give this a shot to make sure everything is set up correctly.
10 – Display an image
For this example, you’ll work from another directory. Feel free to create a working directory of your choice, but I’m going work right out of the home directory:
cd First, you need to download a sample image:
wget https://howchoo.com/media/nz/i3/md/howchoo-low-res-h.pngThen you’ll use the following script. Create a new file called test-image.py and add the following:
#!/usr/bin/env python3

import time
import sys

from rgbmatrix import RGBMatrix, RGBMatrixOptions
from PIL import Image

if len(sys.argv) < 2:
    sys.exit("Require an image argument")
else:
    image_file = sys.argv[1]

image = Image.open(image_file)

# Configuration for the matrix
options = RGBMatrixOptions()
options.rows = 32
options.cols = 64
options.chain_length = 1
options.parallel = 1
options.hardware_mapping = 'adafruit-hat'

matrix = RGBMatrix(options=options)

# Create a thumbnail that first our screen
image.thumbnail((matrix.width, matrix.height), Image.ANTIALIAS)

matrix.SetImage(image.convert('RGB'))

try:
    print("Press CTRL-C to stop.")
    while True:
        time.sleep(100)
except KeyboardInterrupt:
    sys.exit(0)
Now make the script executable:
chmod +x test-image.pyAnd run the script passing in your image as an argument:
sudo ./test-image.py howchoo-low-res-h.pngFor best results, you’ll want to use an image that’s the same aspect ratio as your panel or else build some cropping functionality into the script.
11 – More examples
If you browse the repository there are plenty of examples to choose from. You can also check out some projects that use this panel, like our Raspberry Pi Scoreboard (see video below) and our cryptocurrency ticker.
If you have trouble with this guide or would like to see more examples, let me know in the comments below. I might be able to help 🙂


