How to Build a Raspberry Pi UPS (Uninterruptible Power Supply)

Share
What you'll need
Interests


In this guide, I’ll teach you how to build your own Raspberry Pi UPS using some simple hardware and the PiJuice HAT (featured in our recent list of the top HATs for the Raspberry Pi). You can use this method to power a Raspberry Pi 3, Raspberry Pi Zero, or any other Pi.
A UPS is an important part of any Pi project!
1 – Why do you need a Raspberry Pi UPS?
An uninterruptible power supply ensures that your Pi project will continue to function through minor power fluctuations, power outages, or even the occasional bumped AC adapter.
Prevent SD card corruption
If you don’t shut your Raspberry Pi down properly, you risk corrupting your Pi’s SD card, sort of like yanking the cord out of your desktop computer every time you want to shut it down.

Projects that need to remain on all the time
If your project involves a camera, data collection, streaming, complex scripts that don’t restart on boot, or needs to run continuously, a UPS will help ensure the integrity of the project.
A UPS is ideal for Pi-hole, OctoPrint, and a wide range of other custom projects.
The right UPS setup can even notify you or send a safe shutdown command to the Pi if the UPS battery gets too low. Pretty neat!
2 – Raspberry Pi UPS options
There are a few options for building your own Pi UPS.
Option #1: Power bank
With this method, you essentially plug your Pi into a high-output power bank: basically, a juiced-up version of what you use to charge your phone while camping. The battery pack gets plugged into the wall and the Pi gets plugged into the battery pack.
There are a few factors to consider with this approach:
Simultaneous charge/discharge
The power bank needs to be able to simultaneously charge and discharge; in other words, while the power bank is charging, it’s also outputting maximum power to one of its USB ports. Most power banks do not have this feature as it requires additional circuitry and is an edge case for most users.
Power output
The power bank should output at least 2A for the Raspberry Pi 3, 2.5A for the Raspberry Pi 3 B+, or 1A for the Raspberry Pi Zero. These numbers assume you don’t have any peripherals plugged into the Pi or power bank that draw power.
Unfortunately, portable power banks that meet these requirements are hard to find and expensive. Additionally, the Pi can’t detect that it’s on battery power (let alone how much power remains) so a safe shutdown is not possible.
Method #2: Power management board (recommended)
This method involves connecting a power management circuit and battery directly to the Pi. Then, an AC adapter is connected to the power management board. The board is effectively a complete portable power solution.
When power is lost, the power management board will keep things running for hours without issue. The Pi can also monitor the battery to know when it’s using battery power and whether to perform a safe shutdown when power is low.
This is my recommended approach and the one I’ll cover in this guide.
The hardware
For power management, I’ll be using the PiJuice, which was originally funded on Kickstarter. If you’re building a Raspberry Pi Zero UPS, you can alternatively use the JuiceBox Zero, which is a little cheaper but can’t be used for full-sized Pis.

The PiJuice is pretty neat — it provides truly portable power to your Pi project, is super compact, and takes about 15 minutes to set up. You can even connect a solar panel directly to it!
3 – UPS runtime
Using the PiJuice’s onboard BP7X 1820mAh off-the-shelf LiPo/Li-Ion battery, you can expect anywhere from 4-6 hours of continous use without power. You can also connect larger LiPo/Li-Ion battery to run your Pi for up to a day (or longer).
Exact UPS runtime depends on which Raspberry Pi you’re using, which tasks it’s performing, and what external hardware it’s powering. See the PiJuice battery discharge calculator to calculate the exact runtime for your project.
4 – Install Raspberry Pi OS & configure your Raspberry Pi
Your Pi is probably already running some software, but if you’re starting from scratch, check out our guide on setting up a new Raspberry Pi.

How to Set Up a New Raspberry Pi
Start using that brand new Pi!
You can use either the full or “Lite” version of Raspberry Pi OS (formerly Raspbian), depending on whether or not your project needs a GUI.
5 – Shut down your Pi
If your Pi is currently running, safely shut it down by connecting to it and running the following command:

How to Connect to a Raspberry Pi Remotely via SSH
The preferred (and most common) method of connecting to your Pi to run commands.
sudo haltYou can also shut it down through the Raspberry Pi OS GUI.
6 – Connect the PiJuice hardware (HAT)
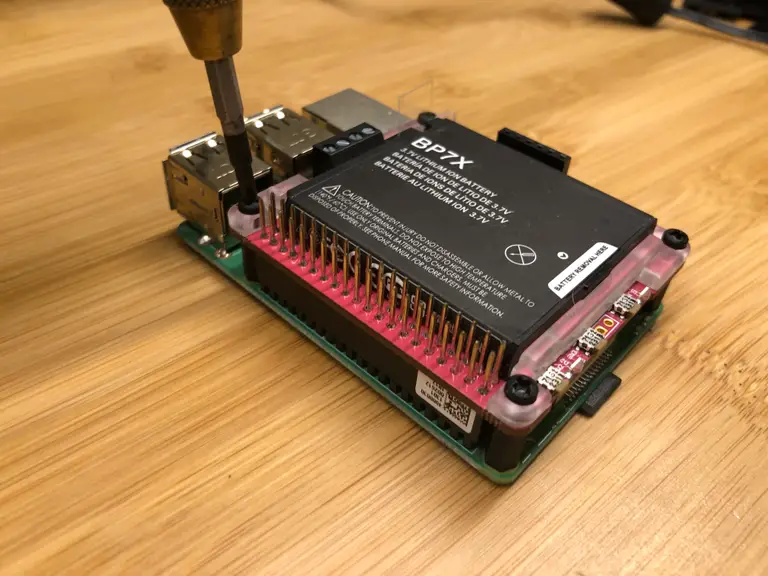
Carefully press the PiJuice onto your Pi’s GPIO header. Then, use the included screws and plastic standoffs to secure it to your Pi.
| 🛈 If you’re using a Raspberry Pi Zero, you may need to solder a header onto the Pi first (unless you bought the “WH” version). |
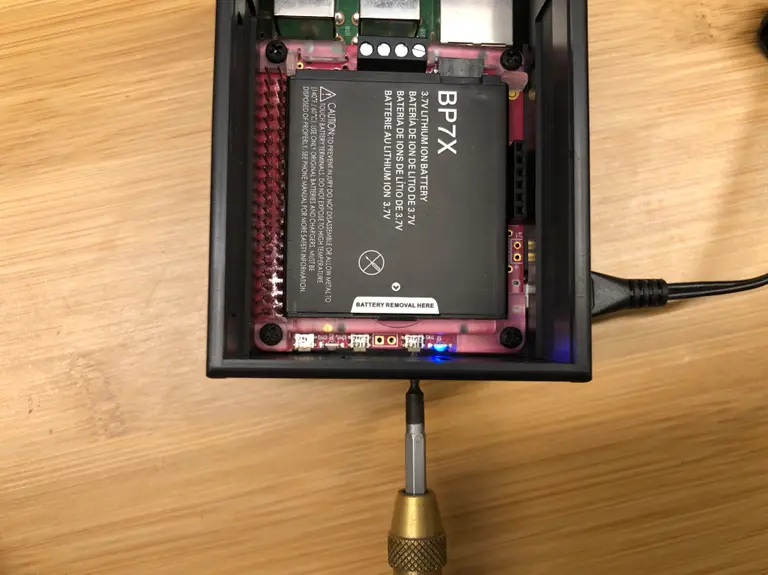
7 – Connect the battery, if not already connected
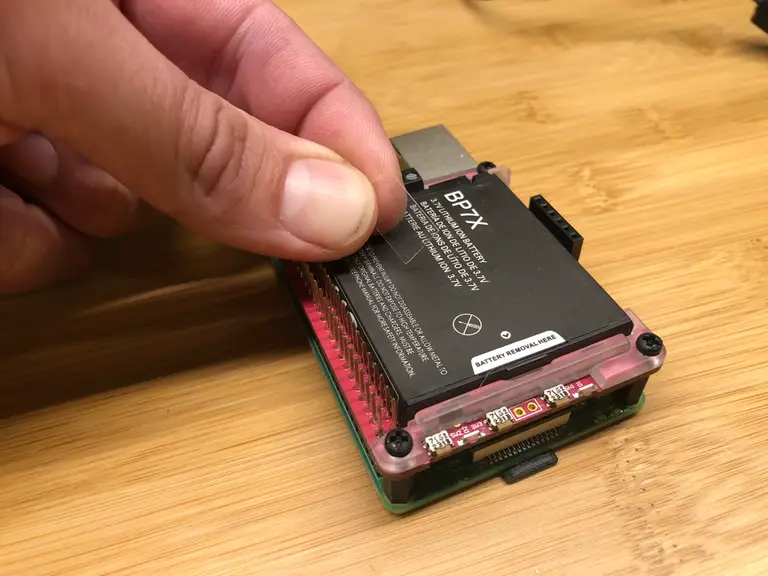
The PiJuice comes with an off-the-shelf battery preinstalled. This is neat because it makes swapping out or replacing the battery super easy — you can even hot-swap batteries as long as your Pi is powered. If your PiJuice came with a battery, be sure to remove the battery’s clear plastic insulation tab.
If you purchased the PiJuice without a battery or want to add more power capacity with a separate Lithium-ion or Lithium-polymer battery, simply solder on a standard battery terminal and connect that battery instead.
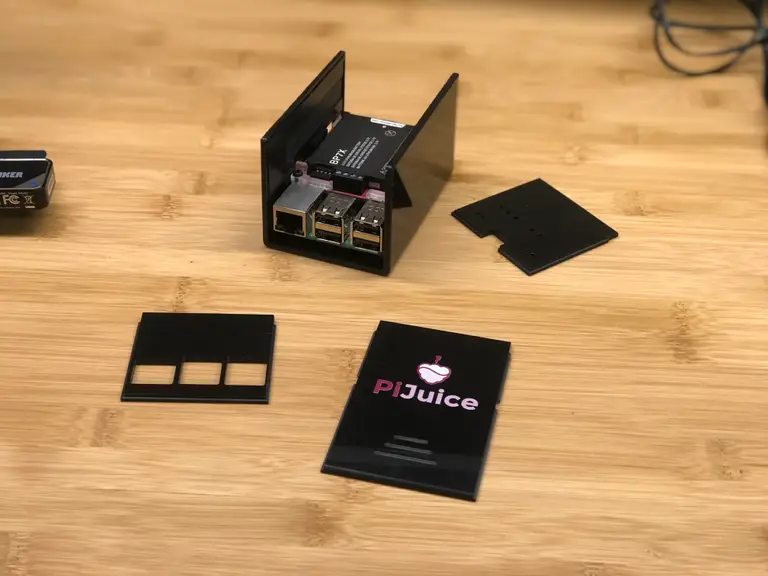
8 – Attach the PiJuice case (optional)
You can use the PiJuice with most normal Raspberry Pi cases — you may just need to leave the top of the case off if it has no GPIO slot.
There are also a few different cases designed specifically for the PiJuice — for the full-size Pi such as the Pi 3, they make both a short and tall case. They also make a case for the Pi Zero.
I grabbed the tall version of the Raspberry Pi 3 case because I want to stack some headers on later.
Slide off the top, back, and front of the case. Then, carefully slide the Pi and PiJuice into place. The whole assembly will lock into slots in the sides of the case. Finally, replace the sides and top and connect the 4 rubber feet.
| 🛈 Those freaking rubber feet were the hardest part of the assembly. |
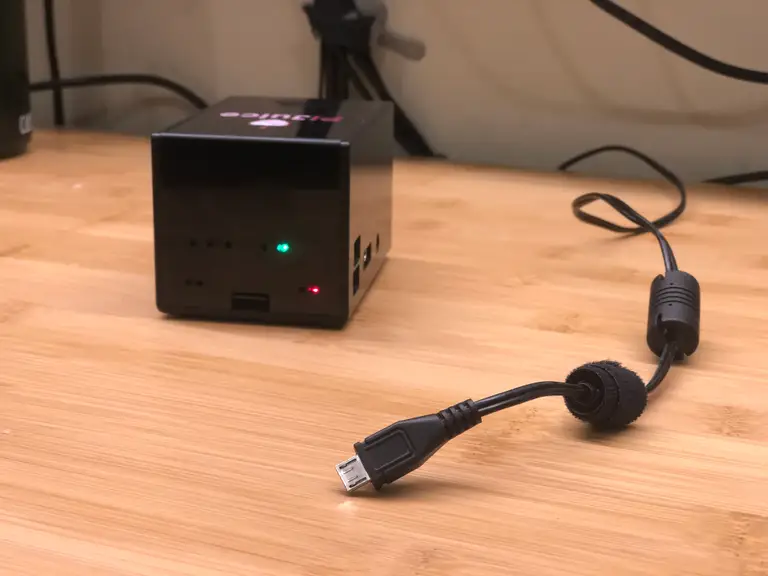
9 – Connect a power source and power on the Pi
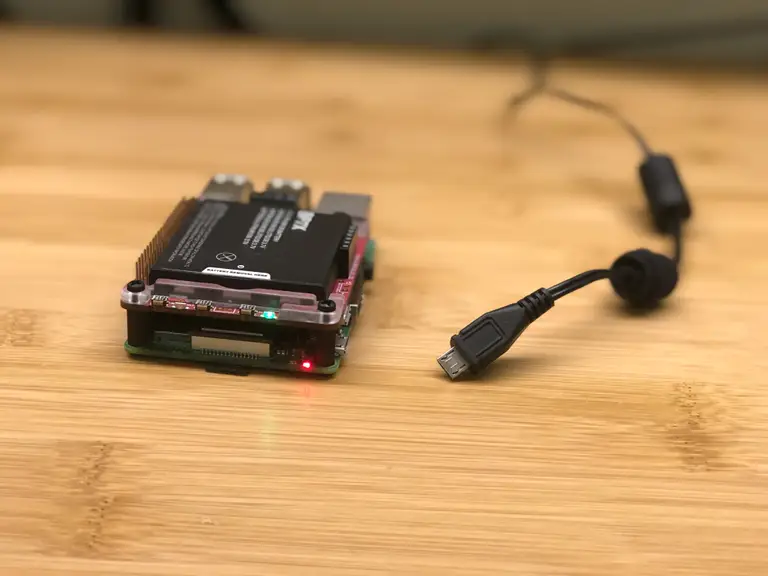
Connect a normal Raspberry Pi power supply to the PiJuice’s Micro USB port.
To turn your Pi on, briefly press the small button labeled SW1 directly next to flashing LEDs. With the case installed, you’ll need to use a paperclip or pin to press the button.
To safely shut down your Pi using this same power button, press and hold the same button for at least 10 seconds and then release it.
To force a hard (unsafe) shutdown, press and hold the button for at least 20 seconds — though you likely won’t ever need to do this.
| 🛈 Be sure to connect the cable to the PiJuice’s Micro USB port, not the Pi’s Micro USB port. |
10 – You’re (probably) done
If all you wanted to do was build a simple Raspberry Pi UPS, you’re up and running already.
I do recommend installing the PiJuice software so that your Pi can notify you, shut itself down safely, or perform some other command when it’s low on power.
Installing the software also allows you to utilize the PiJuice’s extra buttons and LEDs to add custom functionality to your project!
11 – Recommended: Install the PiJuice software
PiJuice offers some pretty sweet power management software in their GitHub repo.
Let’s install it and see what it can do. You can install either the GUI or headless version. In either case, I recommend connecting to your Pi and updating it first:
sudo apt-get update && sudo apt-get upgrade --yesIf your Pi has a desktop that it can boot into (like a full Raspberry Pi OS install), install the GUI version:
sudo apt-get install pijuice-guiOtherwise, you can install the light version for a headless setup:
sudo apt-get install pijuice-base12 – Automatically shut down if the Raspberry Pi UPS battery is low
There is an insane amount of PiJuice configuration that can be done (insane in a good way!)
I won’t get into it all in this guide so be sure to check out the many PiJuice configuration options to learn what you can do. Right off the bat, I saw an option to wake and sleep the Pi on a schedule.
But I digress…
The option we’re looking for involves shutting down the Pi when a certain battery voltage or percentage is reached. To do this:
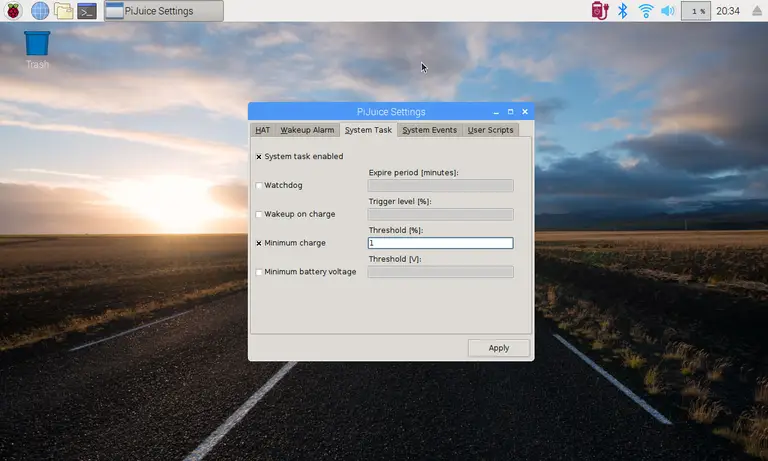
In the PiJuice GUI
To change this option from the Raspberry Pi OS GUI, use a keyboard or VNC to navigate to Menu > Preferences > PiJuice Settings.

Then, select the System Tasks tab, check the Minimum charge box, and enter a 1 in the text input.
Finally, click Apply.
In the PiJuice CLI
From the command line, run:
pijuice_cli.pyYou can view and change configuration options there.
For either option
To quickly set the PiJuice to shut down when the battery is low for either the GUI or CLI option, you can also edit the JSON configuration directly:
sudo nano /var/lib/pijuice/pijuice_config.JSONIn the system_task object, add the following:
   "min_charge": {
      "threshold": "1",
      "enabled": true
    },
For example:
"system_task": {
    "watchdog": {
      "enabled": true,
      "period": "60"
    },
    "min_charge": {
      "threshold": "1",
      "enabled": true
    },
    "enabled": true,
    "wakeup_on_charge": {
      "enabled": true,
      "trigger_level": "1"
    },
    "ext_halt_power_off": {
      "enabled": true,
      "period": "30"
    }
  }
This will shut the Pi down automatically when the remaining battery capacity reaches 1%.
| 🛈 Seriously, check out the other configuration. It’s really cool. |
13 – All done!
I hope this guide was useful. If you have any questions or need any help, let me know in the comments!
Next, learn how to build a solar-powered Raspberry Pi!

How to Build a Solar-Powered Raspberry Pi
Turn your Pi into a lean, green, portable machine!


