How to Set Up Homebridge on a Raspberry Pi


Share
What you'll need
Interests


Home automation is growing in popularity, but one of the biggest hurdles is compatibility between devices. Many manufacturers insist on using a branded app to configure and control smart home tech, with patchy compatibility with voice-activated systems like Siri, Google Home, or Amazon Alexa.
Apple users are left behind, with Apple’s own automation system (Apple HomeKit) costing more and with more stringent requirements for hardware developers to consider implementing. With this in mind, enter Homebridge, an open-source, third-party solution for Apple HomeKit-friendly devices (as well as others), allowing you to control and operate them without another Apple device.
Combine Homebridge with the low-powered Raspberry Pi microcomputer and you’re free to build an Apple-friendly automated home at a fraction of the cost. If you want to set up Homebridge on a Raspberry Pi, here’s what you’ll need to do.
1 – Before you begin
What you’ll need
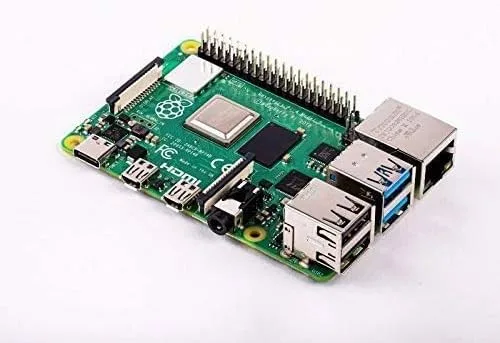
Raspberry Pi
Like all home automation setups, Homebridge needs to be ready to respond to queries and commands 24/7. A Raspberry Pi is perfect for the task, but we’d recommend using a Raspberry Pi 3 + or a Raspberry Pi 4 for the latest hardware.
While other Raspberry Pi models may work (including a Raspberry Pi Zero), this isn’t guaranteed, especially if you have many smart home devices in your home.
Optional: Monitor, keyboard, and mouse
You can run Homebridge headless (without a monitor, keyboard, or mouse connected), but make sure that SSH is enabled before you do this.
Raspberry Pi OS
It’s also recommended that you’re running the latest version of Raspberry Pi OS. The instructions below have been written with this in mind.
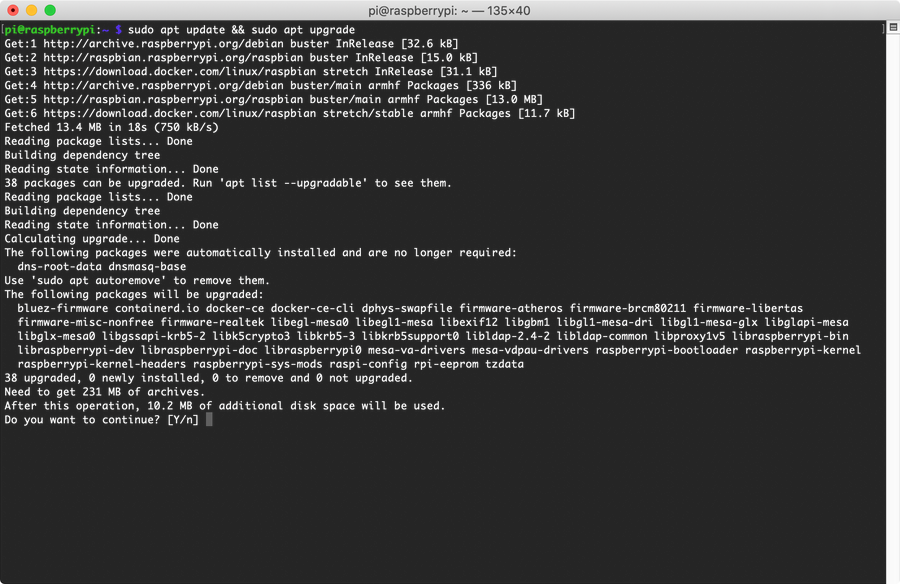
You’ll also need to open a terminal (or SSH connection) and run the following commands to ensure your Pi is up-to-date before you begin:
sudo apt update && sudo apt upgradeRestart your Raspberry Pi once the update process is complete.
2 – Installing Node
Homebridge uses Node.js, a platform for running Javascript apps on a local machine, so you’ll need to install it before you can install Homebridge. We also need to install a few other development environments first, such as Python or C++, as additional Homebridge plugins may require these to work properly.
Installing Node
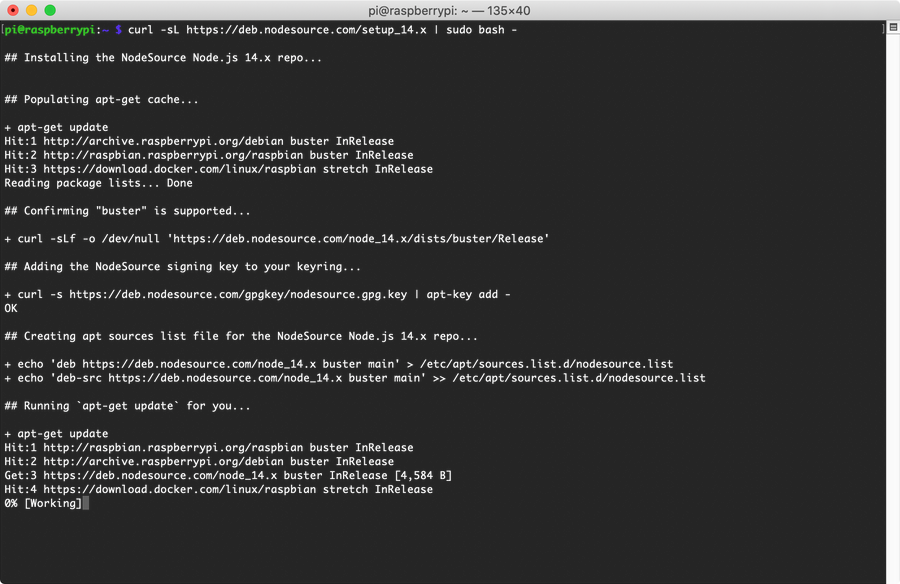
To start, open a terminal window (or an SSH connection) and run the following command to begin configuring your Pi for Node:
curl -sL https://deb.nodesource.com/setup_14.x | sudo bash -Once this process is complete, you can begin the Node installation by running the following command:
sudo apt install -y nodejs gcc g++ make python net-toolsUpdate Node Package Manager
Allowing the process to complete. Once it’s done, you’ll need to update npm (the Node Package Manager) by running the following:
sudo npm install -g npmYou can begin the Homebridge installation process once Node is installed and fully updated.
3 – Installing Homebridge
At this point, we’re ready for the main act. Homebridge itself is actually a daemon, a service that runs in the background. To be able to configure it after it’s installed, you’ll need to install a web-based user interface, allowing you to easily configure and handle it while it’s running.
To install Homebridge with the web interface components, run the following command from a terminal window or over SSH:
sudo npm install -g --unsafe-perm homebridge homebridge-config-ui-xUsing the Node Package Manager (npm), Homebridge (along with the web interface module) will be installed. This could take some time to complete, as npm will fetch and install several dependencies needed by the main packages. You may also see a few warnings about deprecated packages, but don’t let them scare you, as Homebridge should still work correctly (and upcoming Homebridge releases should hopefully resolve the issue for Pi users).
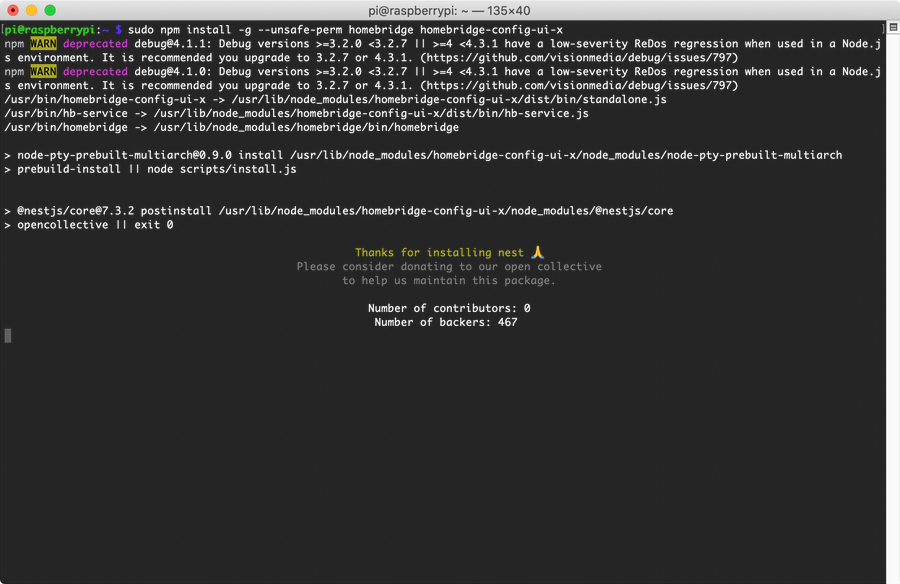
At some point, the installer will output a “thanks for installing” message. Don’t panic—the installation isn’t frozen at this point. You’ll need to wait a few more minutes to allow the Homebridge installation to finish.
Start Homebridge service
Once this is completed, you can start the Homebridge service. This takes a bit longer on Homebridge’s first run, as it needs to generate its initial configuration.
To do this, run the following command from a terminal or SSH window:
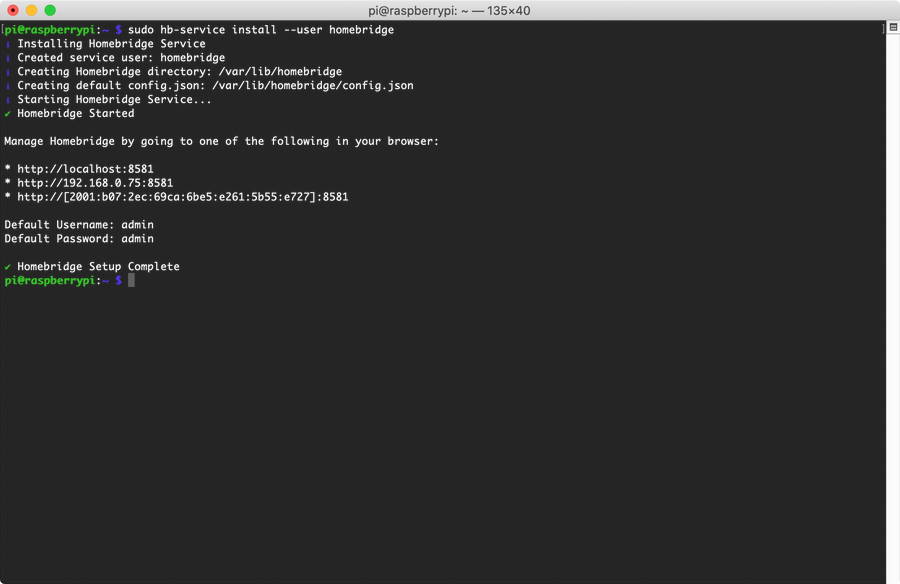
sudo hb-service install --user homebridgeAllow some time for this to complete. Once it’s done, you’ll see a list of IP addresses you can use to connect to the web interface, allowing you to add devices and configure them further. You’ll also see the default username and password (both admin) for use with the admin portal page.
4 – Configuring Homebridge and iOS
If Homebridge is installed and set up to run correctly, you can configure it using the IP address output in the terminal window at the final set up stage above.
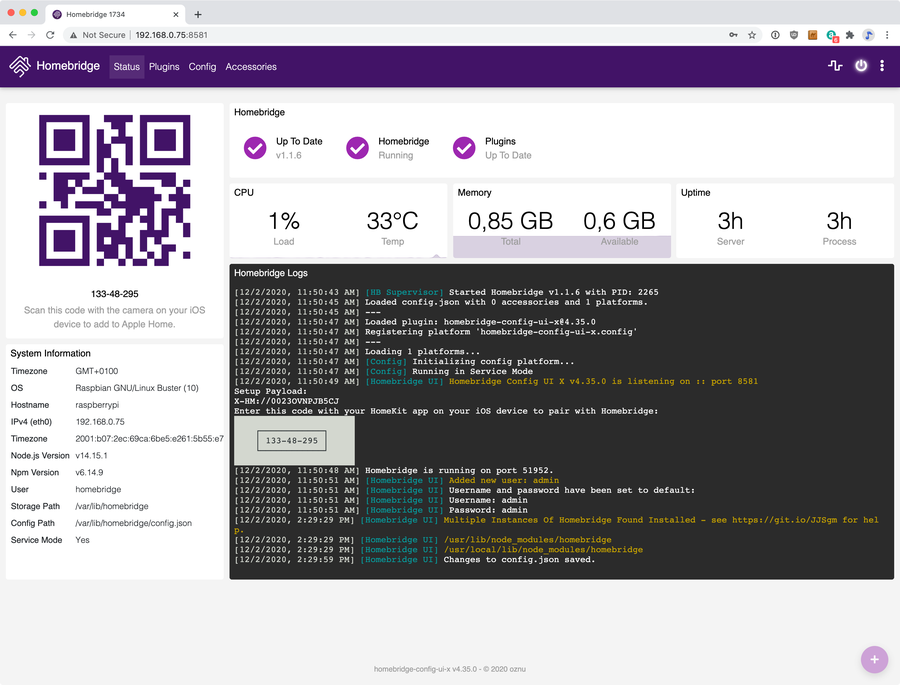
- Open the address given in the previous step (i.e. your Pi’s address on port 8581, by default) in your web browser, and sign in using admin for both the username and the password. A screen like this will welcome you.
While it isn’t necessary to change the default username and password at this stage, it is highly recommended that you do once you’ve finished configuring your Homebridge set up. Otherwise, you may leave your smart devices at risk.
- Next, open the Home app on a suitable iPhone or iPad device.
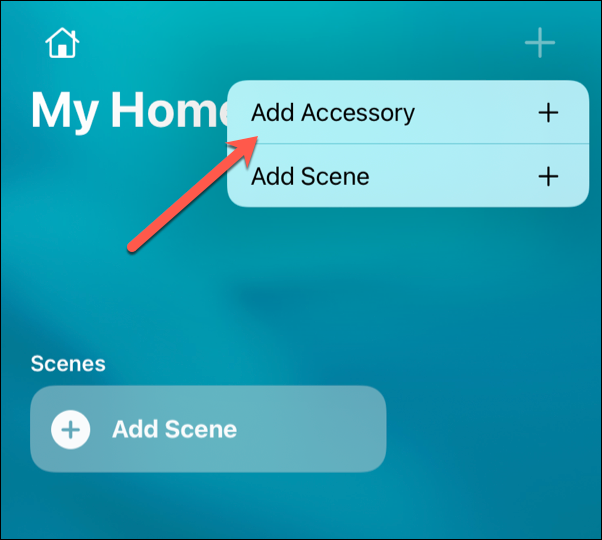
- In the top right, tap the + (plus) button, then choose Add Accessory from the available options.
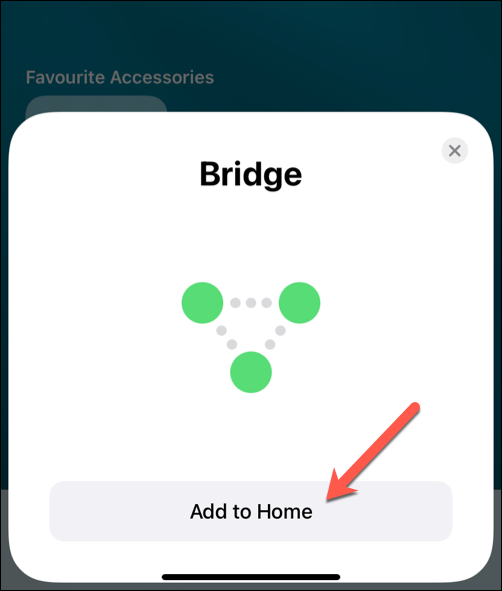
You’ll be given options to add a device (including scanning a QR code or manually typing in a code), but your Bridge device (your Raspberry Pi) should also appear (assuming you’re on the same local network).
- Tap Add to Home to add this to your HomeKit setup.
- Apple will warn you that you’re trying to add an uncertified accessory, but tap Add Anyway to ignore this.
- Select a location, then give it a name (for instance, Homebridge Pi) to distinguish it from other HomeKit devices.
Accessories usually appear on the Home front page but, if it doesn’t, you should be able to see your Pi by pressing the Home icon in the top-left, then selecting Home Settings. You’ll see the device listed under the Hubs & Bridges section, confirming that it’s connected and ready to use.
5 – Setting up accessories
From this point on, the configuration will vary depending on what devices you actually plan on using with your Homebridge Pi. Regardless of brand and devices, however, you’ll generally need to install an appropriate plugin first to allow Homebridge to interface and control it. In the HomeKit/Homebridge environment, a device is called an “accessory.”
Our test system uses Tuya-branded devices, but other well-known brands (such as TP-Link and Homebridge) are available. To add appropriate plugins for these platforms, open the Homebridge web interface in your web browser, then search for the brand (for instance, Tuya) in the Plugins tab.
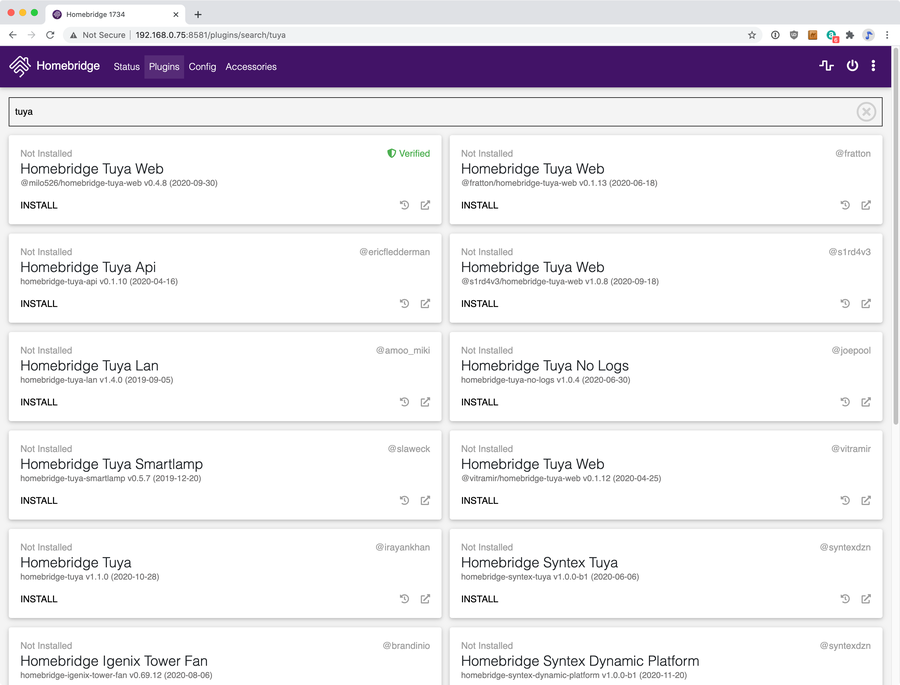
Various Tuya plugins are available for us to install, but only one is marked as verified (meaning that it’s been certified by the Homebridge developers), so that’s the one we’ll select.
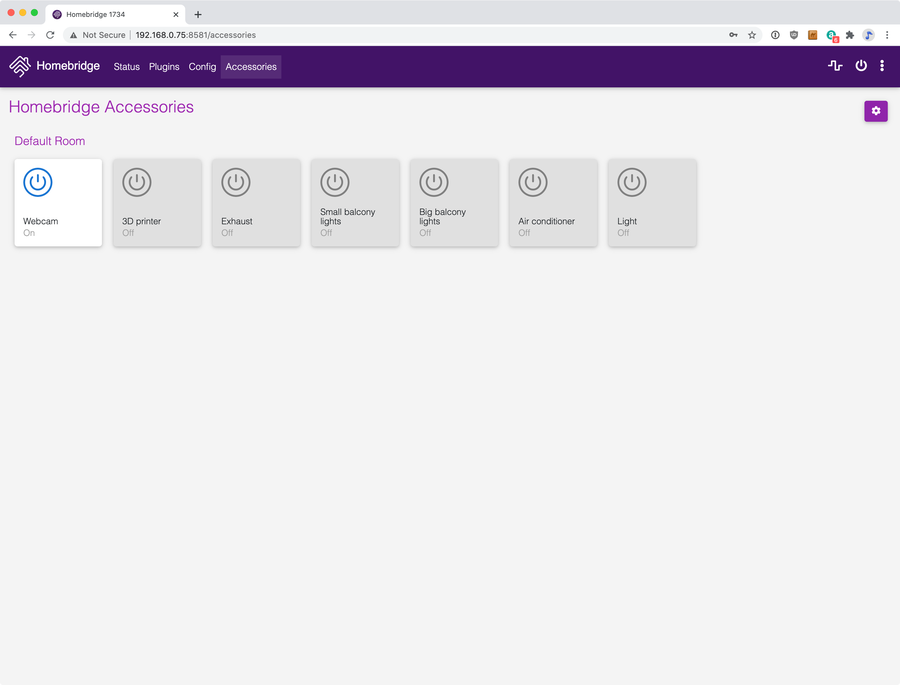
After providing our account data (and a quick restart) during the configuration process, our connected Tuya smart home devices will appear in the web app (under the Accessories tab) and should be listed in the Home app on an iPhone and iPad, too.
Additional configuration may also be necessary. depending on your setup. For instance, if you need to recreate rooms in the Home app, you can do this by long-tapping the device in Home, then tapping the gear icon. This will allow you to make further changes to the individual devices you’ve connected to your HomeKit set up using Homebridge.
6 – Adding Scenes
Once your accessories (devices) are set up, you can create Scenes inside the Home app.
What is a scene?
Scenes allow you to change the status of multiple accessories with a single Siri command. The more accessories you have, the more scenes become useful in automating your home.
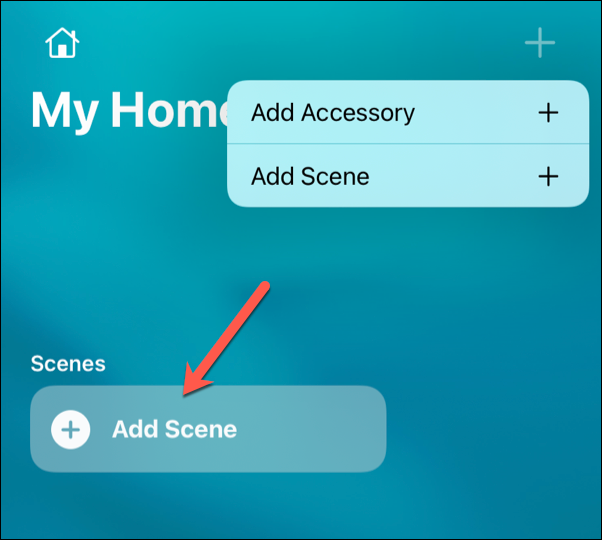
Add a new scene
To add a new Scene, tap Add Scenes in the Home app, then follow the on-screen instructions.
Example of a scene
For instance, you may say “Hey Siri, I’m home” to instruct Siri to automatically turn up the thermostat, switch the TV on, and configure the lights to a pleasant combination of color and intensity.
Alternatively, you may decide you want to sleep, telling Siri “Hey Siri, let’s head to bed.” Doing this could switch the lights off and set the house alarm for you automatically.
7 – Using Homebridge on a Raspberry Pi
Setting up Homebridge on a Raspberry Pi may require some extra configuration, but if you’re looking to expand your home automation without paying for pricy Apple products, a Raspberry Pi running Homebridge is a great option.
Homebridge doesn’t replicate all HomeKit’s features, but it should allow you to connect devices to the HomeKit ecosystem (so long as they’re supported and have relevant plugins).
Some home automation ideas
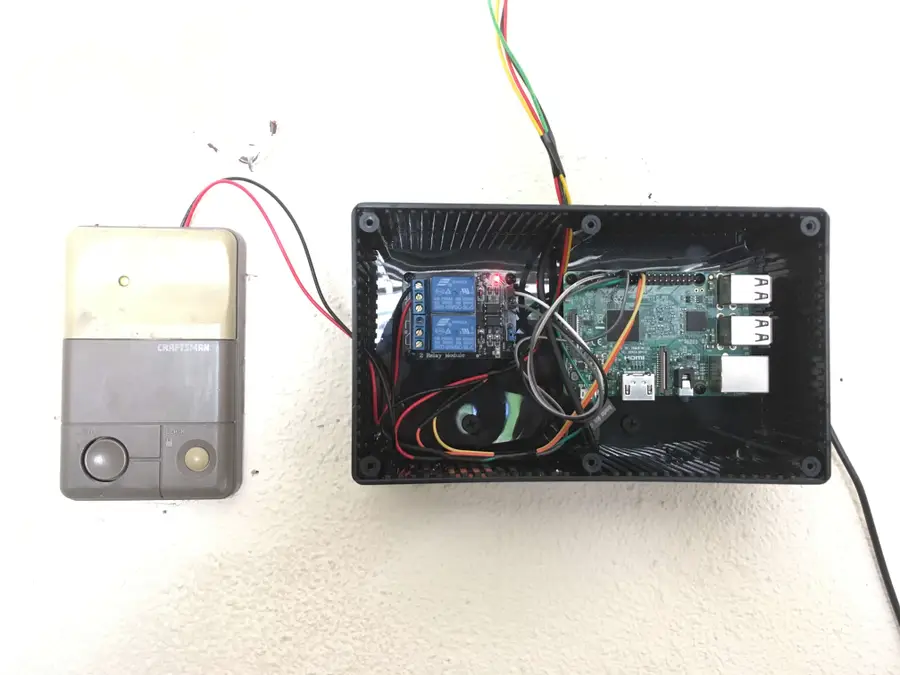
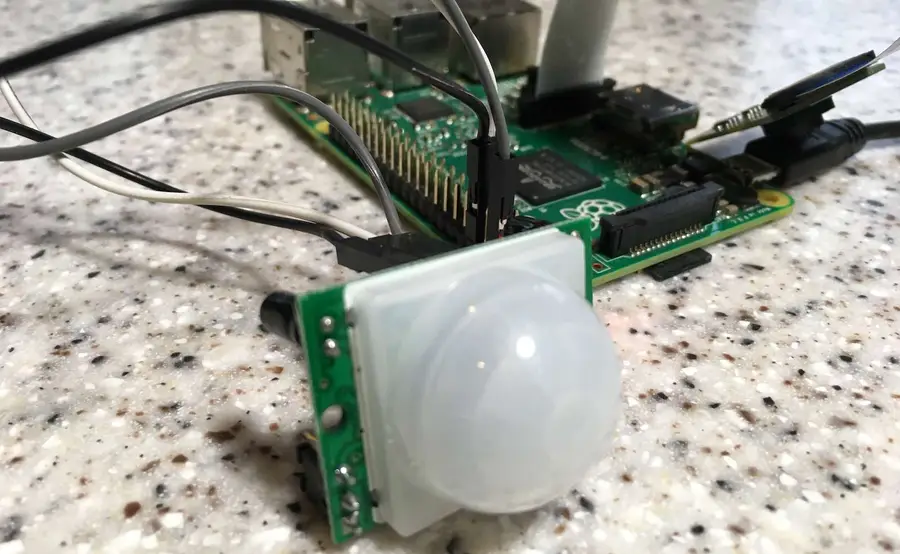
Homebridge isn’t the only home automation project you can try out with your Raspberry Pi, though. For instance, you could build a Raspberry Pi garage door opener to secure your garage, or use a PIR motion sensor on a Raspberry Pi to create a DIY home-alarm system.
Share your smart home!
If you have your own home automation projects to share, feel free to share them in the comments below!