How to Set Up Your Work Email on Your Android Phone
Share
What you'll need
Interests
Posted in these interests:


Setting up your work email on an Android phone is easy—everything synchronizes through Gmail, the default mail application. You can add an additional email address for your work account from within the Gmail application. The new email doesn’t have to be a Google account.
Make sure your email is up to date, check out our guide on how to update Android apps for help.
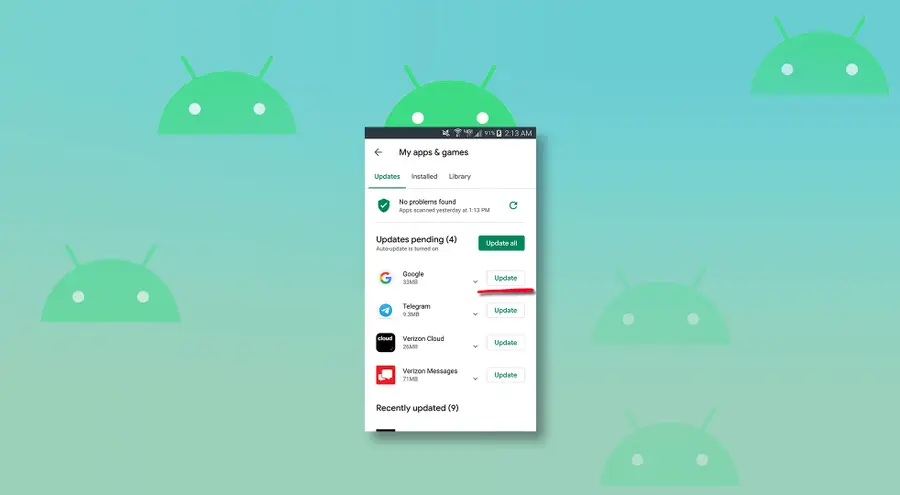
How to Update Apps on Android
Keep your favorite apps up to date.
1 – Open the add account screen
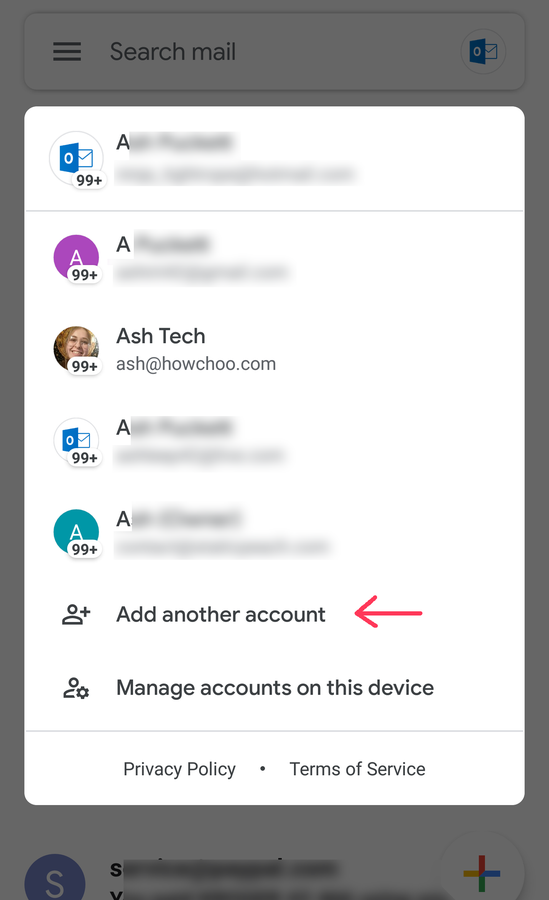
You can add an existing email account using the Gmail app.
- Open the Gmail app.
- Select your profile photo in the top-right corner.
- Choose Add another account.
2 – Choose the account type
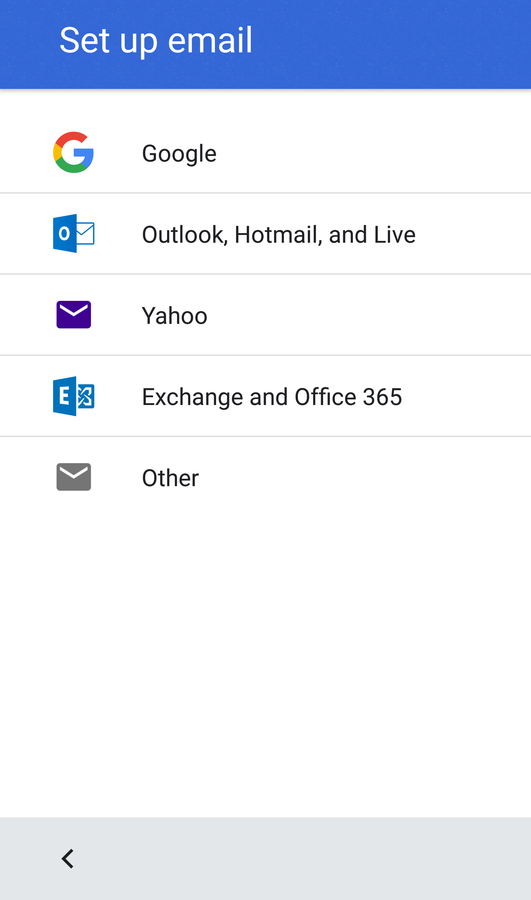
Choose the account type you want to add. If your company email uses one of the major providers in the list, select it. If you use Outlook in the office, you may not have an Outlook email address. Outlook emails end with domain extensions like @outlook.com, @live.com, and @hotmail.com. If your work email address has a different extension on the end, you probably need to use the Other option.
3 – Add the account details
Supported email providers
Follow the setup process to add your account details. The major providers like Yahoo and Microsoft (Outlook/Hotmail/Live) will only ask for your email address and password.
Other email providers
If you choose Other, you’ll have to manually configure your email. To do so, you’ll need the following information:
- Email protocol (IMAP or POP3)
- Incoming server address
- Outgoing server address
Typically, your company’s IT department should be able to provide this information.
To configure your email:
- Enter your email address, and choose Next.
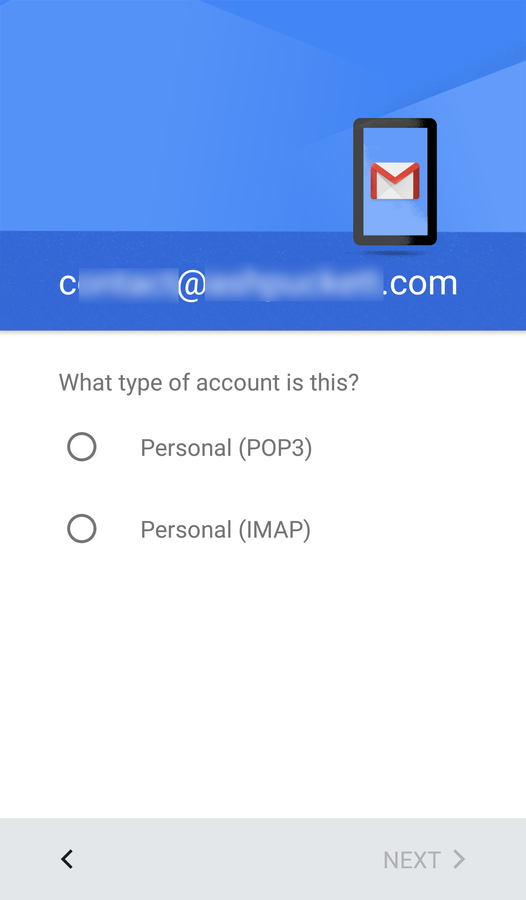
- You will be prompted to confirm if the account is POP3 or IMAP. Tap Next.
- Enter the password associated with the email account. Tap Next.
- Confirm the incoming server address for your work email. Tap Next.
- Enter the outgoing server address for your work email. IT support should have this address, as well.
- Tap next and confirm the notification/sync settings for the email account.
4 – How to switch between inboxes
Once the account has been added, you can easily swap between different inboxes.
- Tap your profile photo in the top-right corner.
- Choose an account to switch to.
5 – How to add a signature
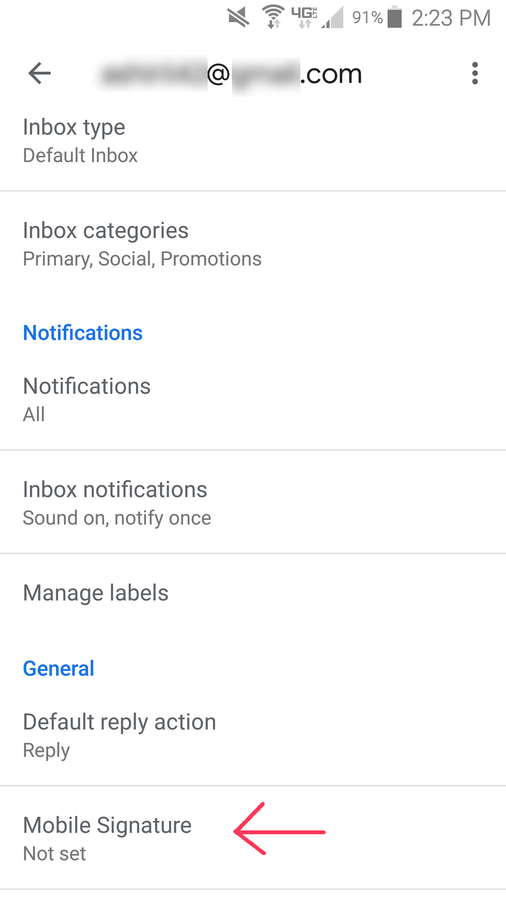
The Gmail app makes it possible to add a custom signature to outgoing emails.
- Open Gmail.
- Open the Main Menu.
- Choose Settings.
- Select your account, and go to Signature settings.
- Set Mobile Signature to on.
- Create a custom mobile signature to use with the account.
- Press the back button to save the changes.
6 – Troubleshooting
If your emails won’t come through after setting up your email, verify your network connection. If necessary, reset your network settings and try again.
How to Reset Network Settings on Android devices
Network trouble on your Android device? Try this.


