How to Install Dropbox on a Raspberry Pi


Share
What you'll need
Interests


If you’re trying to keep your important files and folders synced across all of your devices, one of the best methods is to use a cloud storage provider like Dropbox. Dropbox allows you to sync your files across all kinds of devices and platforms, from PCs to smartphones, with a copy of the files stored on Dropbox’s own servers.
When it comes to using Dropbox on a Raspberry Pi, however, there are two main issues you’ll face:
- Raspberry Pis use ARM processors, which Dropbox doesn’t officially support.
- Dropbox is typically used in a web browser or using the Dropbox client, but many people use Raspberry Pis in “headless” mode without a screen or keyboard, making it impossible to do this.
To get around these issues, you’ll need to use a workaround to install Dropbox on a Raspberry Pi and sync your files. This guide will walk you through what you’ll need to do to install Dropbox.
1 – What you’ll need
For this example, we’re using a Raspberry Pi 3 running the latest version of Raspberry Pi OS in headless mode to install Dropbox.
However, the model of Raspberry Pi you personally use doesn’t matter, as these steps should work for all Raspberry Pi models. If you prefer to use a graphical interface for your machine, simply open up a new Terminal window to get started. Otherwise, you’ll need to connect remotely using SSH to run the necessary commands instead.
On the software side, you’ll need to use an open-source program called rclone. Often described as “The Swiss army knife of cloud storage”, rclone acts as a third-party interface to over 40 different cloud storage products and protocols.
This means you can use rclone to access any files or folders stored on Dropbox using your Raspberry Pi, even without official Dropbox support.
2 – Installing rclone
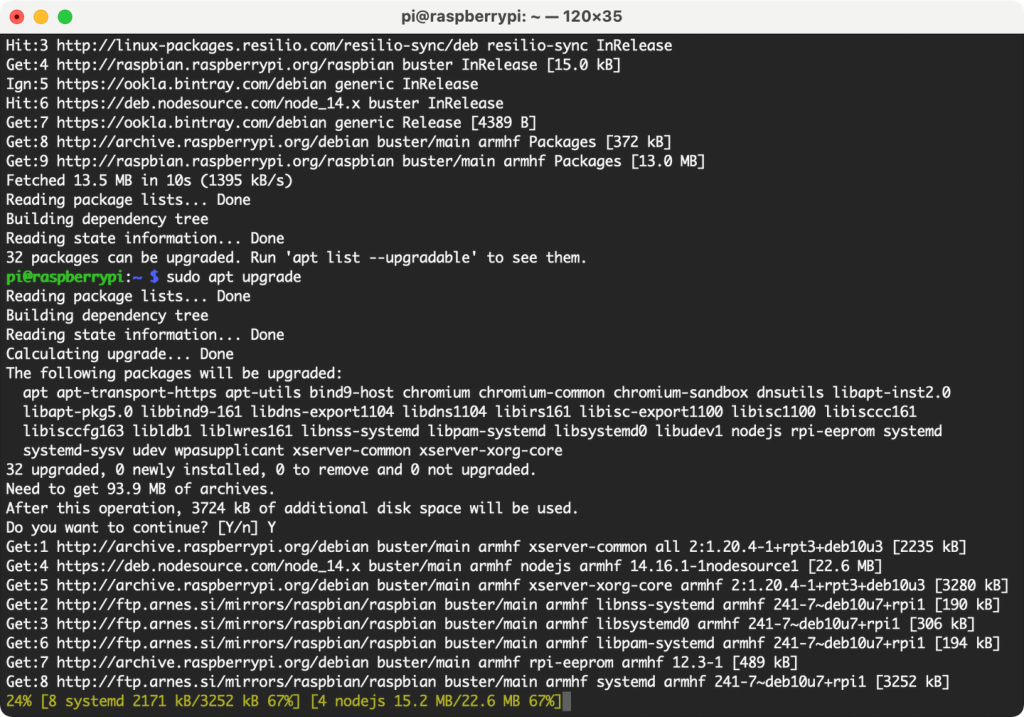
Before you begin installing rclone, you’ll need to make sure your Raspberry Pi is up-to-date. To this, open your terminal window or SSH connection and run the following commands:
sudo apt update && sudo apt upgrade.
To be sure that everything is in order after it finishes, go ahead and reboot the system with sudo reboot.
Once you’ve updated your system, your next step is to install rclone, but you won’t be using apt to do this. This is because the version currently available in Raspbian’s repository is pretty old, while rclone itself is updated more often.
Instead, type and run curl https://rclone.org/install.sh | sudo bash in the terminal or SSH window.
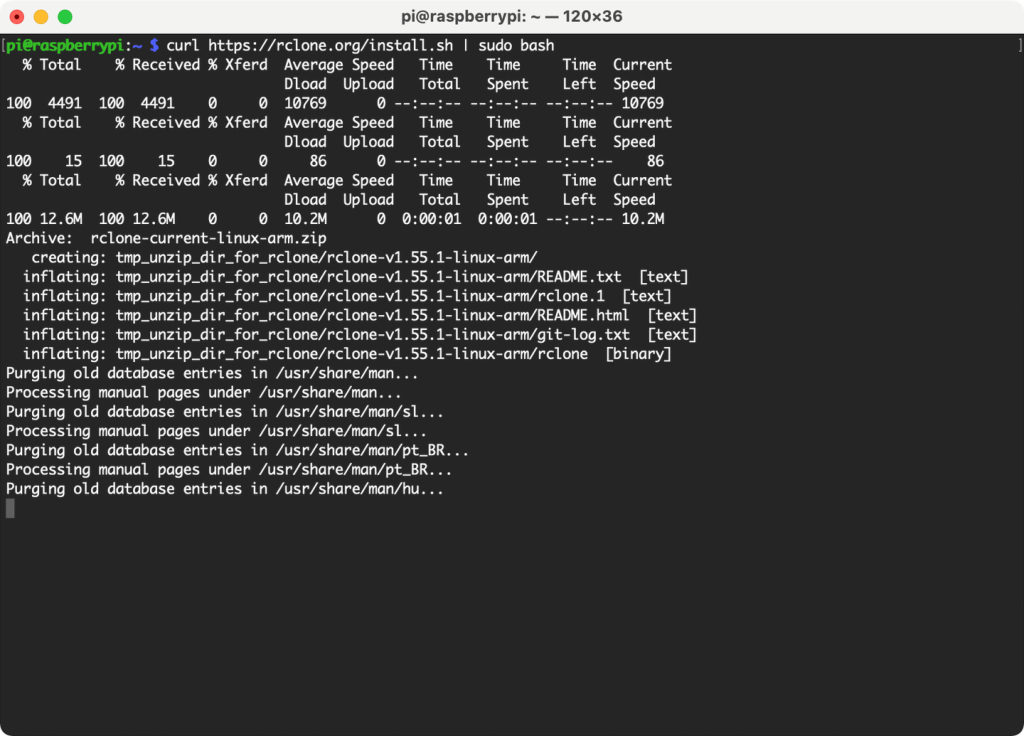
This runs an automated installation script for rclone and runs it as the superuser. If you’re worried about running an unknown script from the internet, you can download the script first by typing https://rclone.org/install.sh > install.sh followed by cat install.sh or nano install.sh to view the script contents locally.
The script is completely safe to run, but it’s always best to be cautious.
3 – Configuring rclone
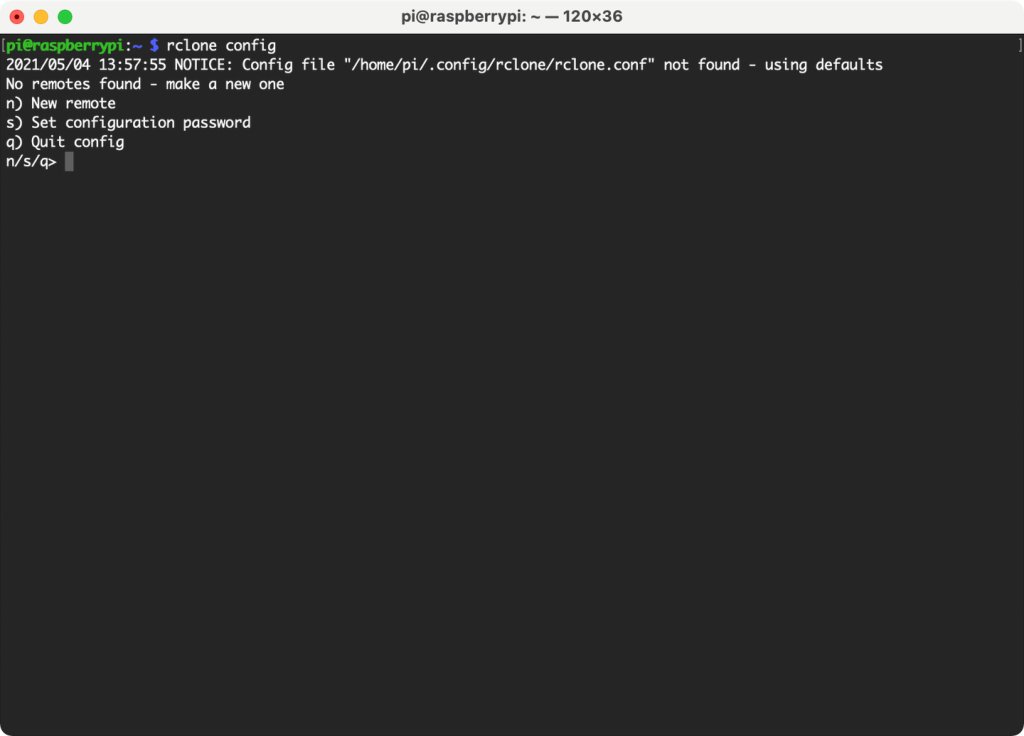
Rclone refers to any cloud service that it connects to as a remote. As such, you’ll need to configure your own Dropbox account as a new remote.
Run rclone config in the terminal or SSH window and type n to add a new remote. It will ask for a name to identify it in the system, so type in dropbox or another suitable name. If you’re running a more complex setup (with multiple Dropbox accounts, for instance), you can use a different descriptive name instead.
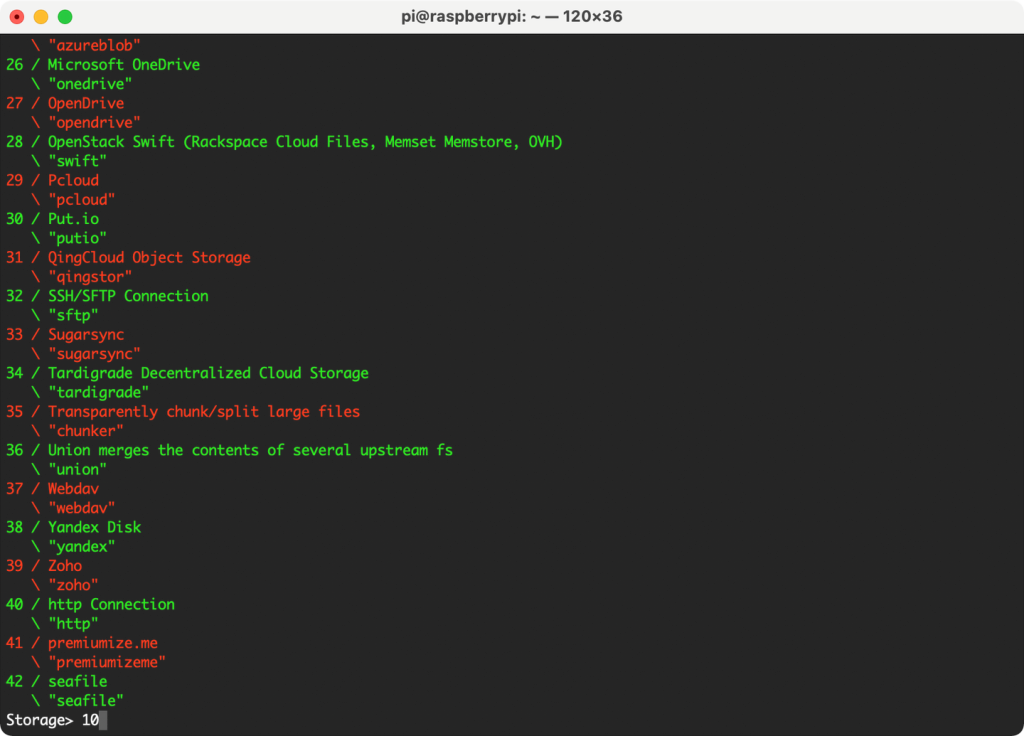
After choosing a name, rclone shows a list of supported services. Note that the specific list will depend on the version of rclone in use, so don’t worry if your list doesn’t match the screenshots below. In this example, Dropbox appears as number 10, so typing 10 will select Dropbox.
When asked for client_id and client_secret, leave those fields blanks and hit the Enter key instead, as the advanced configuration isn’t required.
At this point, if your Pi has a screen and you’re using the graphical interface, you can let it use the auto configuration method to authorize rclone and provide it with access to your Dropbox account.
If your Pi is running headless, however, you will need to install rclone on your main desktop machine in order to authorize Dropbox and not use auto config. This is because the authorization is based on oAuth2, a protocol that needs to “talk back” to Dropbox using an open web browser (something a headless Raspberry Pi doesn’t have).
Installing rclone on a different machine is beyond the scope of this guide, but on Mac or Linux, you should be able to use the same command as above. A Windows binary file can be found on rclone’s download page and should work in a similar way.
Once you have rclone on your main computer, run rclone authorize "dropbox" on it (not on the Pi!), replacing dropbox with the remote name you used in the previous step. The quote marks in this case make no difference since the name contains no spaces, but it doesn’t hurt to include them. You’ll need to provide them if you use a remote name that uses spaces, however.
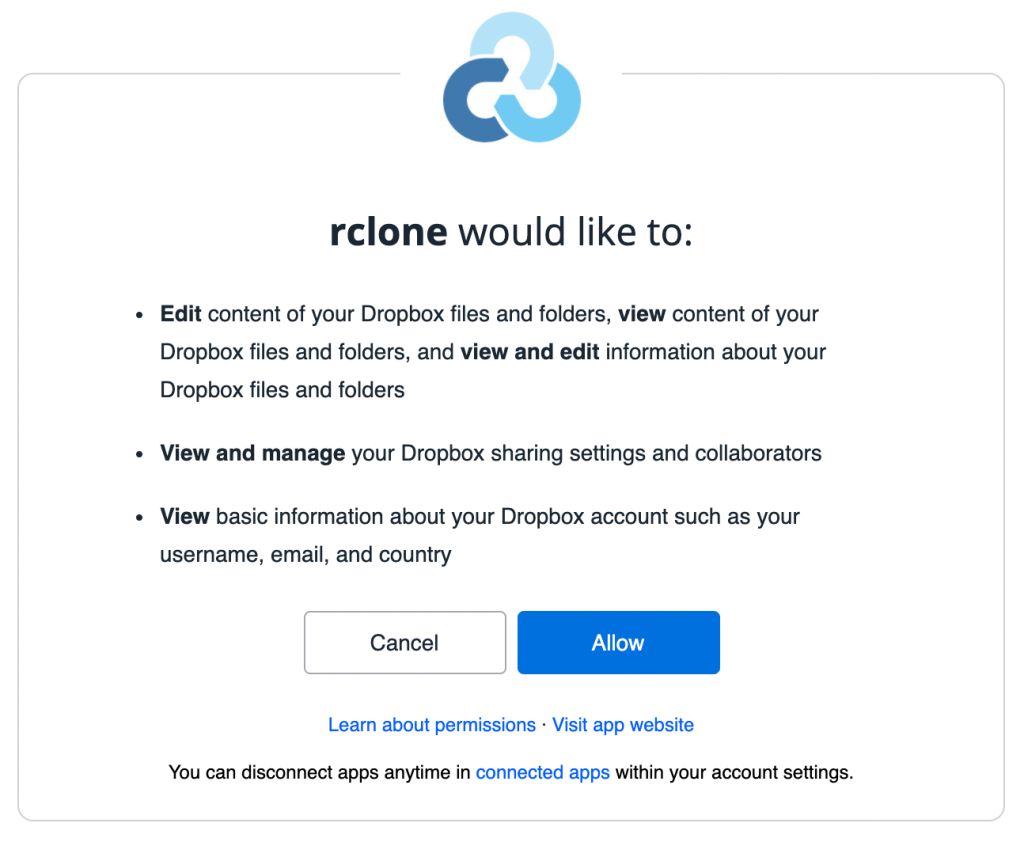
A browser window should open on your main computer with a Dropbox login page. If not, rclone will provide a link to copy and paste, but note that it will only work on that same computer.
After logging in and authorizing the app in the browser, the terminal window will display an access token. Select this (excluding the lines with the arrows) and paste it back into the Pi’s terminal.
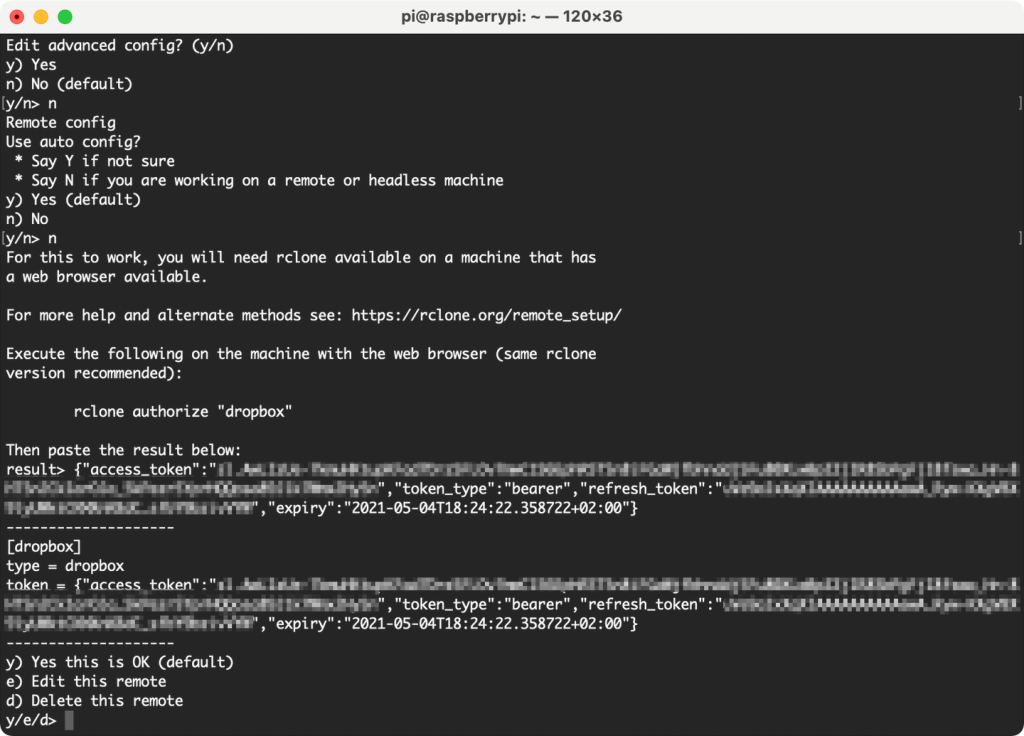
Confirm the setup process by answering y when it asks if your configuration is okay, and then type q to quit the configuration.
4 – Installing rclonesync
Since rclone by default does not allow for bidirectional sync to allow you to make changes back and forth between your Dropbox storage and your local devices (as Dropbox should support), you’ll need to use an additional script called rclonesync to enable support for it.
Type the following two commands in the terminal window or via SSH to download rclonesync and set it up on your Raspberry Pi:
sudo curl https://raw.githubusercontent.com/cjnaz/rclonesync-V2/master/rclonesync --output /usr/local/bin/rclonesync && sudo chmod +x /usr/local/bin/rclonesync
mkdir ~/.rclonesyncwd
As before, the files will download a script to run from the internet. If you’re unsure about this, type the following command in your terminal or SSH window first:
sudo curl https://raw.githubusercontent.com/cjnaz/rclonesync-V2/master/rclonesync --output /usr/local/bin/rclonesync
This will download the file to your /usr/local/bin directory, allowing you to view the file before you run it using cat or nano.
5 – Configuring rclonesync
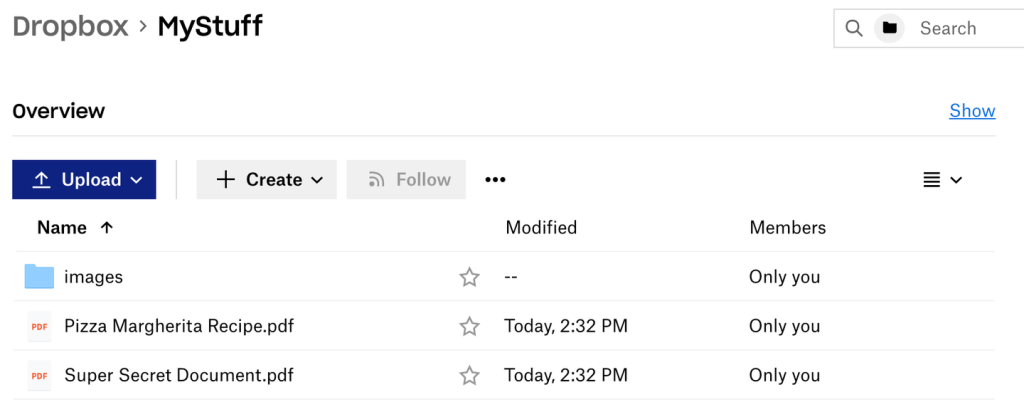
For this example, rclone will synchronize a folder named MyStuff located in Dropbox with a local folder called dropbox in the Raspberry Pi’s home directory. You can replace these example directory names with your own in the commands below.
First, create the local folder by typing mkdir ~/dropbox into the terminal or SSH window (with ~ referring to the Pi’s home directory).
You’ll then need to set up rclonesync by running rclonesync --first-sync dropbox:/Mystuff ~/dropbox in the terminal or via SSH. Note that the dropbox before the colon is the remote name used earlier (so replace this if you used something else), while the other folder is the local folder.
After that, you can trigger a sync with Dropbox’s servers by running the same command without the –first-sync parameter:
rclonesync dropbox:/Mystuff ~/dropbox
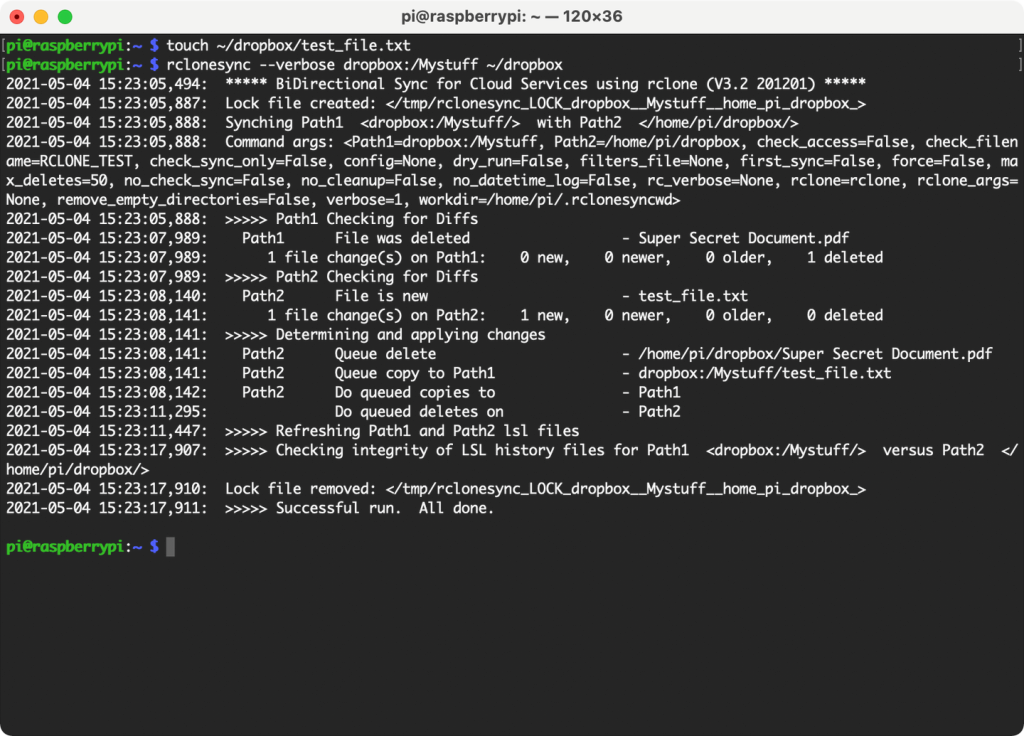
You can test this by creating an empty file in the local sync folder with touch ~/dropbox/testfile.txt or by removing a file on Dropbox using your web browser or another computer. You can then run the command again, possibly with the –verbose option to see more information:
rclonesync --verbose dropbox:/Mystuff ~/dropbox,
If the connection is working, new files should appear or deleted files should disappear, depending on the action you performed.
6 – Automating the sync process
Manually running the rclonesync command every time you want to sync your files isn’t the best solution. To automate the sync process with Dropbox, you’ll need to use the Cron tool.
Cron allows us to run specific commands on a schedule, while Crontab allows us to configure this schedule.
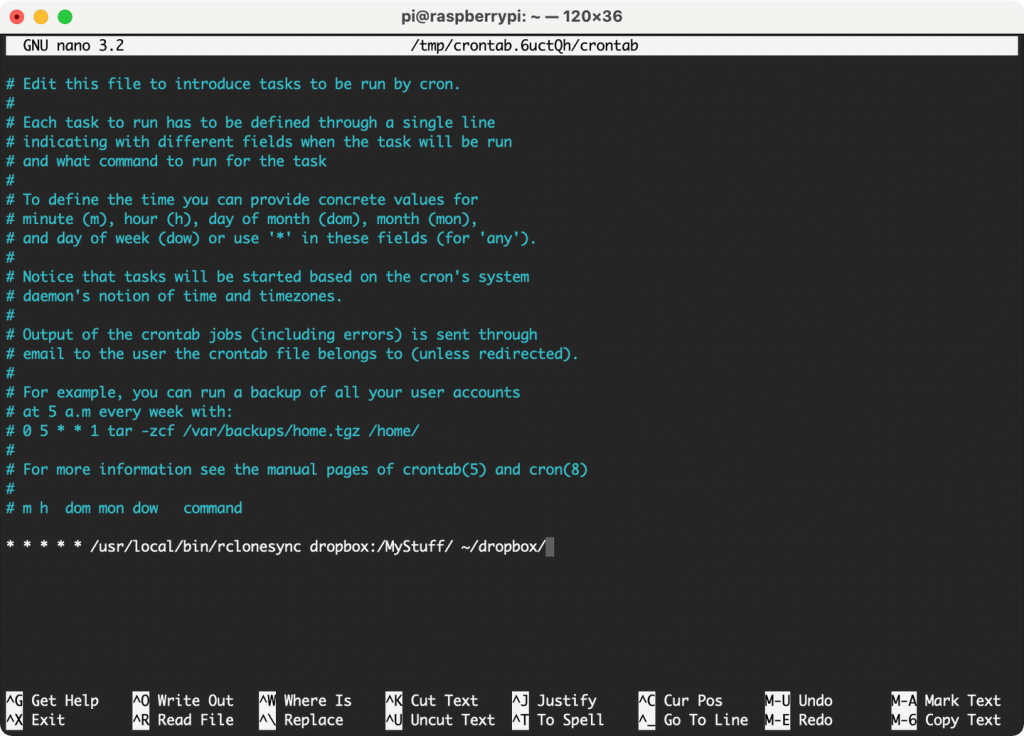
In the terminal or SSH window, type crontab -e to begin changing your Crontab schedule. If it asks you to choose an editor, select nano.
At the bottom of the file, add the following statement, making sure to replace the directories named with the correct directories on your Raspberry Pi and Dropbox storage:
* * * * * /usr/local/bin/rclonesync dropbox:/MyStuff/ ~/dropbox/
Save and exit Crontab by typing Ctrl + X, Y and Enter in sequence.
At this point, the system will run the rclonesync command every single minute (that’s what the asterisks mean). To test that it works, try making a change on Dropbox, give it a minute (literally) and see the file appear on your Raspberry Pi, or vice versa.
7 – Next Steps
Once you’ve set up rclonesync, you should be able to sync your files using Dropbox to your Raspberry Pi (and back again). If you need to change the sync schedule or the folders that you sync, just repeat the steps above to change your Crontab schedule and alter the rclonesync command.
Installing Dropbox on a Raspberry Pi is a great way to keep your important files backed up, but it isn’t the only thing you can do with your Pi. There are plenty of Raspberry Pi projects you can try, from building your own RetroPie retro gaming rig to building a Raspberry Pi DIY NAS solution for all your important files.
Do you use Dropbox on your Pi, or do you prefer a different cloud storage solution? Let us know how you use your Pi for storage in the comments below.