DIY Danish Oil: How to Make Homemade Own Danish Oil
Share
What you'll need
Interests
Posted in these interests:

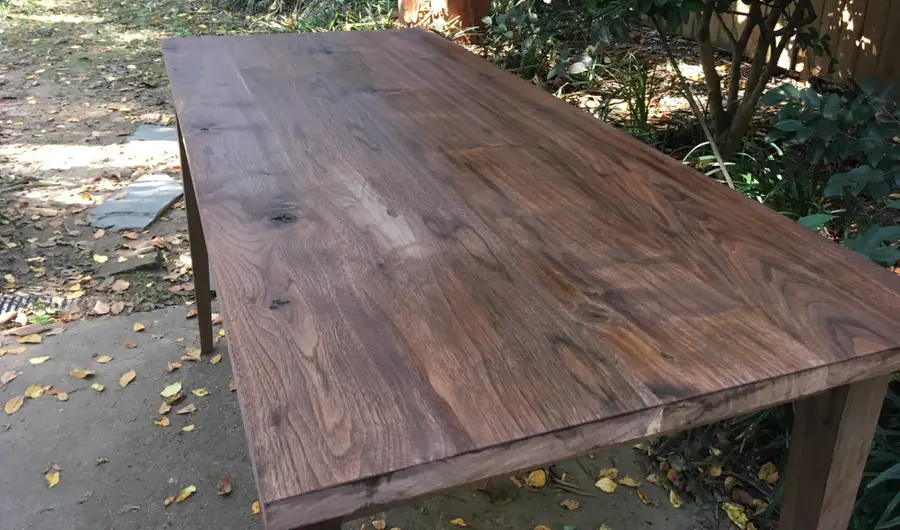
Danish oil is a general purpose natural finish for wood. It adds depth and richness to any wood species and protects and seals at the same time. It is extremely easy to apply or reapply with a rag, and it is not sticky or toxic like most off the shelf stains and finishes.
There is no one definition of danish oil but generally, it refers to a mixture of oil, some type of varnish or polyurethane, and a thinner. A couple of brands make their own “Danish oil” and don’t disclose the exact recipe, but it is accepted that it is some combination of these three ingredients.
I’m going to show you my very basic recipe that you can then tweak as you get more experienced with it.
1 – Oil
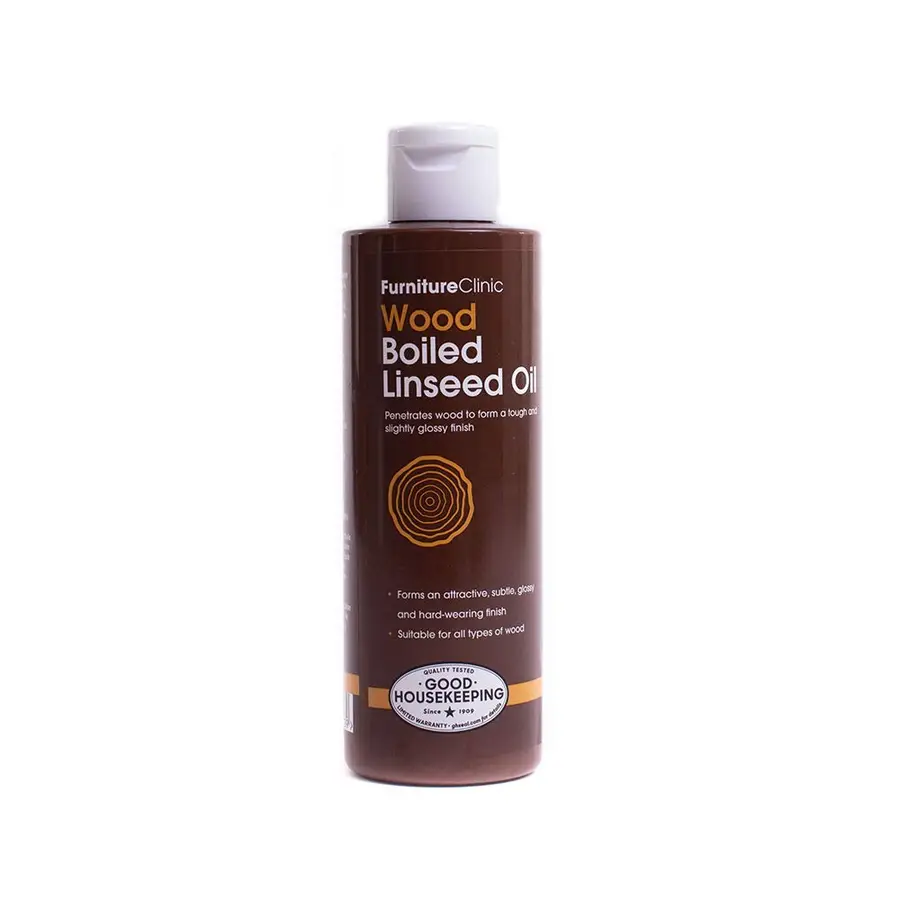
The most common oil to use is boiled linseed oil. Commonly shortened to the acronym BLO, this oil has likely been used to protect wood for a couple hundred years. It is produced by extracting oil from the flax plant and concentrating it. It soaks into the wood, preventing other things like moisture and bugs from getting in, and it darkens the wood almost as if it were wet.
Make sure you buy something that is just boiled linseed oil as there are many products on the market that are not 100% BLO. This one from amazon does the job. You can experiment with other oils, but this one has served me and many other woodworkers extremely well.
I use BLO as 1/3 of my danish oil recipe.
2 – Varnish (or poly)
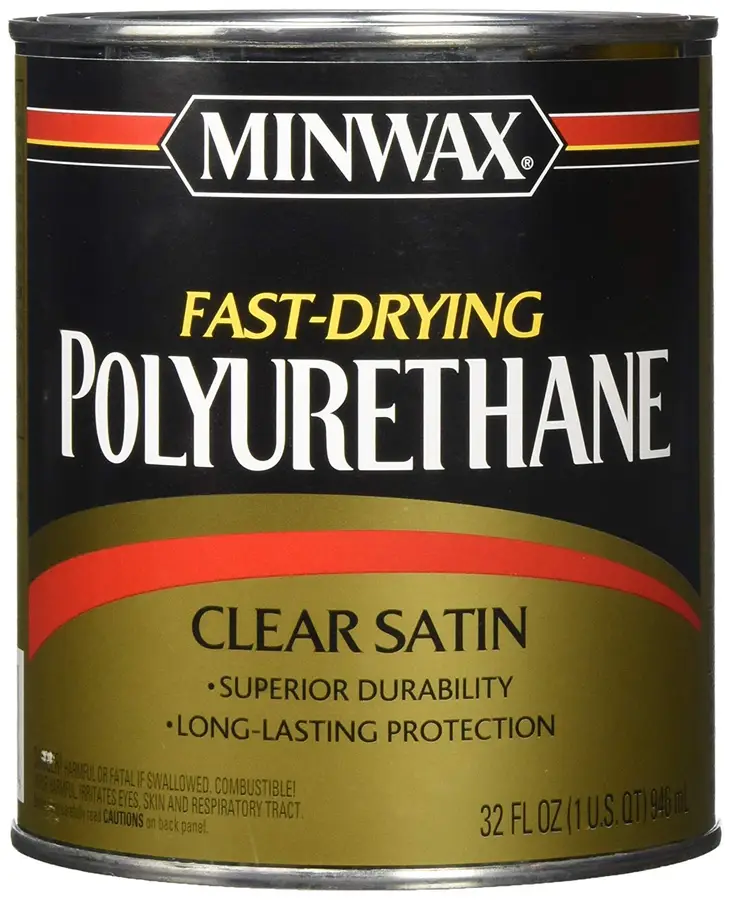
Using the term “varnish” as an umbrella term for polyurethane, shellac, and actual varnish is a bit of a misnomer, but it’s quite common. In this case, we are referring to any finish whose purpose is for sealing and protecting wood.
When making your own danish oil, you need a “varnish”. I typically reach for a satin polyurethane like this one from Minwax.
I also use about 1/3 in my recipe however, if you’re going to tweak the recipe for your specific project, I would start here. Both with the type of varnish you use and the quantity. A great example would be if you wanted something a bit more water resistant, I would recommend using more varnish. If you like a more shiny finish, use a high gloss poly like this one.
3 – Thinner
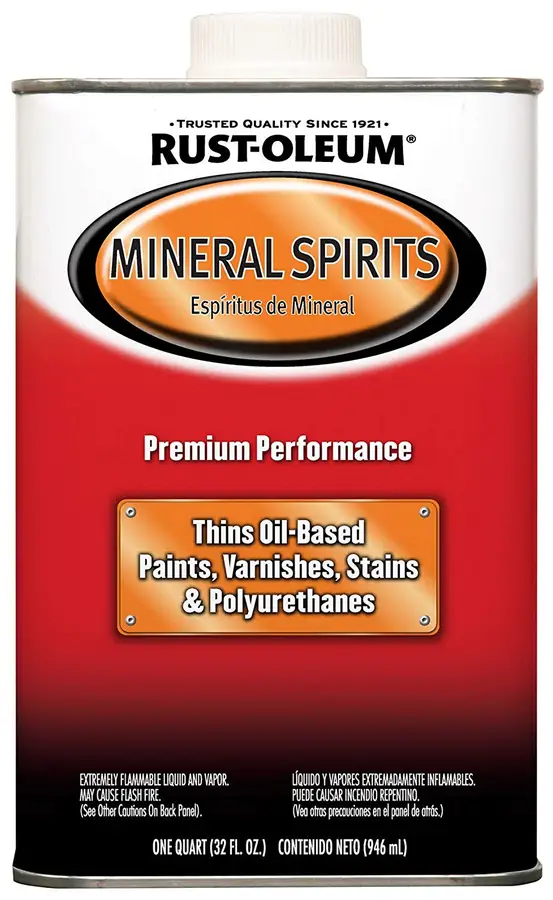
In order to go on evenly, the mixture needs a thinner like mineral spirits or paint thinner. Some people believe that only mineral spirits will work, but I’ve used both and cannot tell a difference (besides the price).
I would stick to 1/3 for this one.
4 – Apply the finish
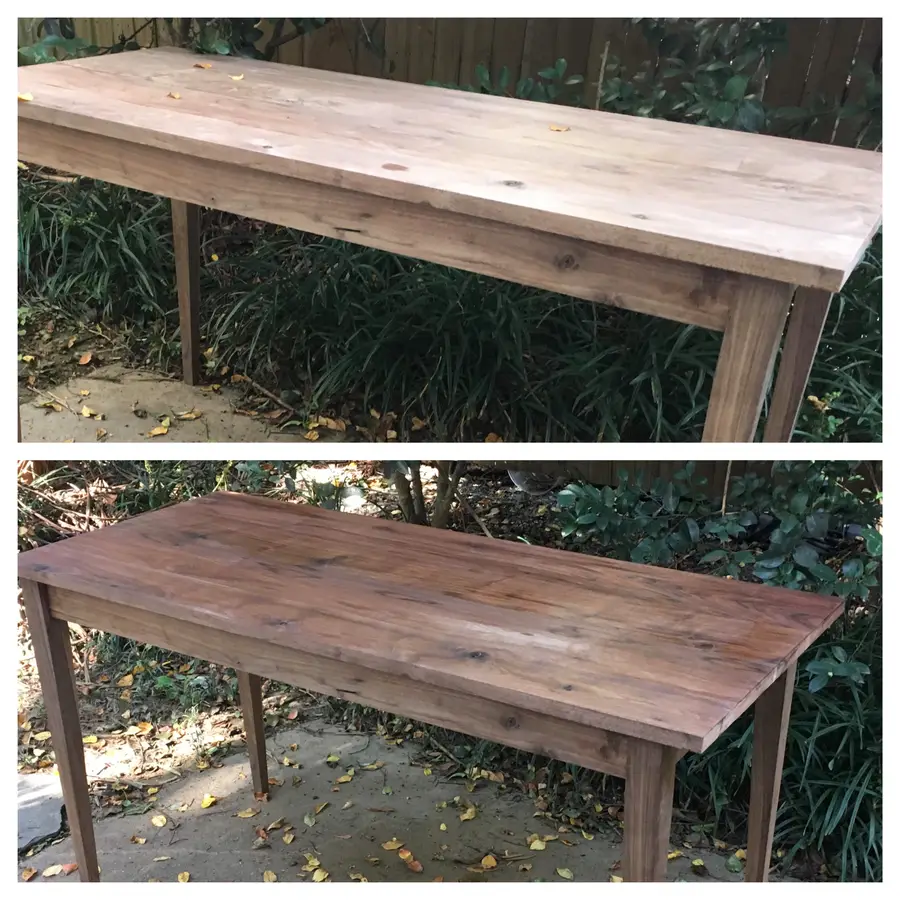
Application is very easy. It generally follows this pattern:
- Apply the oil with a rag until the wood no longer soaks up the oil
- Wait 20 minutes
- Wipe off excess
- Let it dry for 24-48 hours
- Sand with high grit sandpaper (320 or higher)
- Repeat as needed


