How to Power the Raspberry Pi Pico
Share
Interests
The Raspberry Pi Pico is a little board with a lot of room for creativity. But like your brain, the Pico needs the right juice to work properly! Makers have a few options when it comes to supplying the Pico with power ranging from portable batteries to hard-wired setups.
What is the Pico?
The Raspberry Pi Pico is a $4 microcontroller board from the Raspberry Pi Foundation. It uses the new RP2040 chip and is the first official microcontroller from the Raspberry Pi team.
1 – Powering the Pico overview
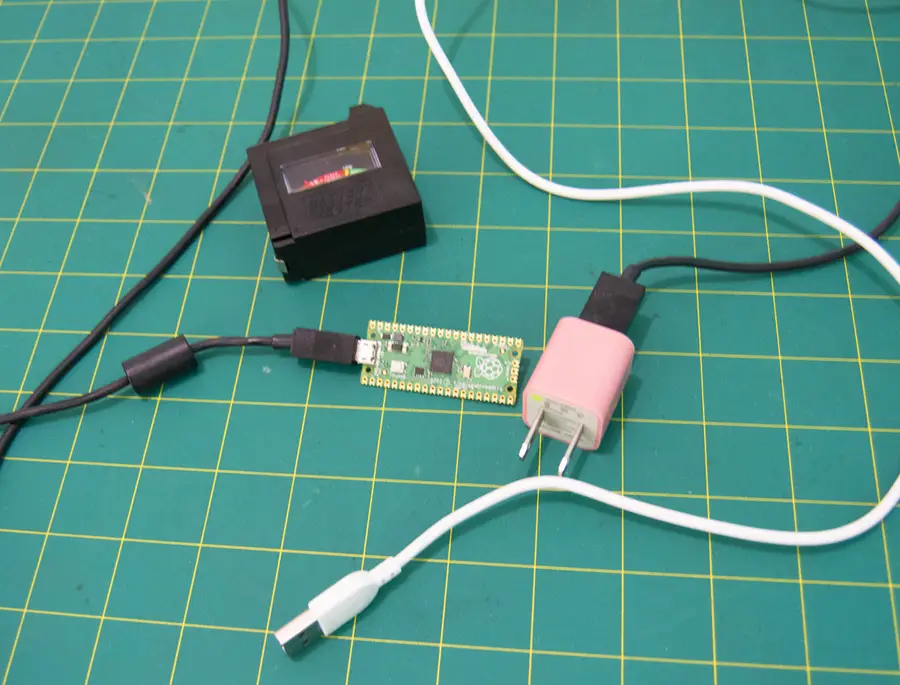
The Raspberry Pi Pico can accept a range of voltages between 1.8V and 5.5V. This makes it incredibly versatile when it comes to incorporating the Pico into projects where power demand can easily vary between modules.
There are two power input options on the Pico: the micro USB port and the VSYS GPIO pin, labeled as number 39 on official documentation. Any use of the VSYS pin will require a ground for the battery’s negative line.
2 – Power the Pico from a computer with USB
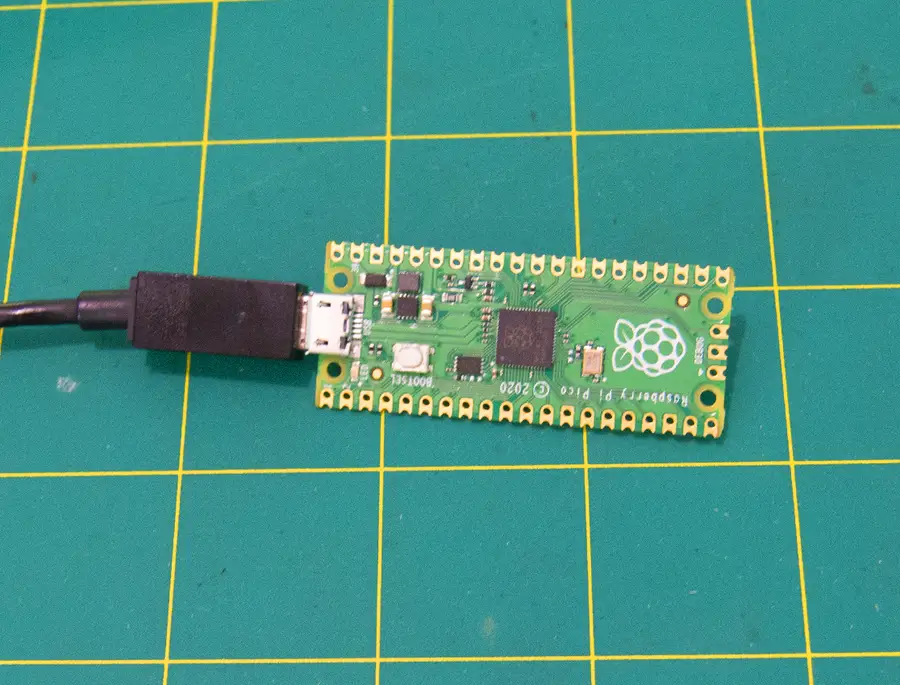
Powering the Pico via USB on a computer is the easiest method. Most makers will have the hardware necessary to power the Pico this way. This connection is also required to program the Pico.
The biggest drawback to this method is that it requires constant tethering to the machine. This is generally a temporary method of powering the Pico.
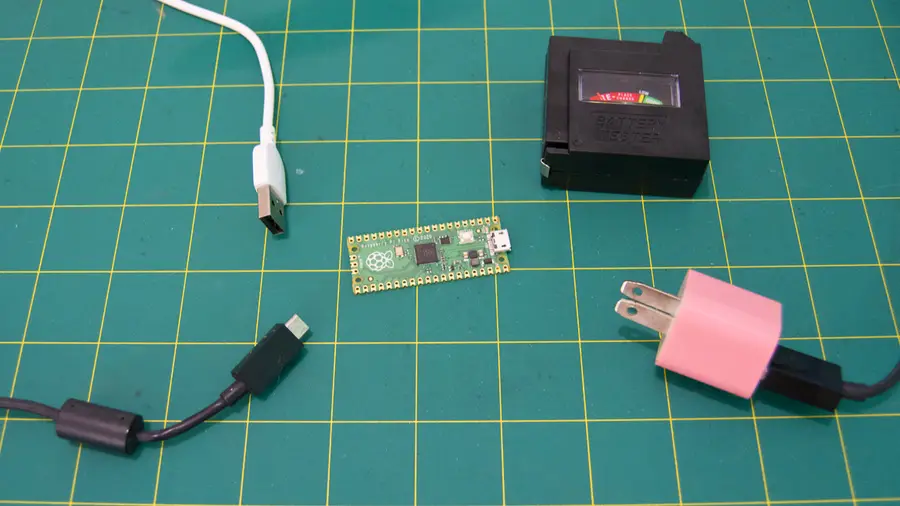
3 – Power the Pico via AC using USB
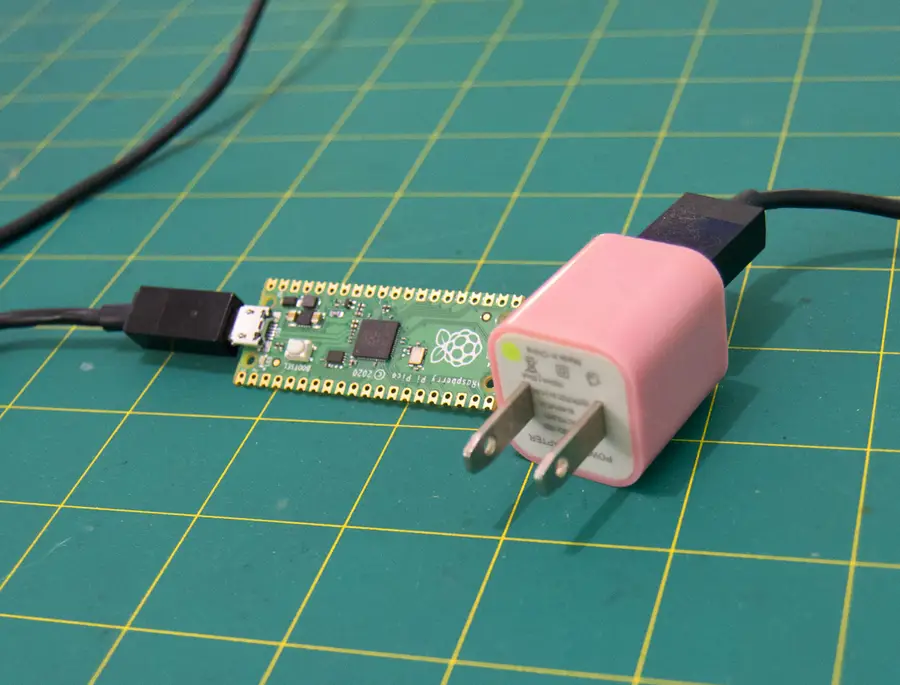
If you have an AC to USB adapter, you can use the micro USB cable to power the Pico in a more permanent configuration. In this setup, the Pico accepts power from the micro USB port with a cable connected directly to a wall outlet.
This method is ideal when your project requires constant power and with no demand for portability. Make sure your cable and adapter won’t deliver more than 5.5V to the Pico.
4 – Power the Pico using a battery
If you want to take your Pico on the go, you can always incorporate a battery into the project design. The type of battery you choose to use can be as big as a power bank or as small as a couple of AA batteriess. How much you’ll need depends on how long you need the Pico to be powered for and how much current it draws with any connected peripherals.
Portable battery packs with USB output will work just fine with the micro USB port on the Pico. If you want to use the micro USB port for something else, you may want to use the GPIO to connect the battery. This will free up the micro USB port while supplying power to the board.
5 – Power the Pico via GPIO
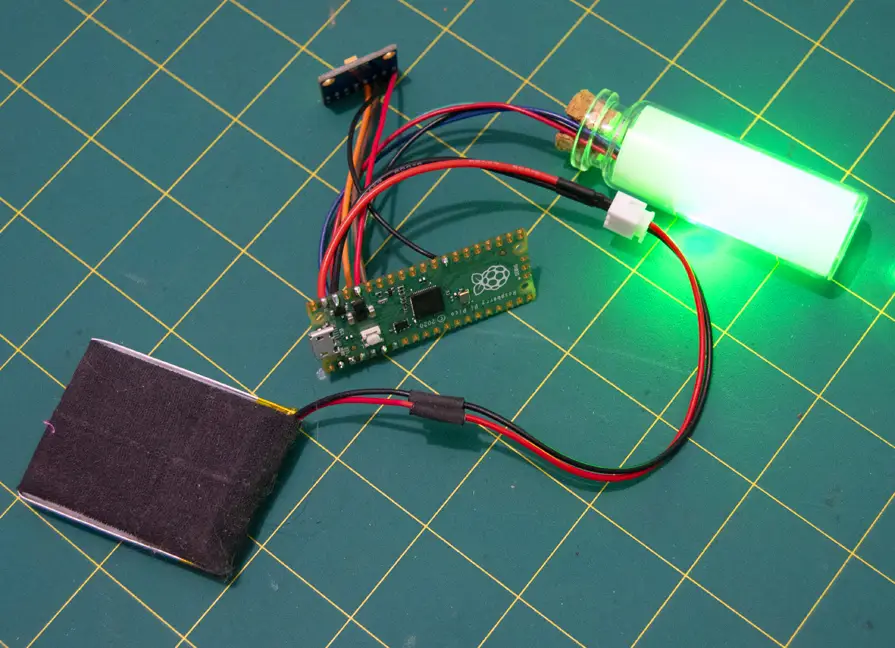
Powering the Pico using GPIO is easy, but has to be done with caution. Make sure you aren’t working with hot wires and unplug any cables you plan to solder.
- Determine your power source – Determine what you will use to supply power to the Pico (battery, wall adapter, etc).
- Connect the positive and ground wires – If your Pico has male headers soldered into place, you will need to connect the positive and negative ground wires to the Pico. Pin 39 is the VSYS pin capable of accepting power. Pin 38 is an adjacent ground pin, but any ground pin will do. If you don’t have any headers, you can solder the power connecting wires into place.
- Test the connection – Double-check your wiring before implementing a test run. If everything looks good, connect your battery or plug your cable in.
If everything worked, your Raspberry Pi Pico should be full of power and ready to run!


