How to Add a Power Button to Your Raspberry Pi


Share
What you'll need
Interests
Series


Posted in these interests:


To keep the price down, the Raspberry Pi doesn’t ship with a power button, yet it’s easy to add your own! This guide will show you how to add a power button to your Raspberry Pi that can turn your Pi on or off. This is one of the most useful Raspberry Pi projects you can complete!

Raspberry Pi Projects
Find amazing Pi projects for any skill level!
We’re going to use a few scripts that will monitor two GPIO (general-purpose input/output) pins on your Pi and look for when the button is pressed to turn the Pi on or off.
Why is a Raspberry Pi power button important?
You should never “yank” the power cord out of your Pi as this can lead to severe data corruption (and in some cases, physically damage your SD card). You can safely shut down your Pi via a software command or, even better, use a power button or switch (see: this guide). 🙂
Note: When we “shut down” the Pi, it will send it into a halt state, which still consumes a very small amount of power. This is similar to how all modern computers work. In this guide walk through the process of adding a power button that will both halt and wake the Pi up from a halted state. Additionally, after your Pi has shut down, you can safely disconnect the power supply (should you desire) without the worry of data corruption.
Raspberry Pi 4 Support
The version of the bootloader used in early Raspberry Pi 4 units didn’t ship with WAKE_ON_GPIO enabled, meaning you can’t wake the Pi using the method we’ve outlined in this guide. However, the latest version of the bootloader supports this feature.
If you have one of the early Raspberry Pi 4 units and wake functionality doesn’t work after completing this guide, you may need to install the bootloader manually. To do so, download these files and follow the instructions contained therein.
Video
We also made a Raspberry Pi power button video—check it out, then read on for the full guide below!
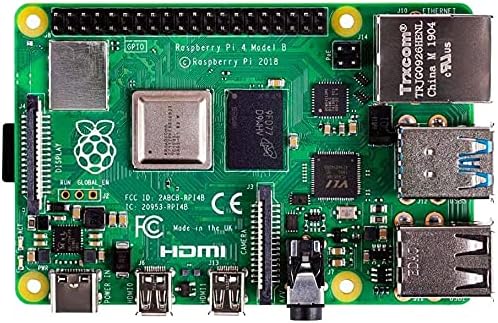
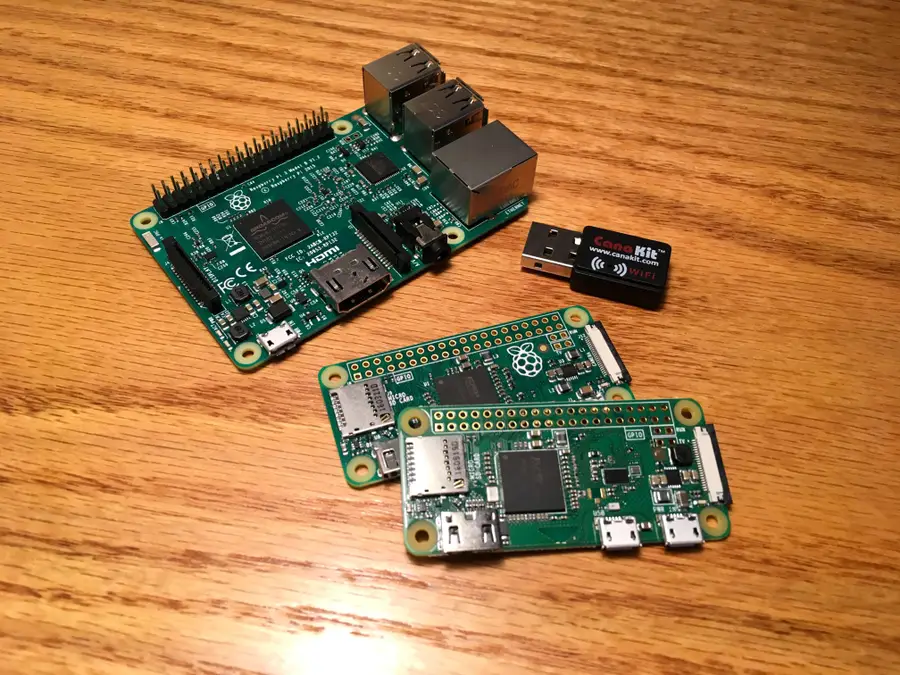
1 – Gather your supplies
Before we get to work, we should gather the supplies. You’ll need a Raspberry Pi, and any version will do for this project.
If you’re following along with this guide, it’s likely that you’re going to have to choose an appropriate button for your project. I’m going to use a pretty large button, but the important part is that you choose a “normally open momentary push button”.
If you’re looking to add a button to your Pi Cart, Amazon has a lot of small momentary push buttons if you’re looking for a smaller form factor.

You have two options for building your button:
Option 1: Use a premade button assembly (easiest)
If you don’t have a soldering iron or don’t want to break it out, you can order a premade Raspberry Pi power button assembly. This option eliminates the need for soldering or breadboarding.
Option 2: Solder your own button assembly
This option is best if you have a soldering iron and have a very specific button size in mind. In this case, reference the tools and materials section above for a complete list of what you’ll need.
2 – Understanding the wake functionality
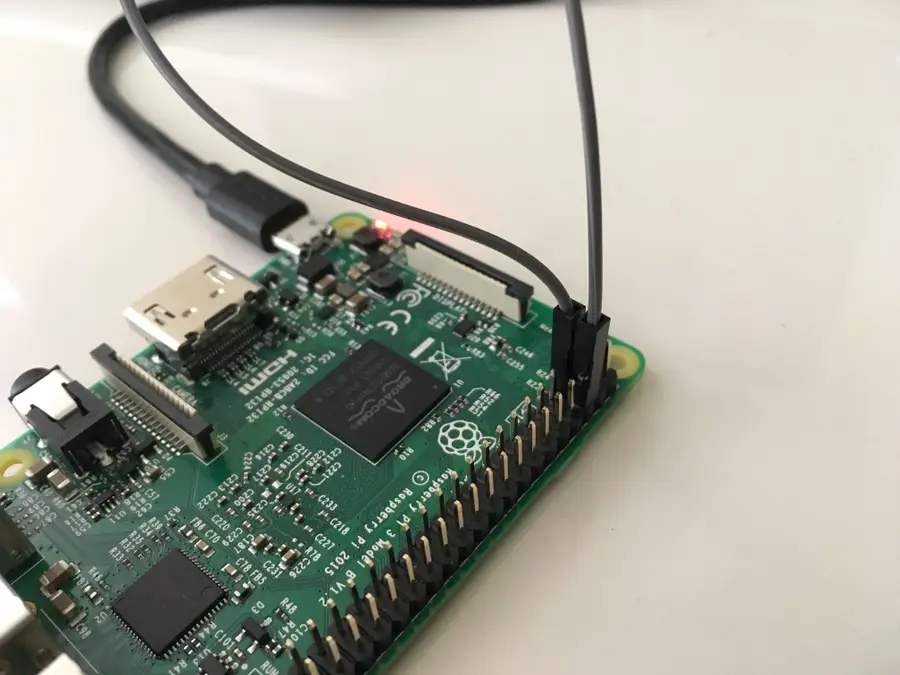
There’s nothing to build here, but we need to understand how to wake up the Pi from a halt state before we build the shutdown functionality. Simply put, shorting pins 5 and 6 (GPIO3 and GND) together will wake the Pi up from a halt state.
An easy way to test this is to shutdown the Pi with sudo shutdown -h now, and connect pins 5 and 6 with a female to female cable. You only need to short them momentarily. Then you should find that the Pi is “awake”.
3 – Building the sleep functionality
There are two options for building the sleep functionality: using our install script or installing everything manually. I recommend using the install script, but the manual approach will help you understand how this works.
Option 1: Use the install script (easiest)
The simplest way to install the required scripts is to clone our power button repository, and run the install script.
SSH into your Pi, install git (if it’s not already), and then run:
git clone https://github.com/Howchoo/pi-power-button.git

./pi-power-button/script/install
Read the next section if you want to understand how these scripts work.
Option 2: Install manually
The wake solution is fairly straight forward, but in order to safely shut down the Pi we’re going to have to use a software solution. Since we know we’re going to use pins 5 and 6 to wake the Pi, let’s also use these pins to shut it down. That way we can wire up our button to those pins and it will both shutdown and wake the Pi.
We’ll have to write a script that listens for a button press and shuts down the Pi. Before we look at the script, let’s discuss a few different approaches. First, we could write a script that starts an infinite loop and waits for a change in the state of the GPIO pin. Using pseudo-code, that might look something like:
while True:
    if GPIO3 is pressed:
        shutdown the pi
While this would work, and probably doesn’t have any real performance concerns, there’s actually a better way. We can listen for an interrupt (edge detection). An interrupt is the change in state from LOW to HIGH or HIGH to LOW. The RPi.GPIO library provides a method called wait_for_edge that will block execution of our script until an interrupt is detected. So we’ll setup GPIO3, and once we detect a FALLING edge we’ll shutdown the Pi.
First, we need to connect to the Pi via SSH. Then, we’ll use a script called listen-for-shutdown.py.

How to Connect to a Raspberry Pi Remotely via SSH
The preferred (and most common) method of connecting to your Pi to run commands.
To create the script, we can use the nano editor. After connecting to your Pi, run the following command to create a file called listen-for-shutdown.py:
sudo nano listen-for-shutdown.pyThen, paste the following code into that file, and press CTRL-X to exit, and Y to save when prompted.
#!/usr/bin/env python

import RPi.GPIO as GPIO
import subprocess


GPIO.setmode(GPIO.BCM)
GPIO.setup(3, GPIO.IN, pull_up_down=GPIO.PUD_UP)
GPIO.wait_for_edge(3, GPIO.FALLING)

subprocess.call(['shutdown', '-h', 'now'], shell=False)
Next we need to start this script on boot. So we’ll place the script in /usr/local/bin and make it executable:
sudo mv listen-for-shutdown.py /usr/local/bin/
sudo chmod +x /usr/local/bin/listen-for-shutdown.py
Now add another script called listen-for-shutdown.sh that will start/stop our service. To create the script:
sudo nano listen-for-shutdown.shEnter the following code in that file and save it:
#! /bin/sh

### BEGIN INIT INFO
# Provides:          listen-for-shutdown.py
# Required-Start:    $remote_fs $syslog
# Required-Stop:     $remote_fs $syslog
# Default-Start:     2 3 4 5
# Default-Stop:      0 1 6
### END INIT INFO

# If you want a command to always run, put it here

# Carry out specific functions when asked to by the system
case "$1" in
  start)
    echo "Starting listen-for-shutdown.py"
    /usr/local/bin/listen-for-shutdown.py &
    ;;
  stop)
    echo "Stopping listen-for-shutdown.py"
    pkill -f /usr/local/bin/listen-for-shutdown.py
    ;;
  *)
    echo "Usage: /etc/init.d/listen-for-shutdown.sh {start|stop}"
    exit 1
    ;;
esac

exit 0
Place this file in /etc/init.d and make it executable.
sudo mv listen-for-shutdown.sh /etc/init.d/
sudo chmod +x /etc/init.d/listen-for-shutdown.sh
Now we’ll register the script to run on boot.
sudo update-rc.d listen-for-shutdown.sh defaultsSince the script won’t be running, we’ll go ahead and start it with:
sudo /etc/init.d/listen-for-shutdown.sh startNote: These scripts have been added to a Github repo to make them easier to pull down. Feel free to submit pull requests with improvements.
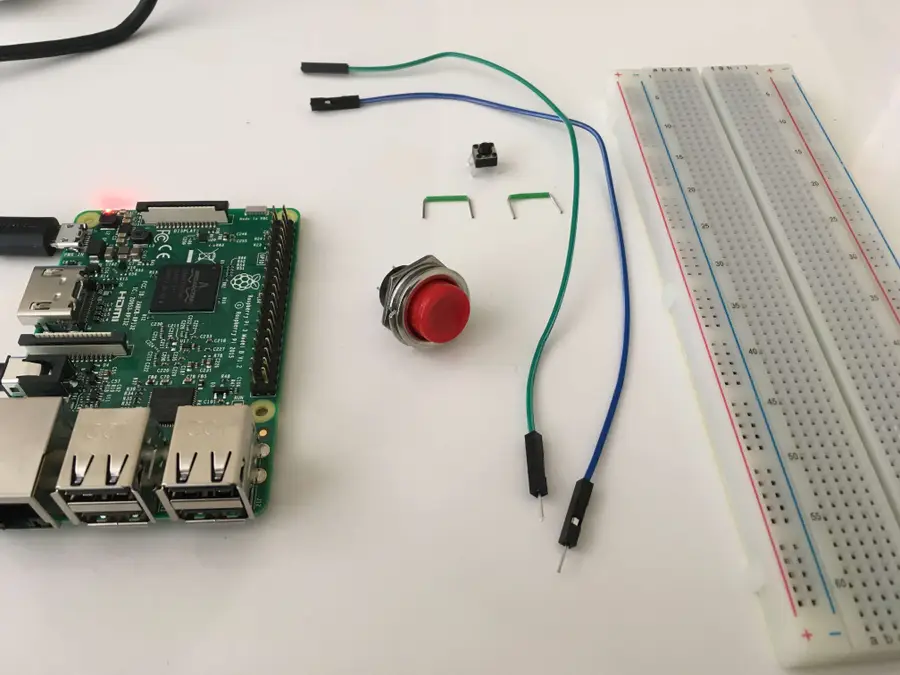
4 – Test the button using a breadboard
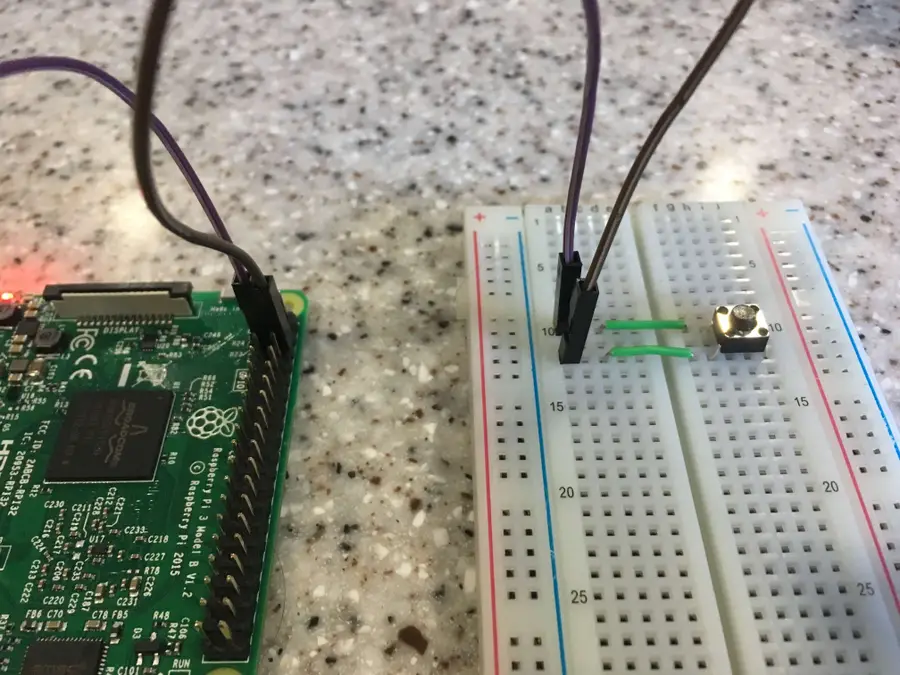
The first thing we’ll do is wire up a button and test the functionality using a breadboard. This is a very simple circuit, but it’s good to make sure it works before we move on.
You can see the image below for details, but I’ll explain what’s going on. I’m using two male to female jumper cables. I’m connecting one to pin 5 (SCL) and the other to pin 6 (ground). If pin 6 is already taken by something else, you can use any other ground pin instead. This is a great resource for identifying all your pins!
Then, I’m connecting them to the breadboard with a button in between. Since the button is normally open, the circuit will be open until the button is pressed. Then when the circuit is complete, it will either wake up the Pi if it’s in a halt state, or it will shut it down if it’s awake.
To confirm that this is working properly, I’ll log in to the Pi via SSH.
ssh pi@raspberrypiThen when I press the button, I confirm that I’m my session is lost. To get a step further, I can confirm that the network is down on the Pi by using arp-scan.
sudo arp-scan --interface=en0 --localnetI won’t go into detail about how to use arp-scan in this guide, but if you use the correct interface this should work.
You can check the output of arp-scan and make sure that the Raspberry Pi is not connected to the network.
Then go ahead an press the button again to wake it up. If you wait a few seconds, the Pi should be back up. You can test again using the arp-scan command. If the Pi is up you’ll see output similar to this:
192.168.1.254        20:3d:66:44:c6:70  (Unknown)
192.168.1.181            b8:27:eb:79:49:f2  Raspberry Pi Foundation
192.168.1.251         58:82:a8:7e:66:36 (Unknown)
Now you can connect again via SSH!
5 – Make our final circuit
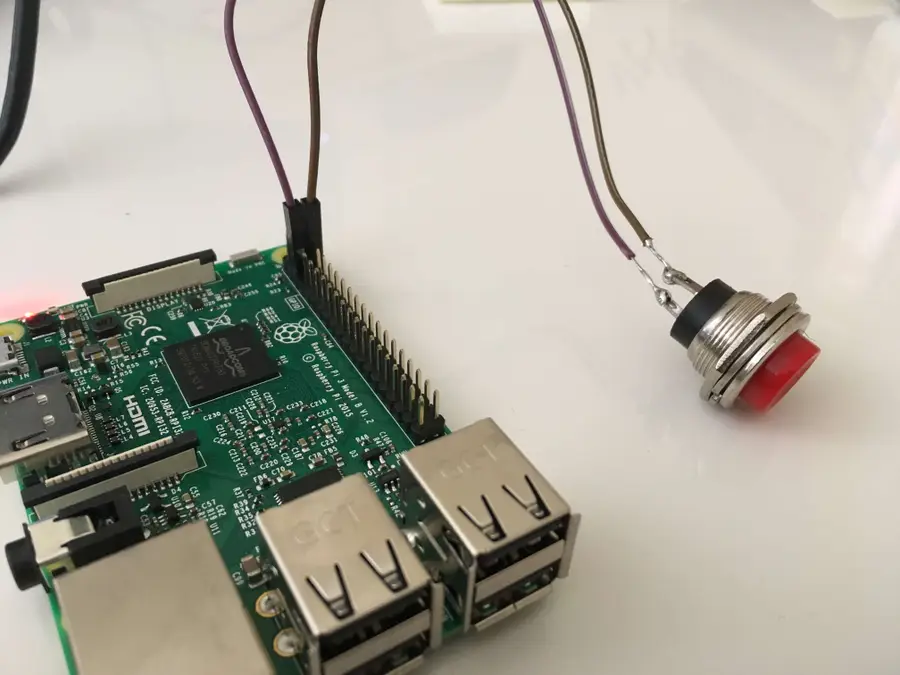
Now it’s time to wire up the button we’re going to use for the project. I’m going to use a jumper cable still so the button can be easily detached from the Pi. But I’ll strip the other end and solder it onto the button.
| 🛈 If you’re using a Pi without a GPIO header (pins) soldered to it, like a Pi Zero, you can solder directly to the Pi Zero’s GPIO through-holes. |
6 – Uninstalling
If you want to uninstall and remove the power button functionality—for example, to use GPIO3 for something else—simply remove all the files and remove the shutdown listener.
If wrote a script to do this for you:
git clone https://github.com/Howchoo/pi-power-button.git
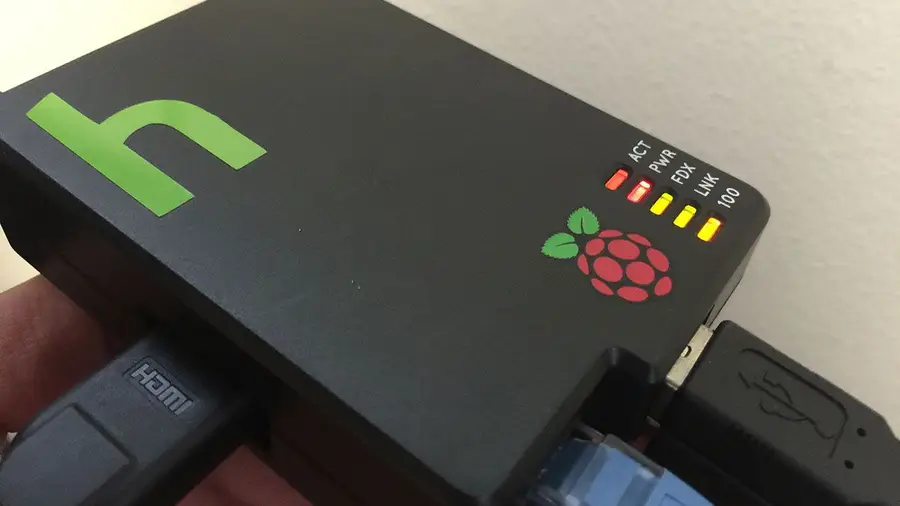
./pi-power-button/script/uninstall7 – Next: Add an LED power indicator to your Pi
If you want to see what state your Pi is in (and when it’s safe to unplug) after pressing your power button, you can also add a simple Pi LED status indicator!