
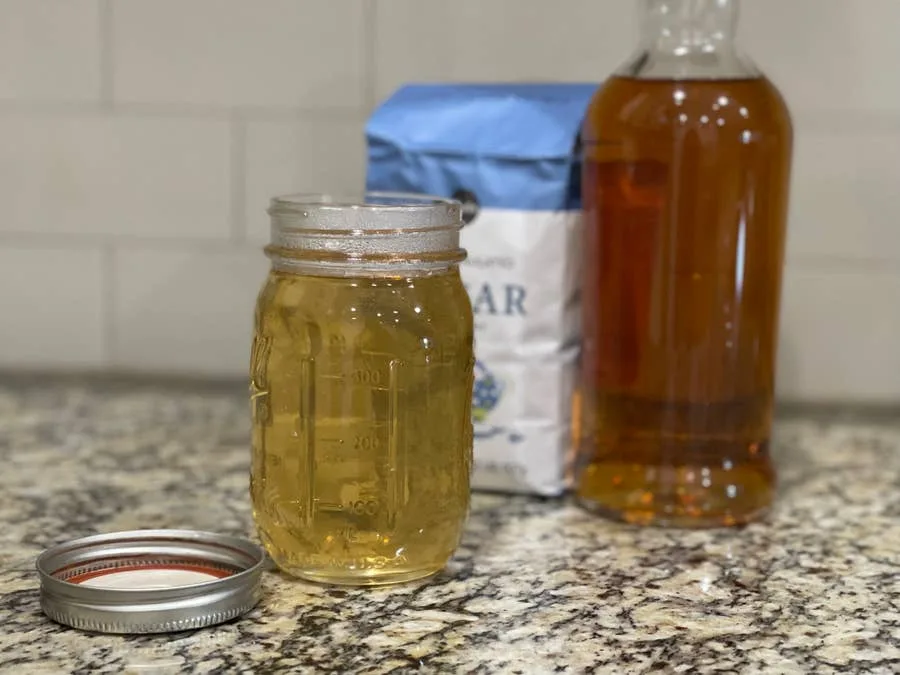
When I was first offered a beverage flavored with whiskey simple syrup, I was in a coffee shop in Sa

The Raspberry Pi Zero is an incredible tool for building a wide variety of IoT devices. And until la
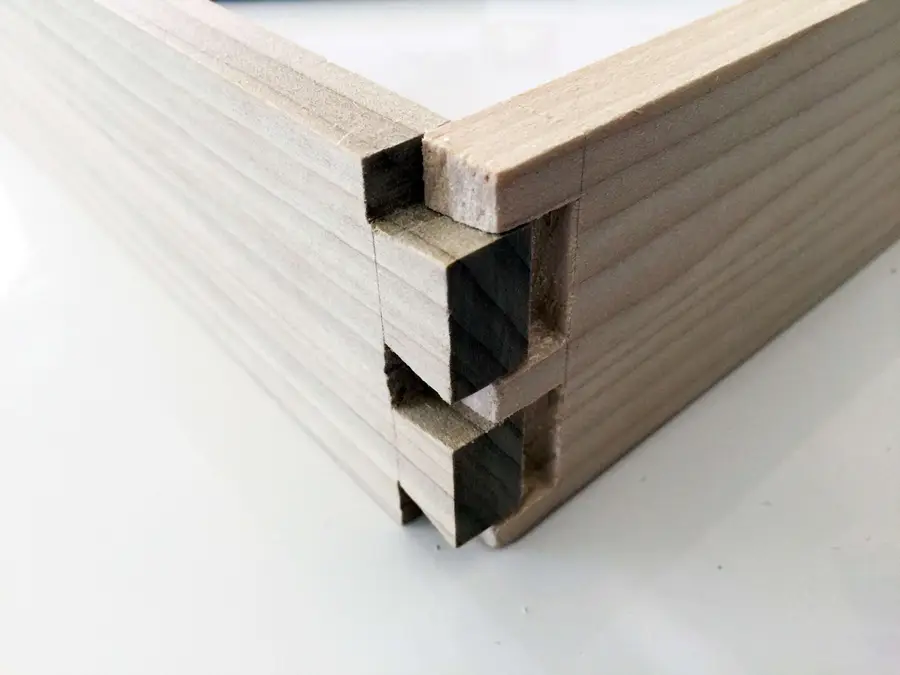
There are plenty of helpful videos on this subject, but I find guides with pictures to be useful wit

If you’re like me and are just starting out on your 3D printing journey, there’s little doubt in

For thousands of years, chamomile has been used to calm anxiety and settle sour stomachs, but recent

When it comes to Do-It-Yourself projects, the ultimate expression has to be fan films. The amou
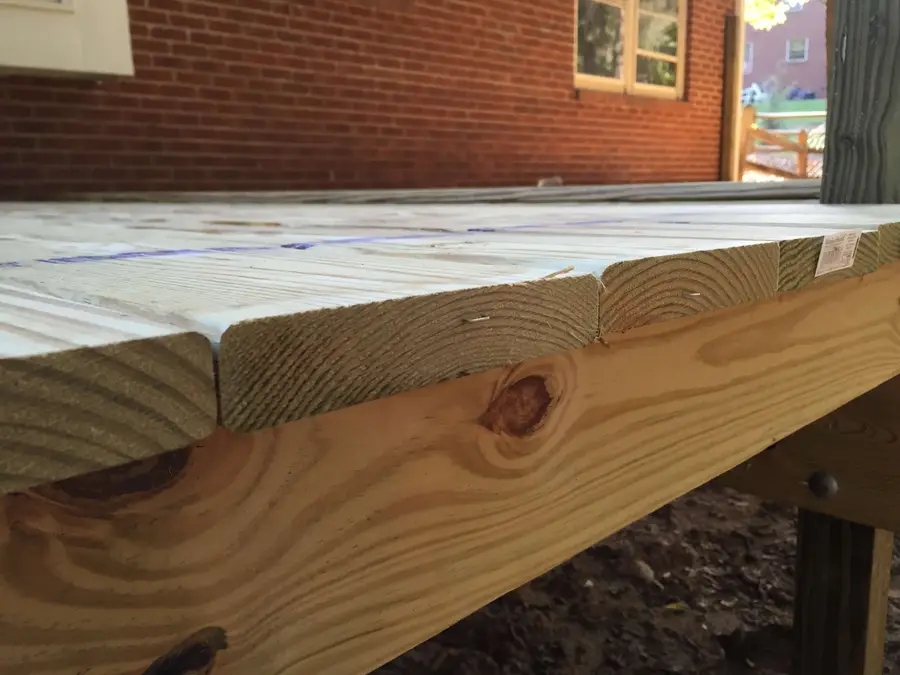
5/4 decking looks great and is very cost effective. This guide will take you through laying and secu
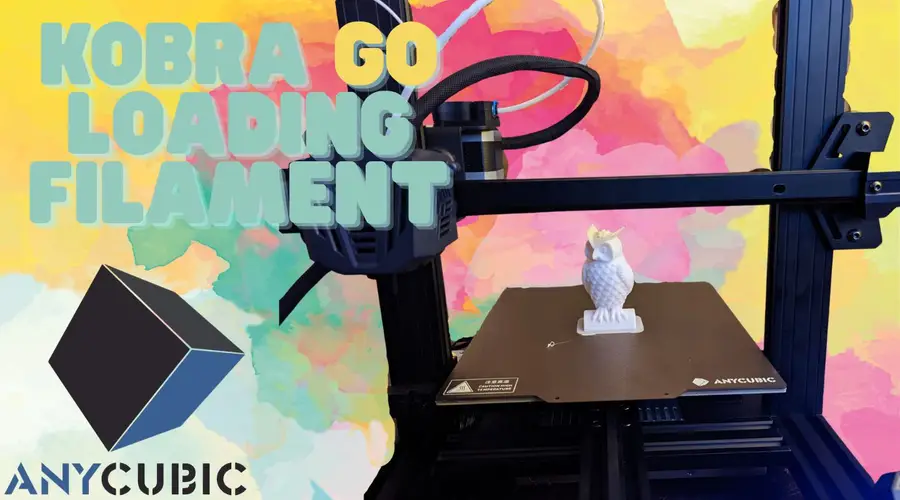
I dig the Anycubic line of Kobra printers in large part because of how many ease-of-use fe
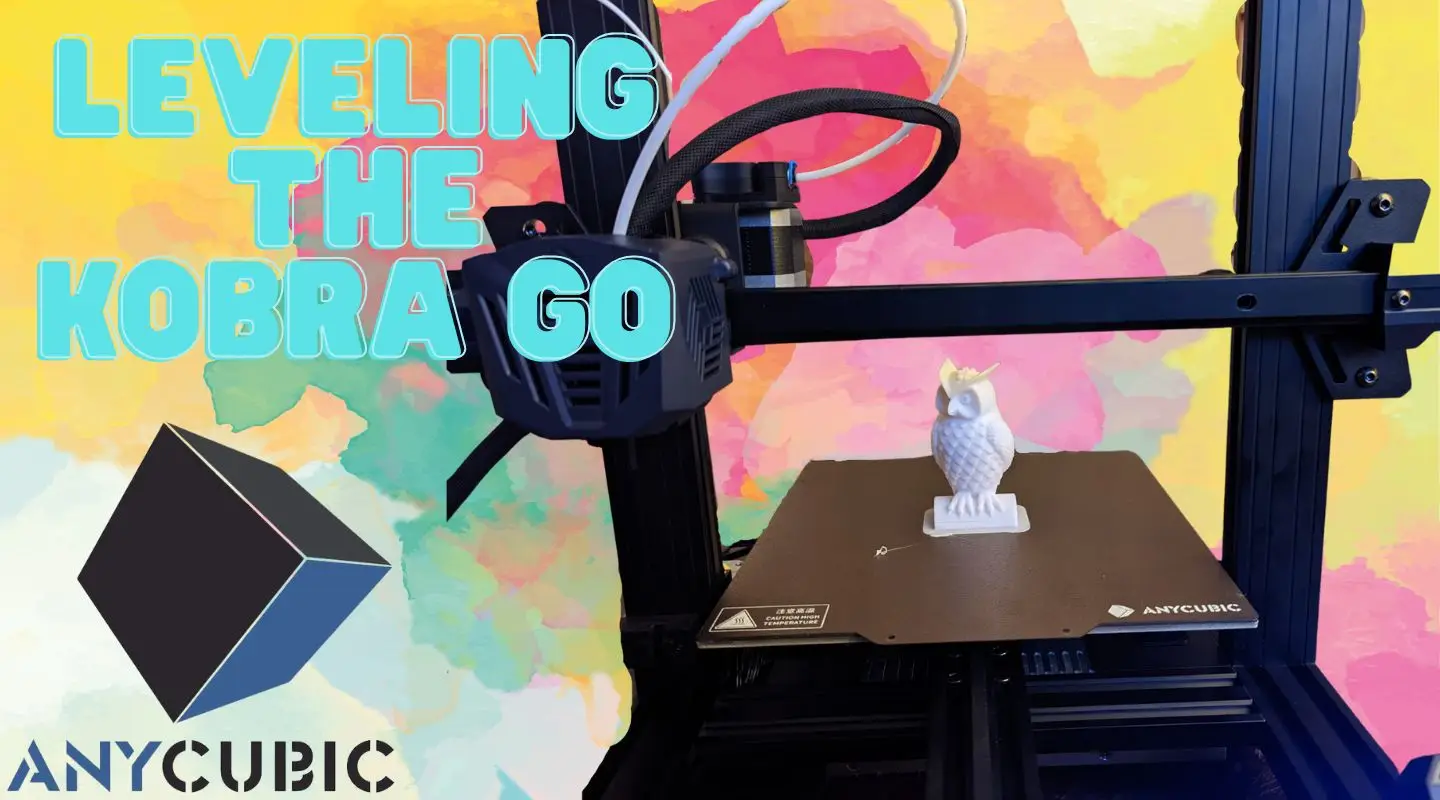
I’ve been a pretty die-hard fan of Anycubic’s Kobra series and the 25-point automat

Waiting for the bass to drop? Wait no longer! Today we’re making our own Raspberry Pi-powered
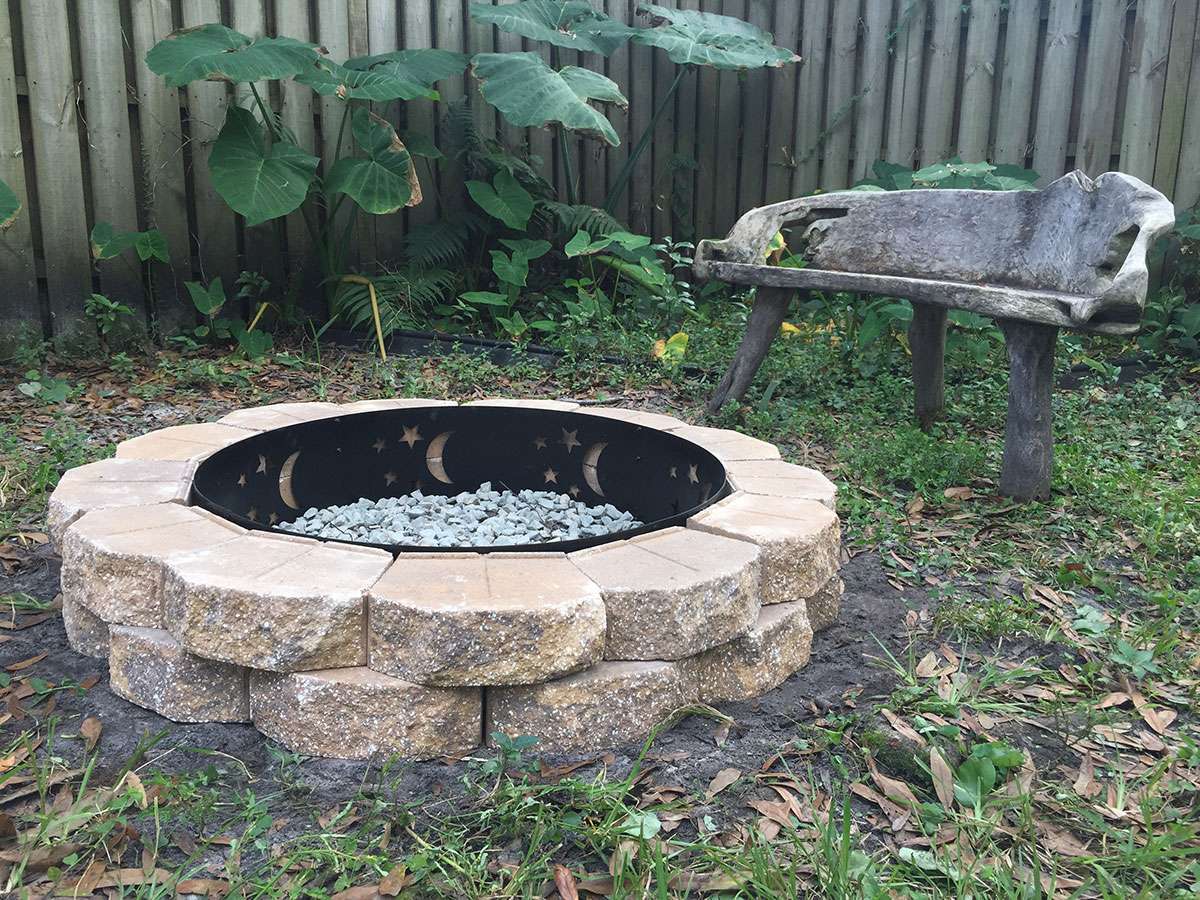
There’s nothing like a fire pit to bring friends together! I decided to make a budget-consciou

If you’re a painter, you’ve likely dealt with dried paint left on the bristles on your b
