
Starting with MacOS Sierra and High Sierra, your Mac will no longer play a “pop” sound w
As a website designer, I work with a lot of files—and a lot of file types. Nothing’s worse t
With the introduction of the new macOS, Big Sur, many things like even securely emptying your t
Note: This guide does not work on MacOS 11 Big Sur. Look out for an updated guide coming soon. Accor
If you spend any amount of time working on the command line in macOS, you’ll realize it’

You probably use your backspace [delete] key quite a bit. If you have a Macbook Pro, you p
If you’re using a Mac and you’ve found yourself in a place where every Finder window is
If your Mac is connected to both an Ethernet cable and Wi-Fi, you probably want to use Ethernet by d

This short guide shows you various ways to find the IP address of your Raspberry Pi. 1 – Conne
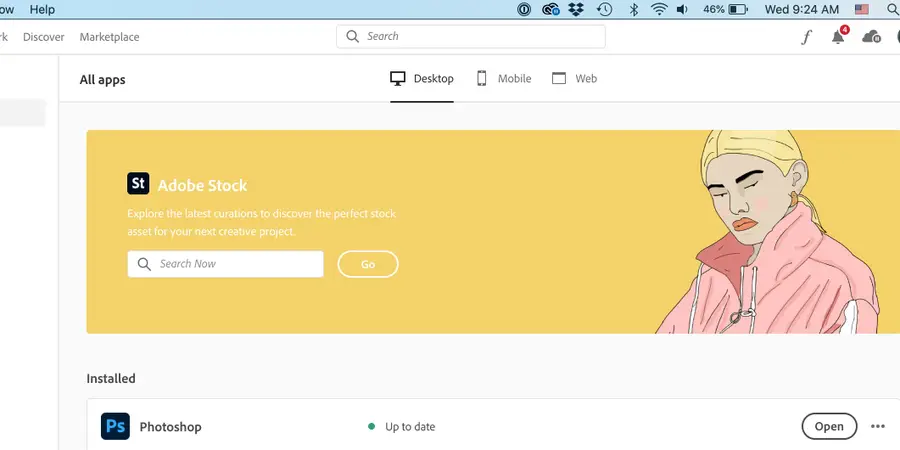
You know how much we disabling distractions like the start screen in Adobe Illustrator. Unlike
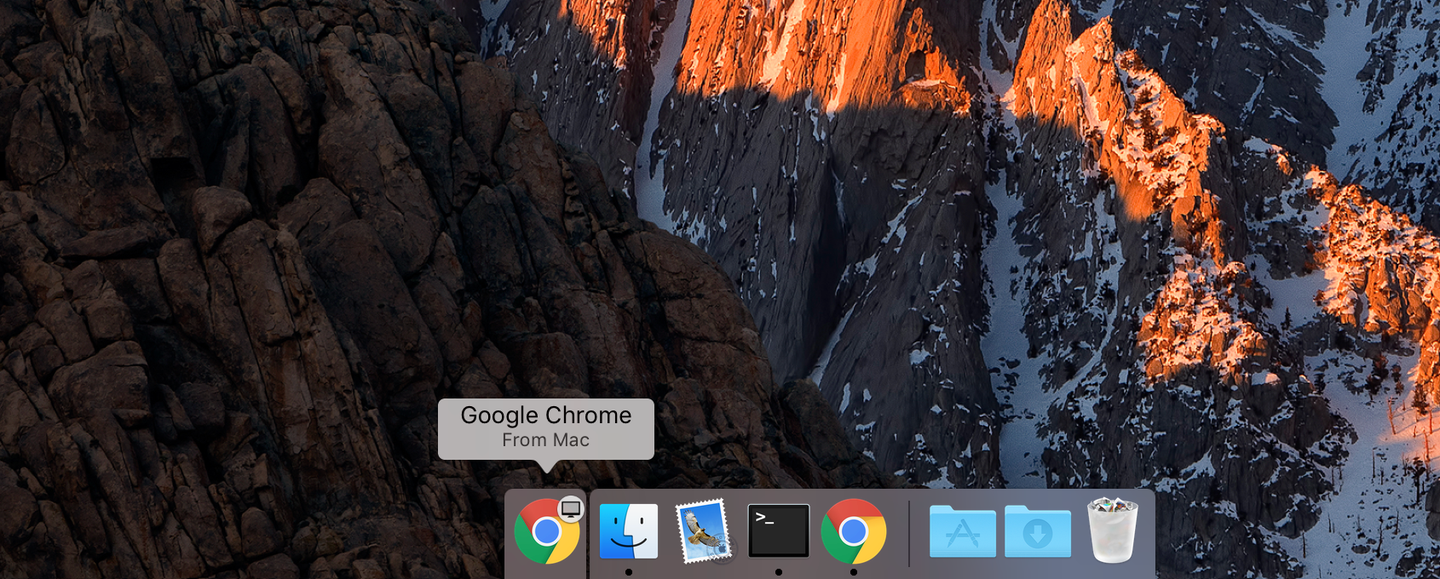
By default, macOS and OSX will offer to share your Chrome tabs between your Mac and iOS devices via
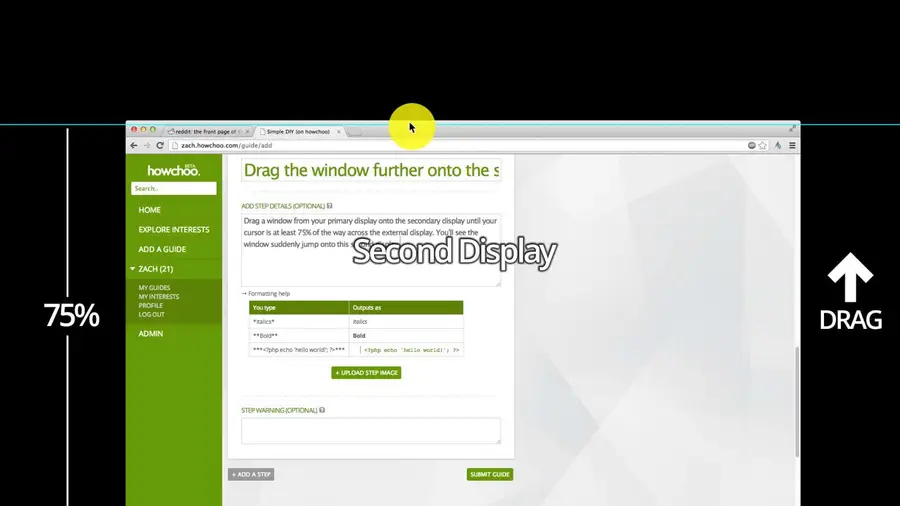
When I turned my computer on this morning, it seems that the menu bar was blocking me from dragging
