How to Set Up a New Raspberry Pi

Share
What you'll need
Interests
Series
Posted in these interests:

So you just got your brand new Raspberry Pi. Awesome!
This guide will show you how to set up a brand new Raspberry Pi. We will cover everything from the basic accessories to installing Raspberry Pi OS to logging in via SSH and more! This guide will work for any Raspberry Pi model.

Raspberry Pi Models and Specs: A Comprehensive Guide
What flavor of Pi is your favorite?
1 – Gather your accessories
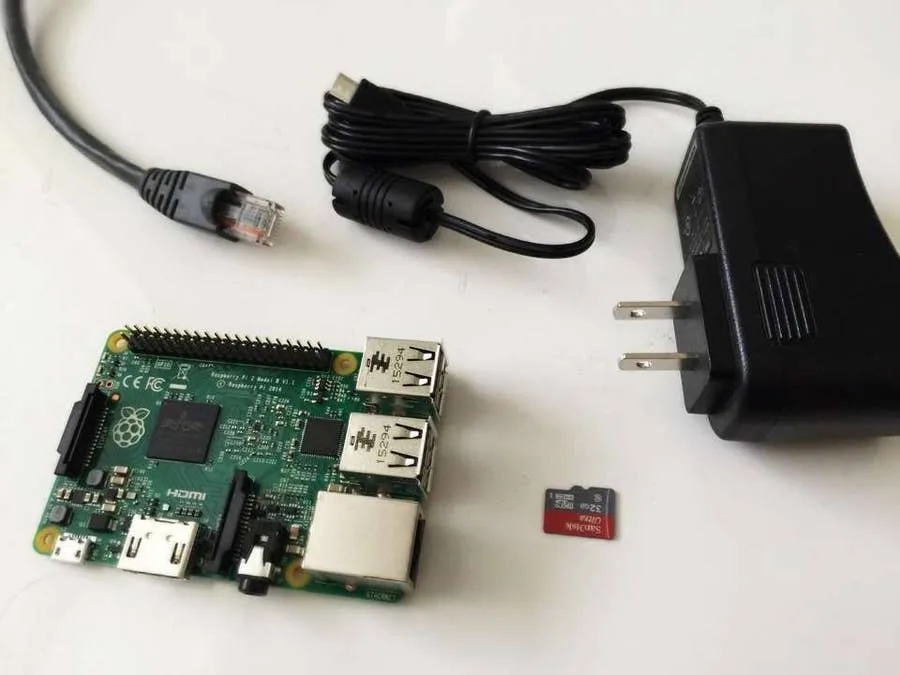
You’ll want to make sure you have all of the required accessories. For this project, you’ll need, at a minimum, the Raspberry Pi, a 2.5A power supply, and a Micro SD card. Links to the required accessories are available on this guide in the “Tools” section.
If you have a kit, then that should have everything you need to get started. Check out our review of the Canakit for the Raspberry Pi 4 for an example of a good kit.
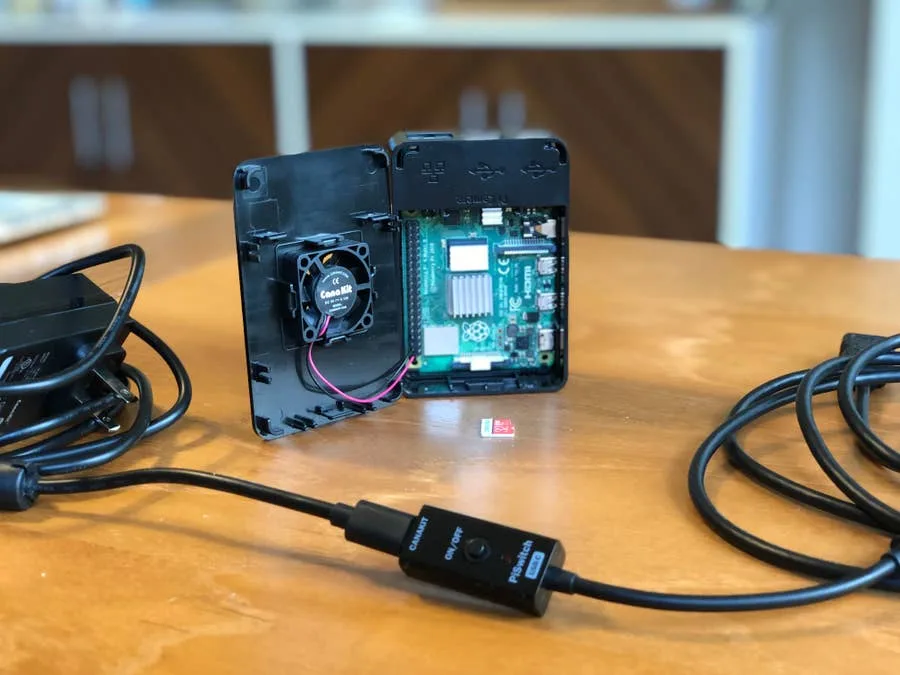
Canakit Raspberry Pi 4 Starter Kit Review: No Nonsense Quality
Great for newcomers and seasoned Raspberry Pi veterans, alike.
2 – Flash the SD card
The first thing you’ll want to do is flash your SD card with the Raspberry Pi OS image of your choice. There are a few versions available with older editions known as Raspbian. Check out our Raspberry Pi OS installation guide to get the latest edition and then return here!

How to Install Raspberry Pi OS on Your Raspberry Pi
Get the new official Raspberry Pi OS on your Pi.
3 – Insert the Micro SD card into the Raspberry Pi
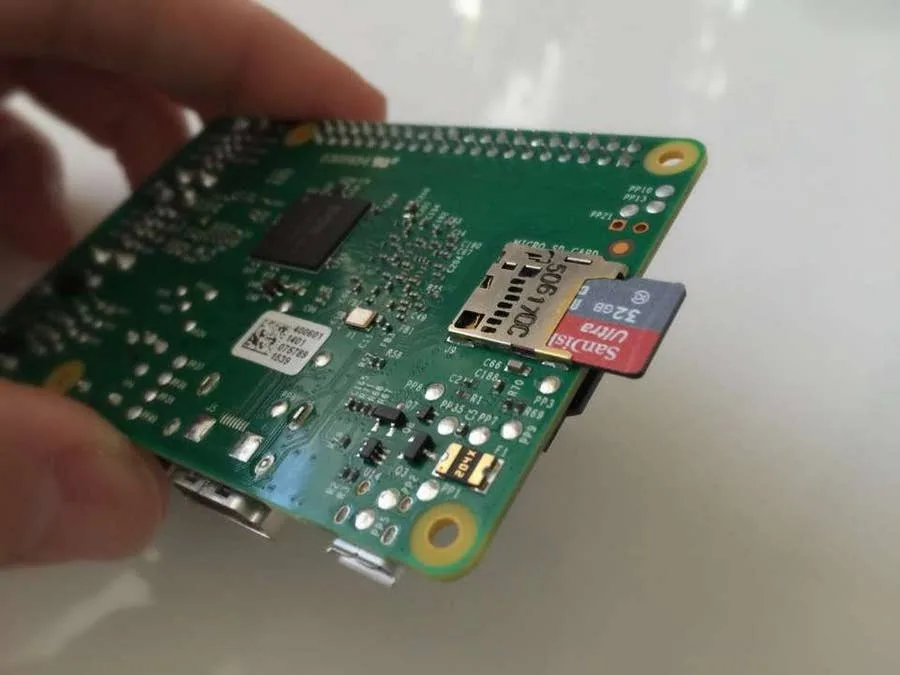
If necessary remove the SD card from the adapter and push it into the reader on the Raspberry Pi. Push down until you feel and hear it click into place.
4 – Plug in the power cable
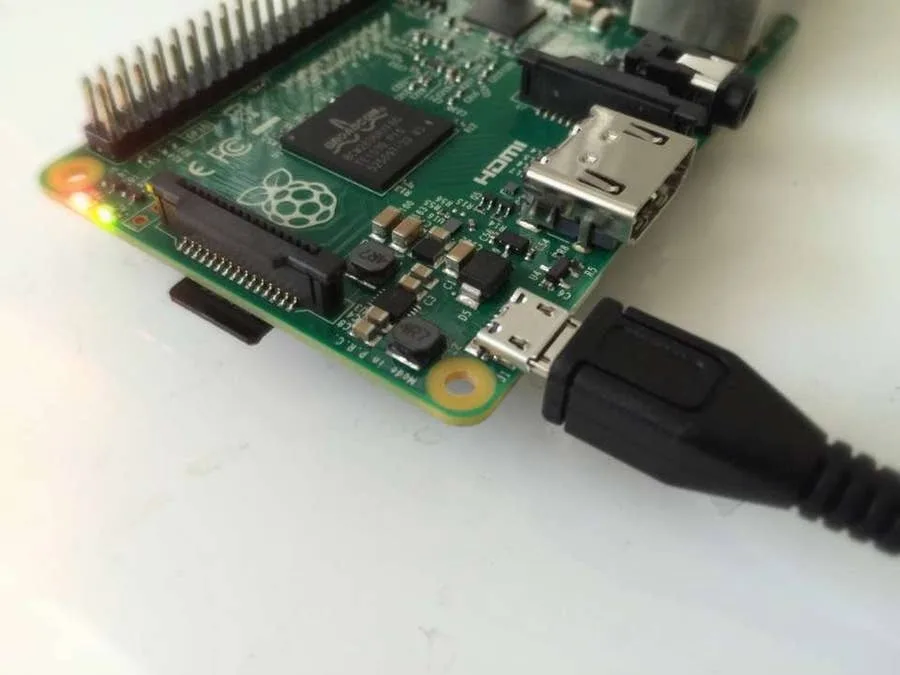
Plug in the power cable to the wall and then the Raspberry Pi. It will power on as soon as it’s plugged in.
Learn how to safely shutdown the Raspberry Pi when you’re finished.
5 – SSH
Now, with your pi powered on and connected to your local network, you should be able to ssh into your pi. SSH comes installed and enabled on Rasppberry Pi OS, so you should be able to SSH in without any prior setup.
First we’ll ping the Raspberry Pi to make sure we can find it. The default hostname for the Raspberry Pi is unsurprisingly: raspberrypi.
ping raspberrypiYou should see output like this:
PING raspberrypi.attlocal.net (192.168.1.243): 56 data bytes
64 bytes from 192.168.1.243: icmp_seq=0 ttl=64 time=81.131 ms
Then press Ctrl+C to stop.
Since we can reach our pi, now we’ll SSH in. The default username and password for the Raspberry Pi is pi and raspberry.
ssh -l pi raspberrypiThe -l option specifies the username, which in our case is pi. Then we’ll type in the password: raspberry. For security reasons, you won’t see the password as you type.
Now you should be logged into your pi, and you should see a prompt like this:
pi@raspberrypi:~ $6 – Change the password
At this point, you’ll want to change the password for the pi user on your Raspberry Pi. This can be done using the passwd command.
passwdFollow the linked guide for more details.
7 – Change your timezone
Don’t forget to set your Raspberry Pi timezone after connecting to your Pi.
8 – Connect to the Internet
Check out our guide on connecting to WiFi on the Pi.
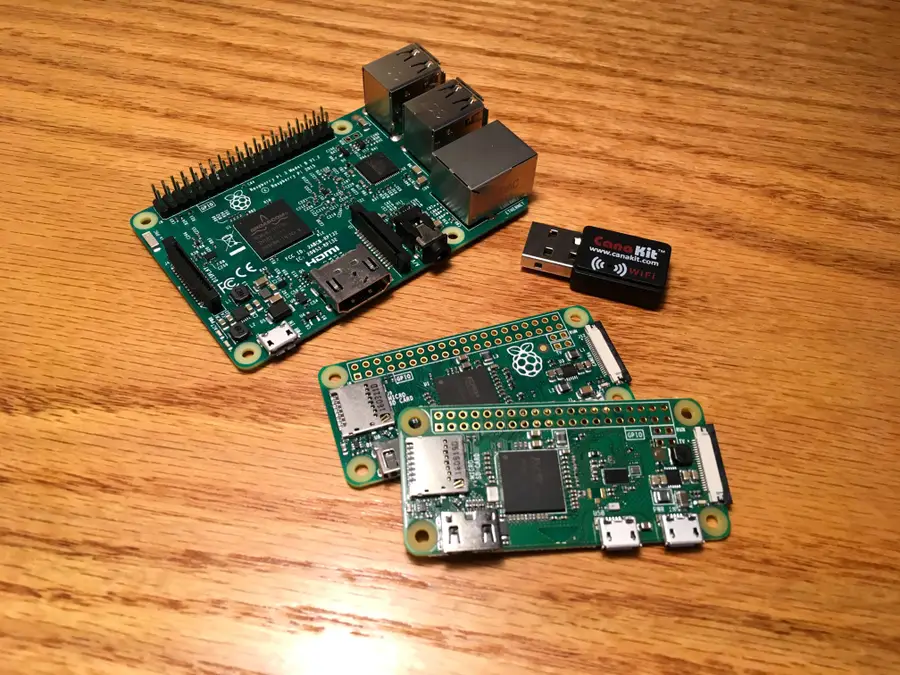
How to Set up WiFi on Your Raspberry Pi Without a Monitor (Headless)
No monitor, keyboard, or mouse? No problem.
Once you’re connected to the internet, you should consider configuring Pi-hole on your Raspberry Pi to browse pop-up free!

Pi-hole: How to Set Up and Configure Pi-hole on Raspberry Pi
Blocking ads just got easier with Pi-hole, a network-wide ad blocker for the Raspberry Pi

